Creating and downloading Annotations
In this tutorial we are going to annotate an image from your own manifest using a tool called IMMARKUS. Once we have finished annotating we are going to view the annotations in a viewer which isn't connected to the annotation server.
IMMARKUS is a powerful annotation tool and was developed to aid researchers to create annotations as part of their research. It has an interesting technical feature in that it doesn't require a server to store the annotations. The annotations are stored on your computer using an experimental browser feature. As this feature is experiemental unfortunately not all browsers are currently supported so to use IMMARKUS you must use Chrome or Edge. To see the latest browser support for this feature you can check this browser compatability table.
As the annotations are local to your machine IMMARKUS is intended as a single user system so others can't see your annotation until you publish them. The developer behind IMMARKUS also developed liiive which is a multi user collabrotaive tool and there is a video on this annotation tool in the Guest Videos.
IMMARKUS: Image Annotation has been developed by Prof. Dr. Hilde De Weerdt, Dr. Rainer Simon, Dr. Lee Sunkyu, Dr. Iva Stojević, Dawn Zhuang, Meret Meister, and Xi Wangzhi as part of the Regionalizing Infrastructures in Chinese History (RegInfra) project.
The overall steps are
- Stage 1: Setting up IMMARKUS
- Stage 2: Loading your manifest
- Stage 3: Using the smart scissors
- Stage 4: Auto transcription
- Getting a HuggingFace Token
- Finding more information on IMMARKUS
There are two options for getting a Manifest to Annotate.
Option 1 use the Workbench
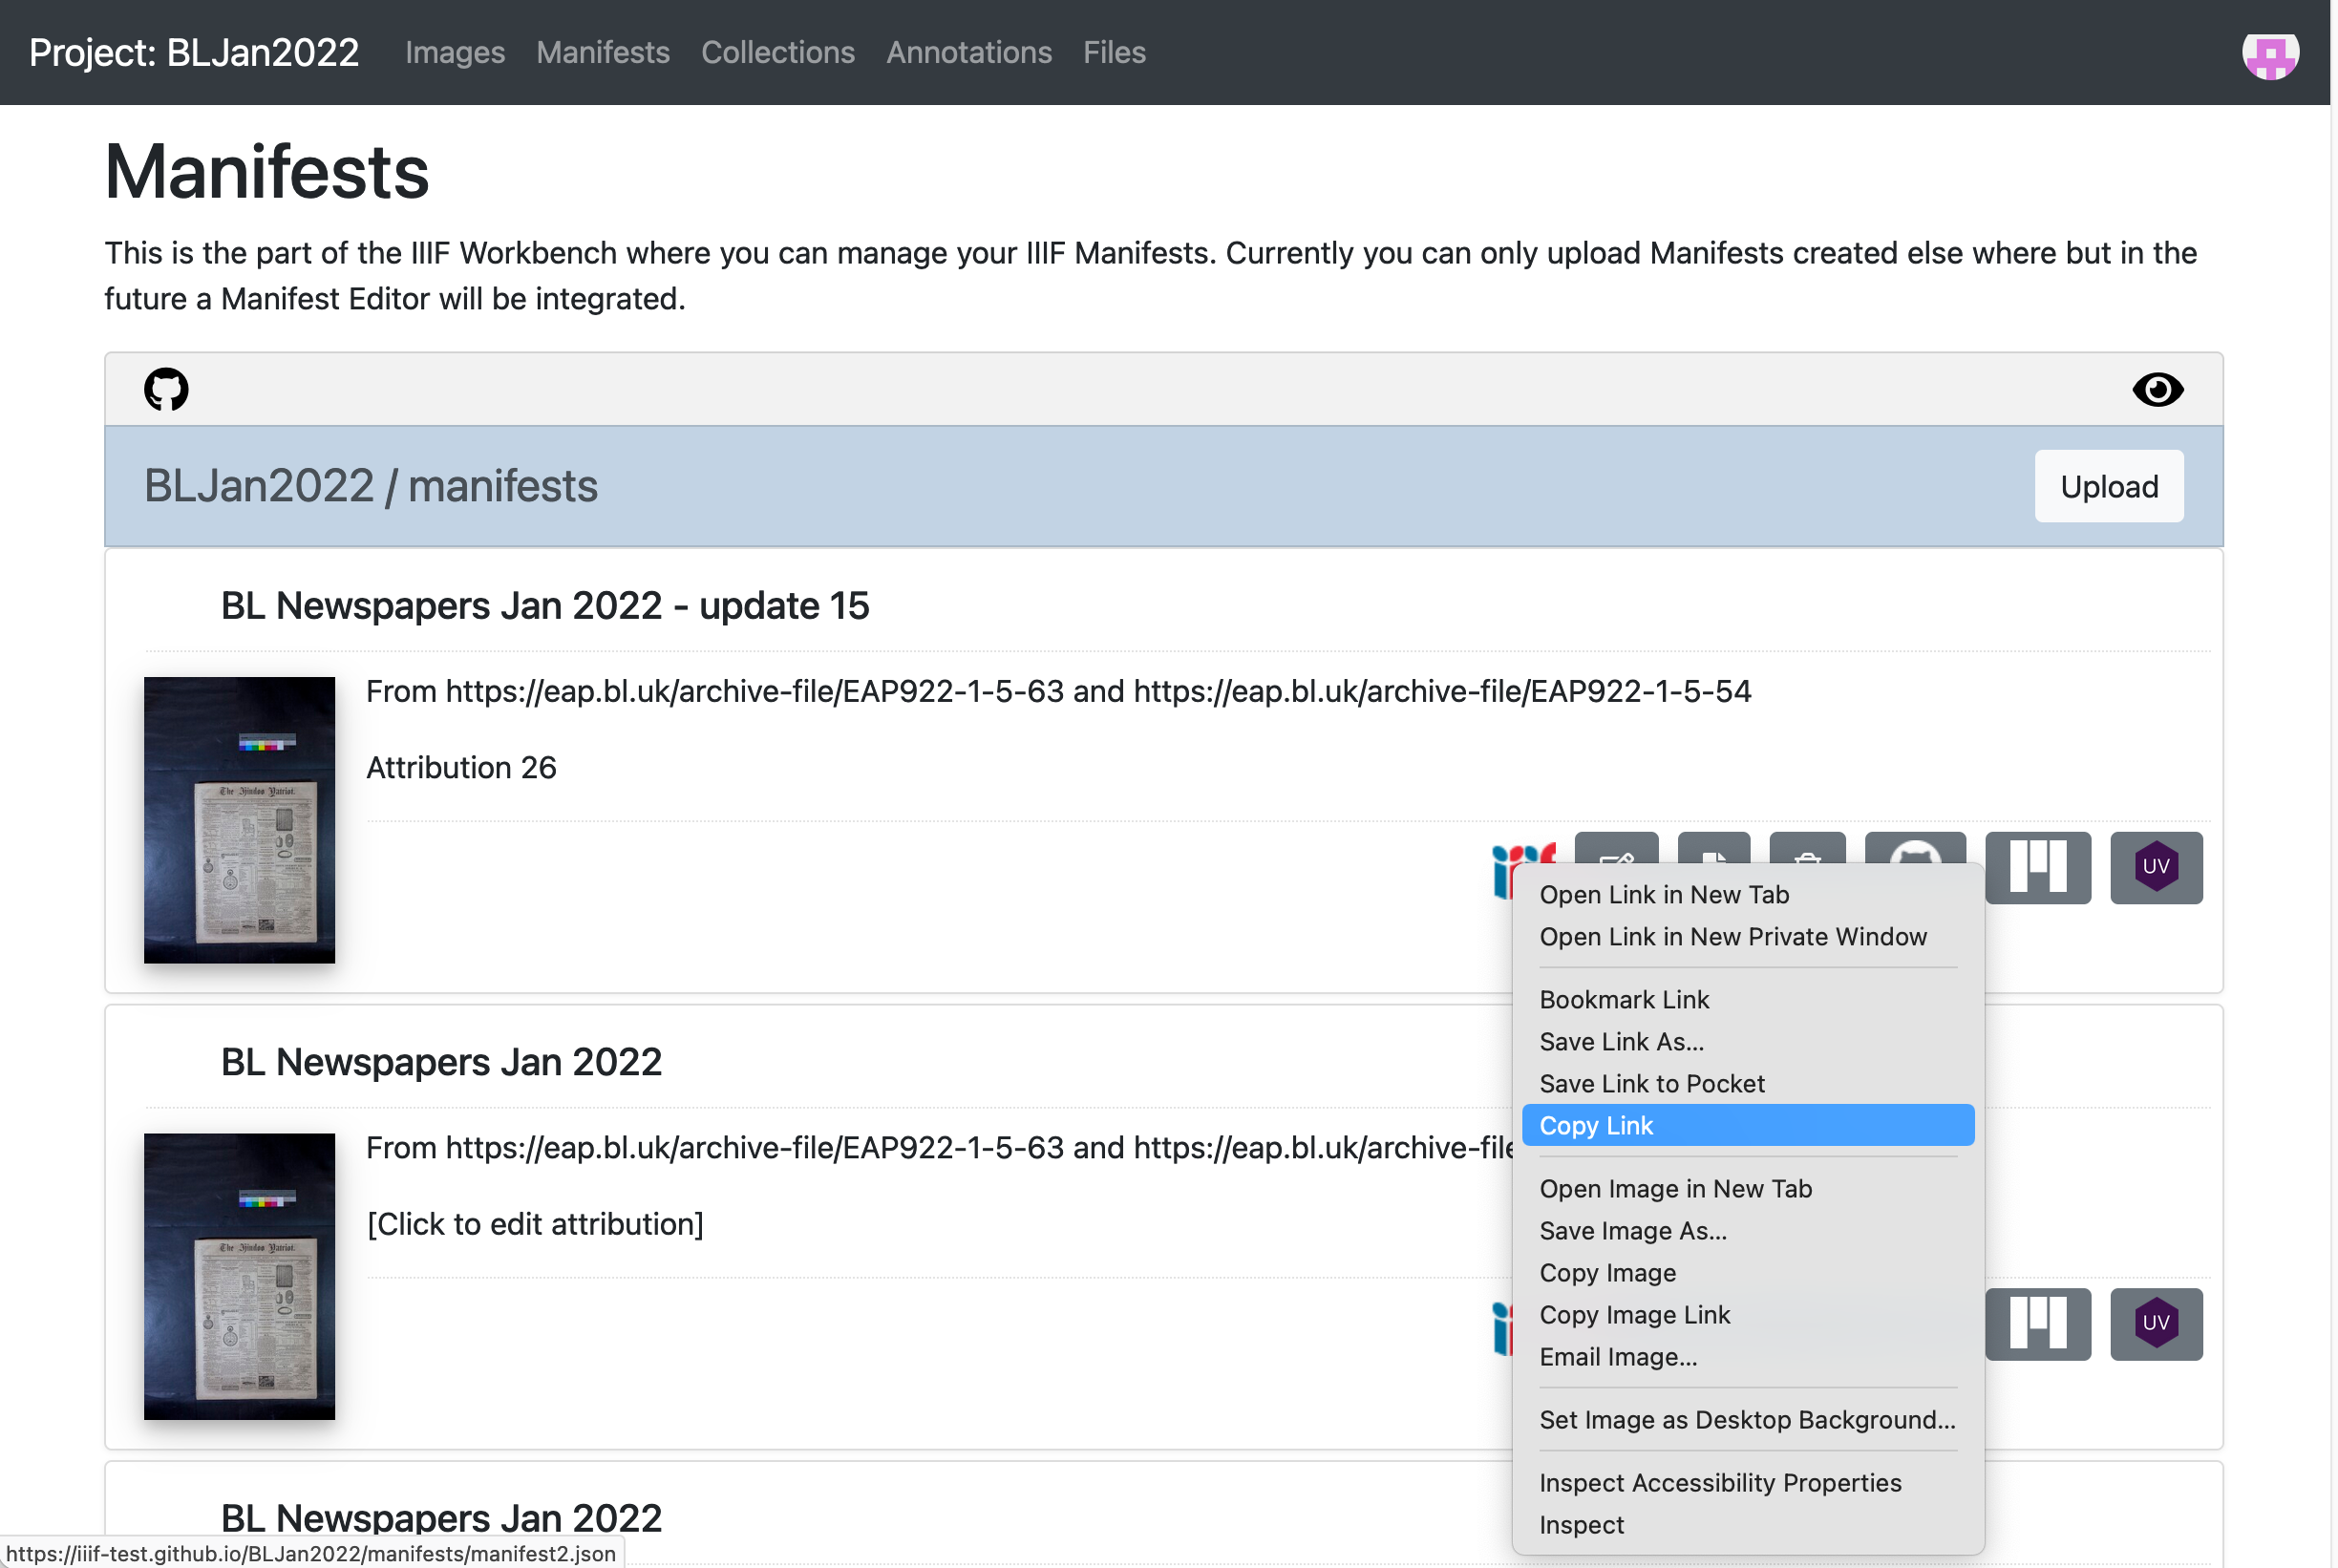
This option uses the Manifest you uploaded to the workbench in the Publishing your Manifest guide. To use this manifest you need to copy the manifest URL by going to Workbench, Manifests tab and right clicking on the IIIF logo and select Copy link. This will copy the Manifest URL to your clipboard.
Option 2 Use any public IIIF manifest
If you didn't manage to get a manifest in the previous session you can use any IIIF Manifest. My personal favorite is:
https://damsssl.llgc.org.uk/iiif/2.0/4389767/manifest.json
Stage 1: Setting up IMMARKUS
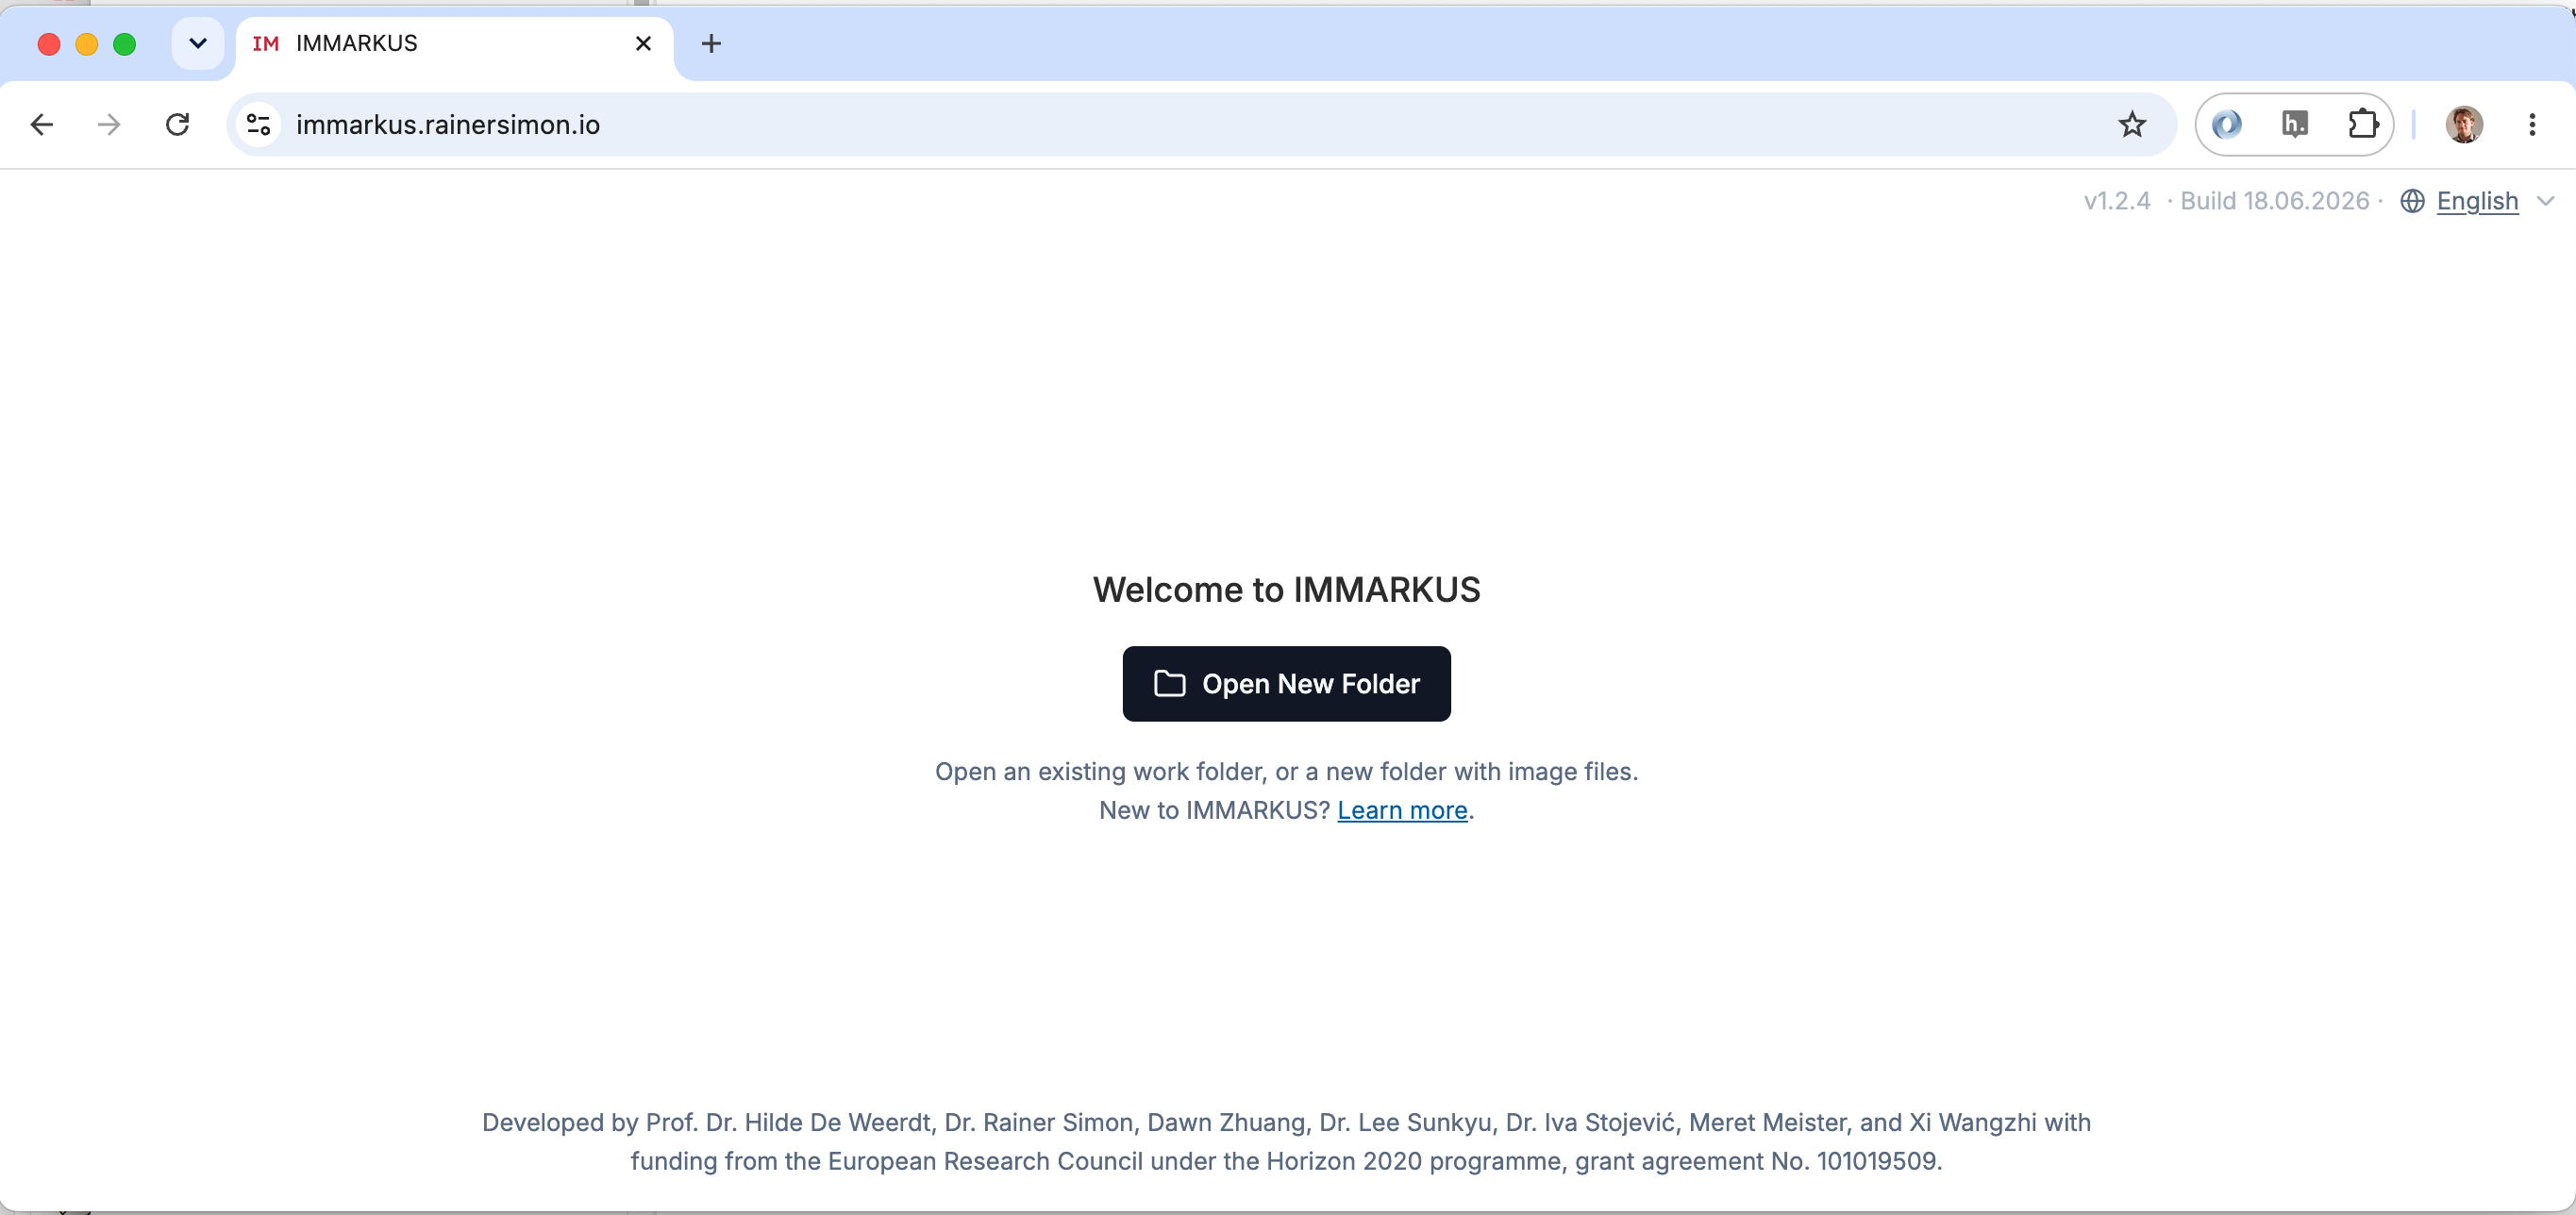
First navigate to https://immarkus.xmarkus.org/ and ensure you are using either Chrome or Edge. Once you reach that page you will be asked to select a directory on your computer where you can store your annotations. You could create a directory in your iiif-workshop directory as place to store these annotations.
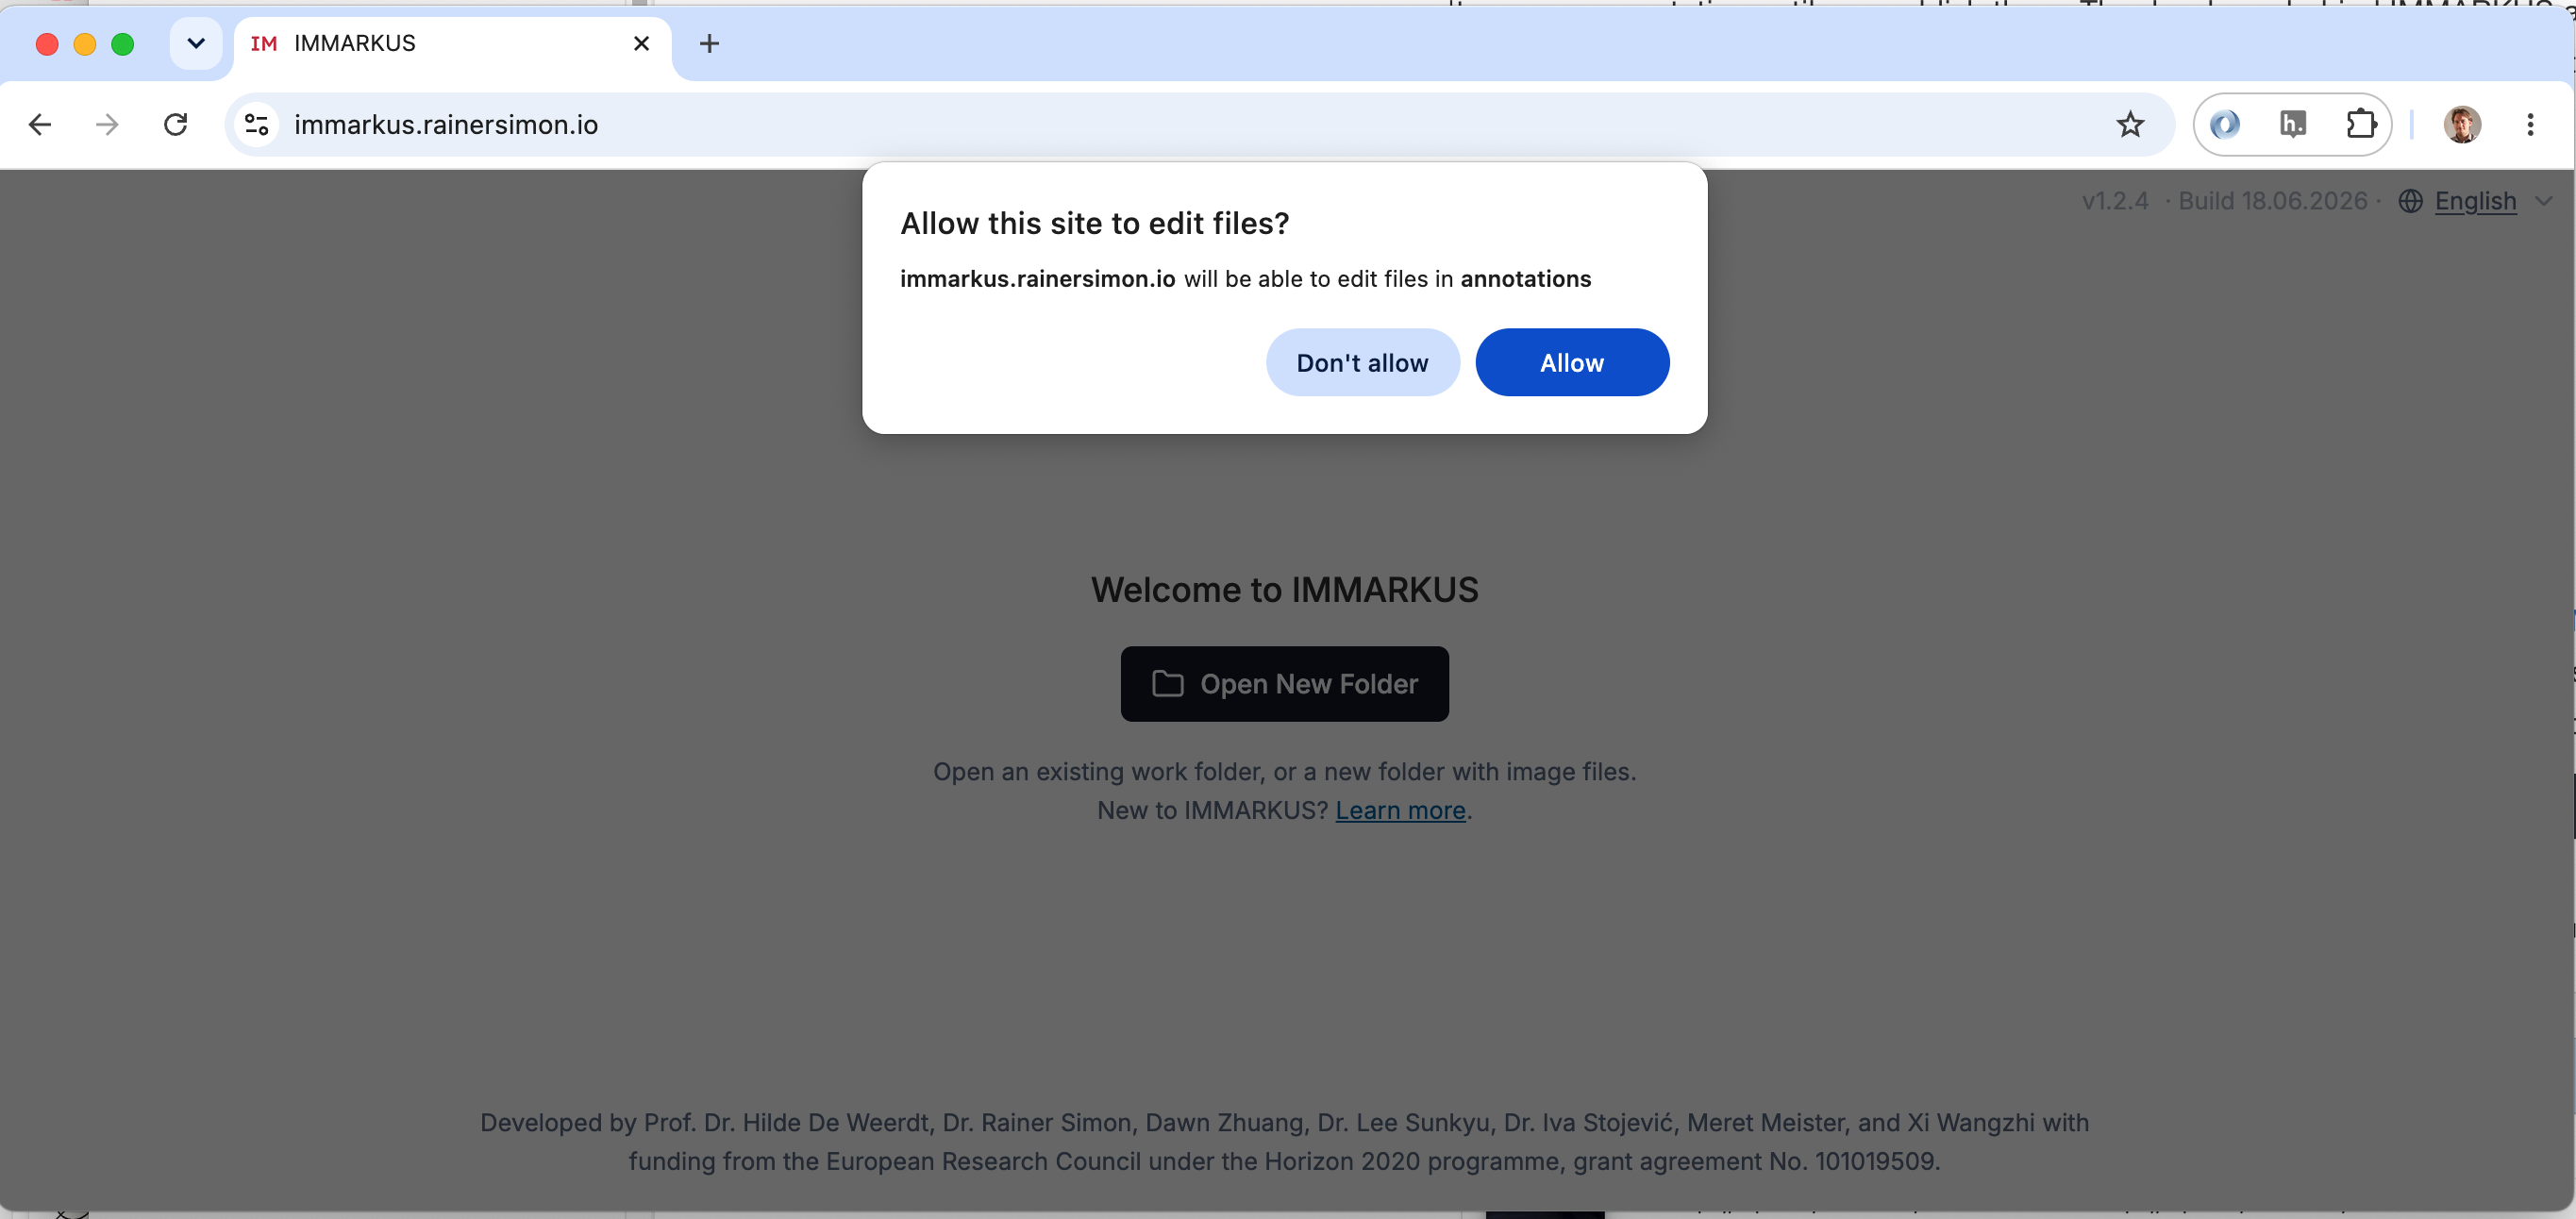
Once you have selected your directory you will need to give permission to immarkus to read and write to this directory:
Once you have given permission you will open up the start screen where you will see any manifests that you have loaded into IMMARKUS.
Stage 2: Loading your manifest
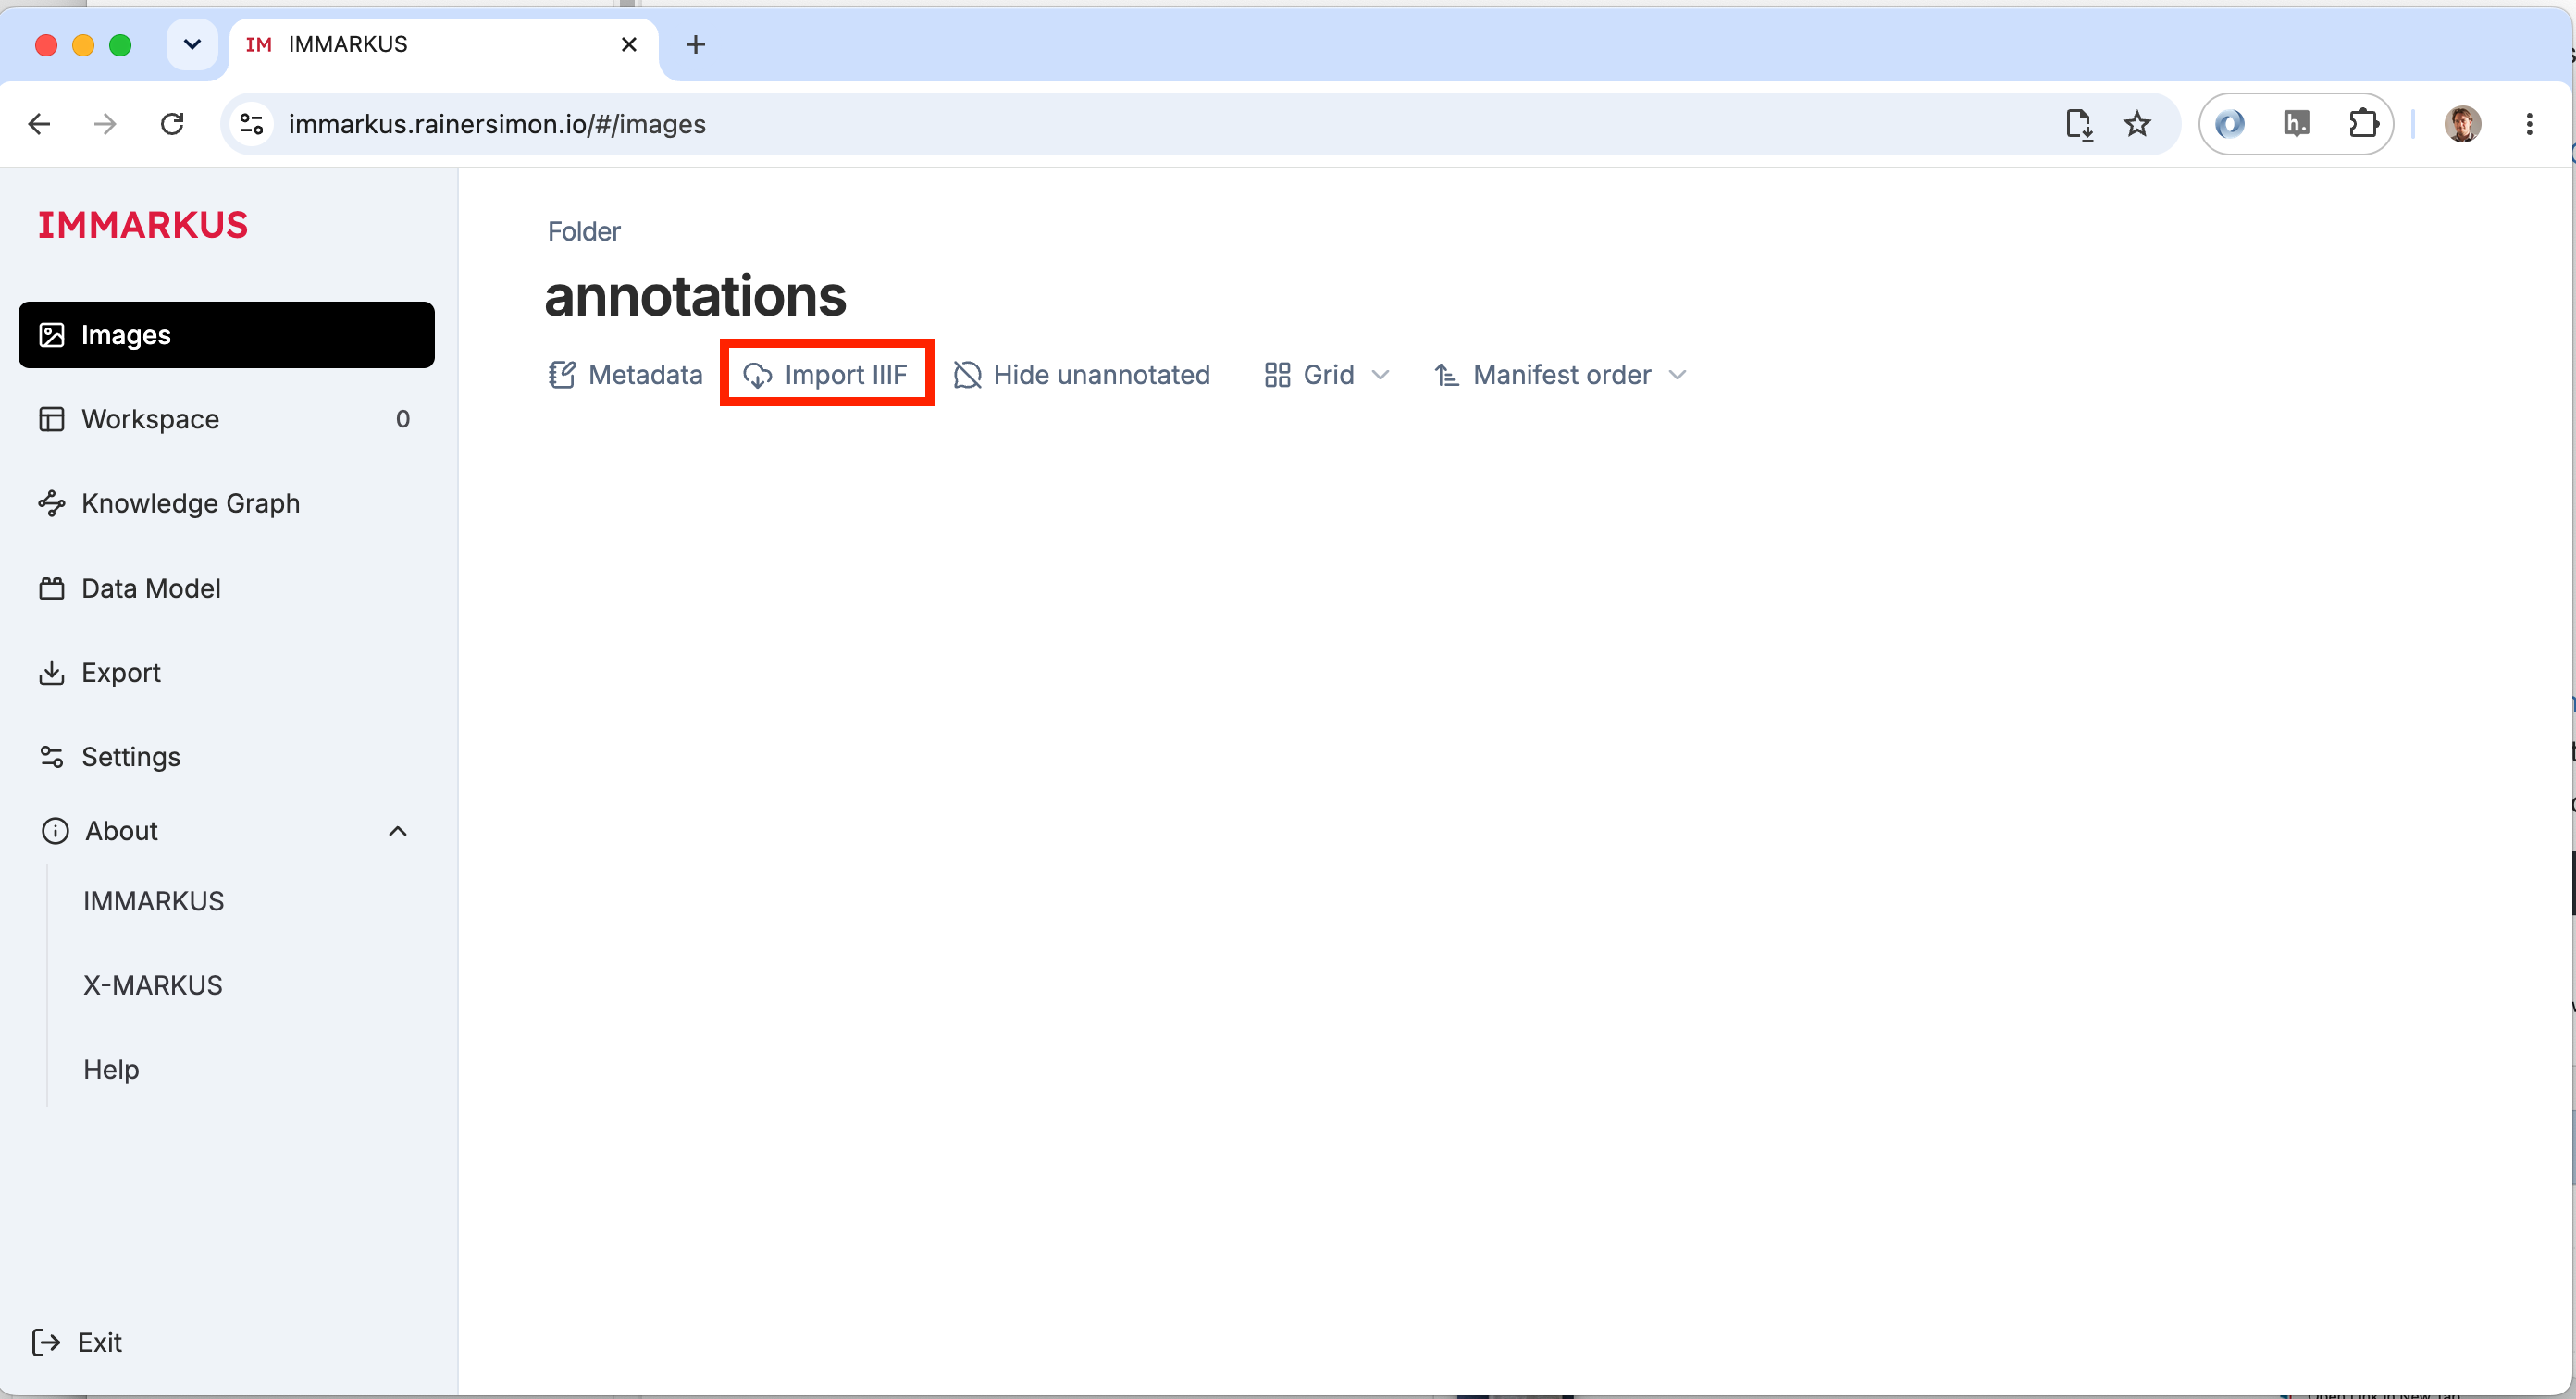
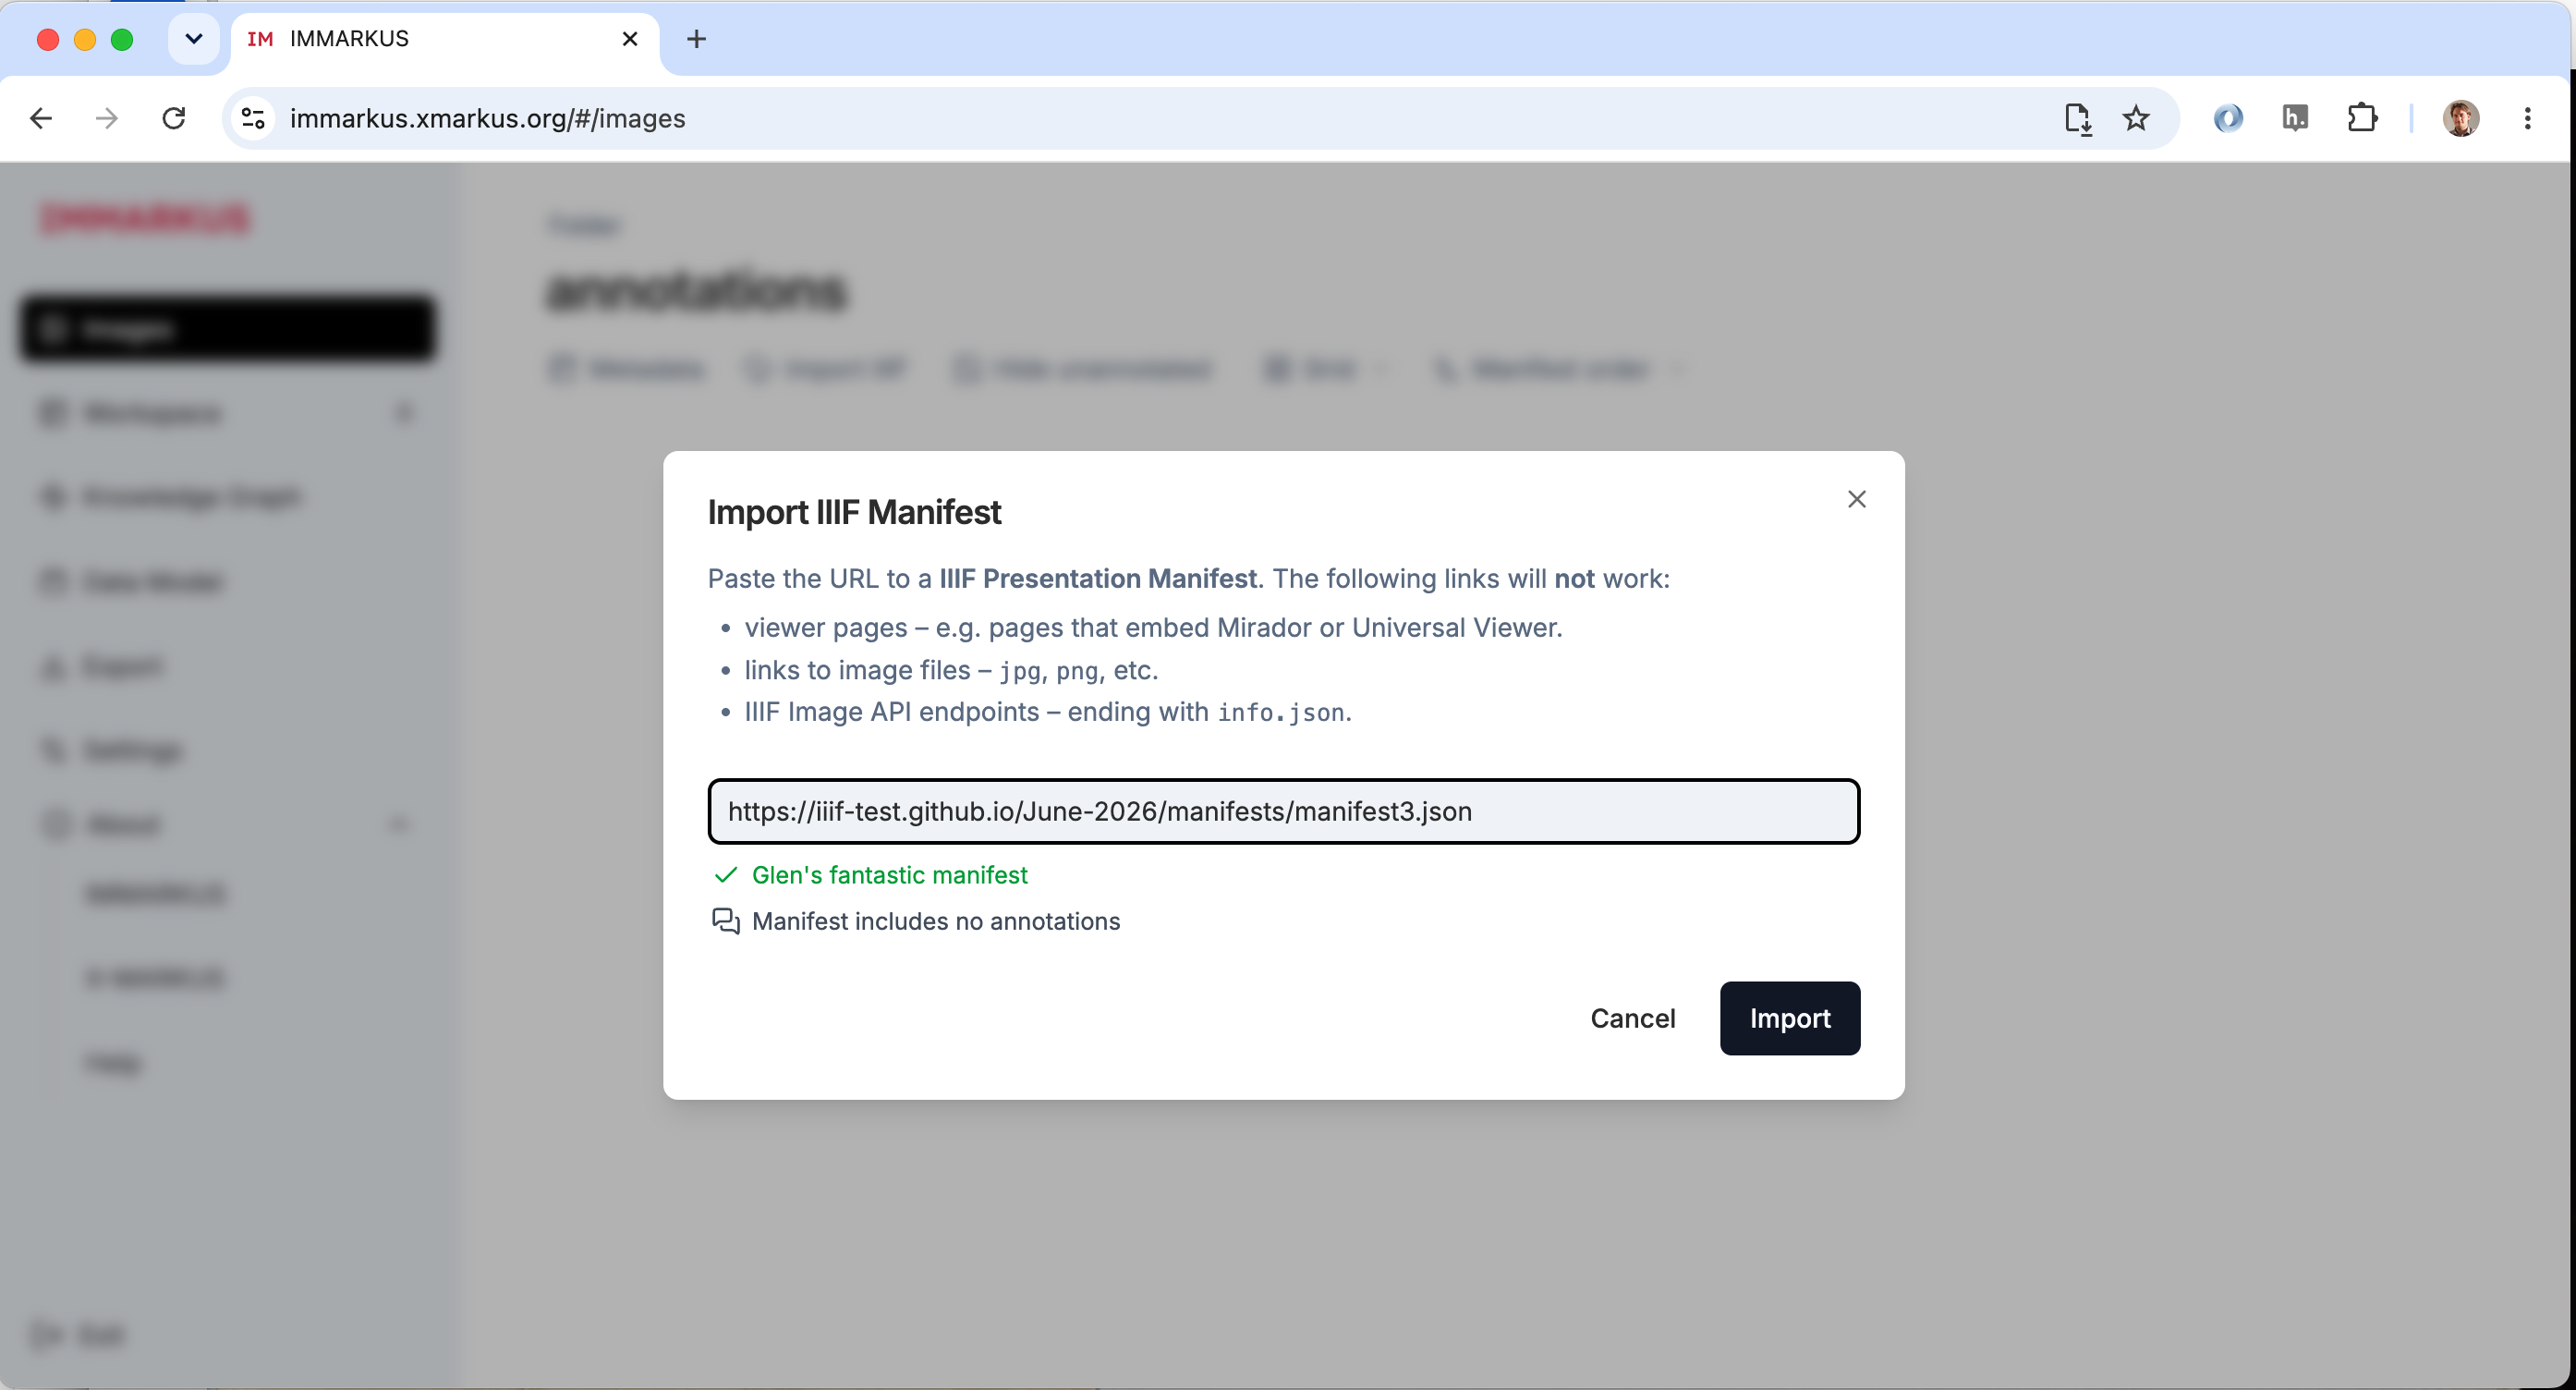
Click the Import IIIF button highlighted in the image below to open the dialog where you can add a manifest.
Add the URL to your Manifest from the workbench. If your Manifest is welformed then you should see a green tick next to your Manifest label.
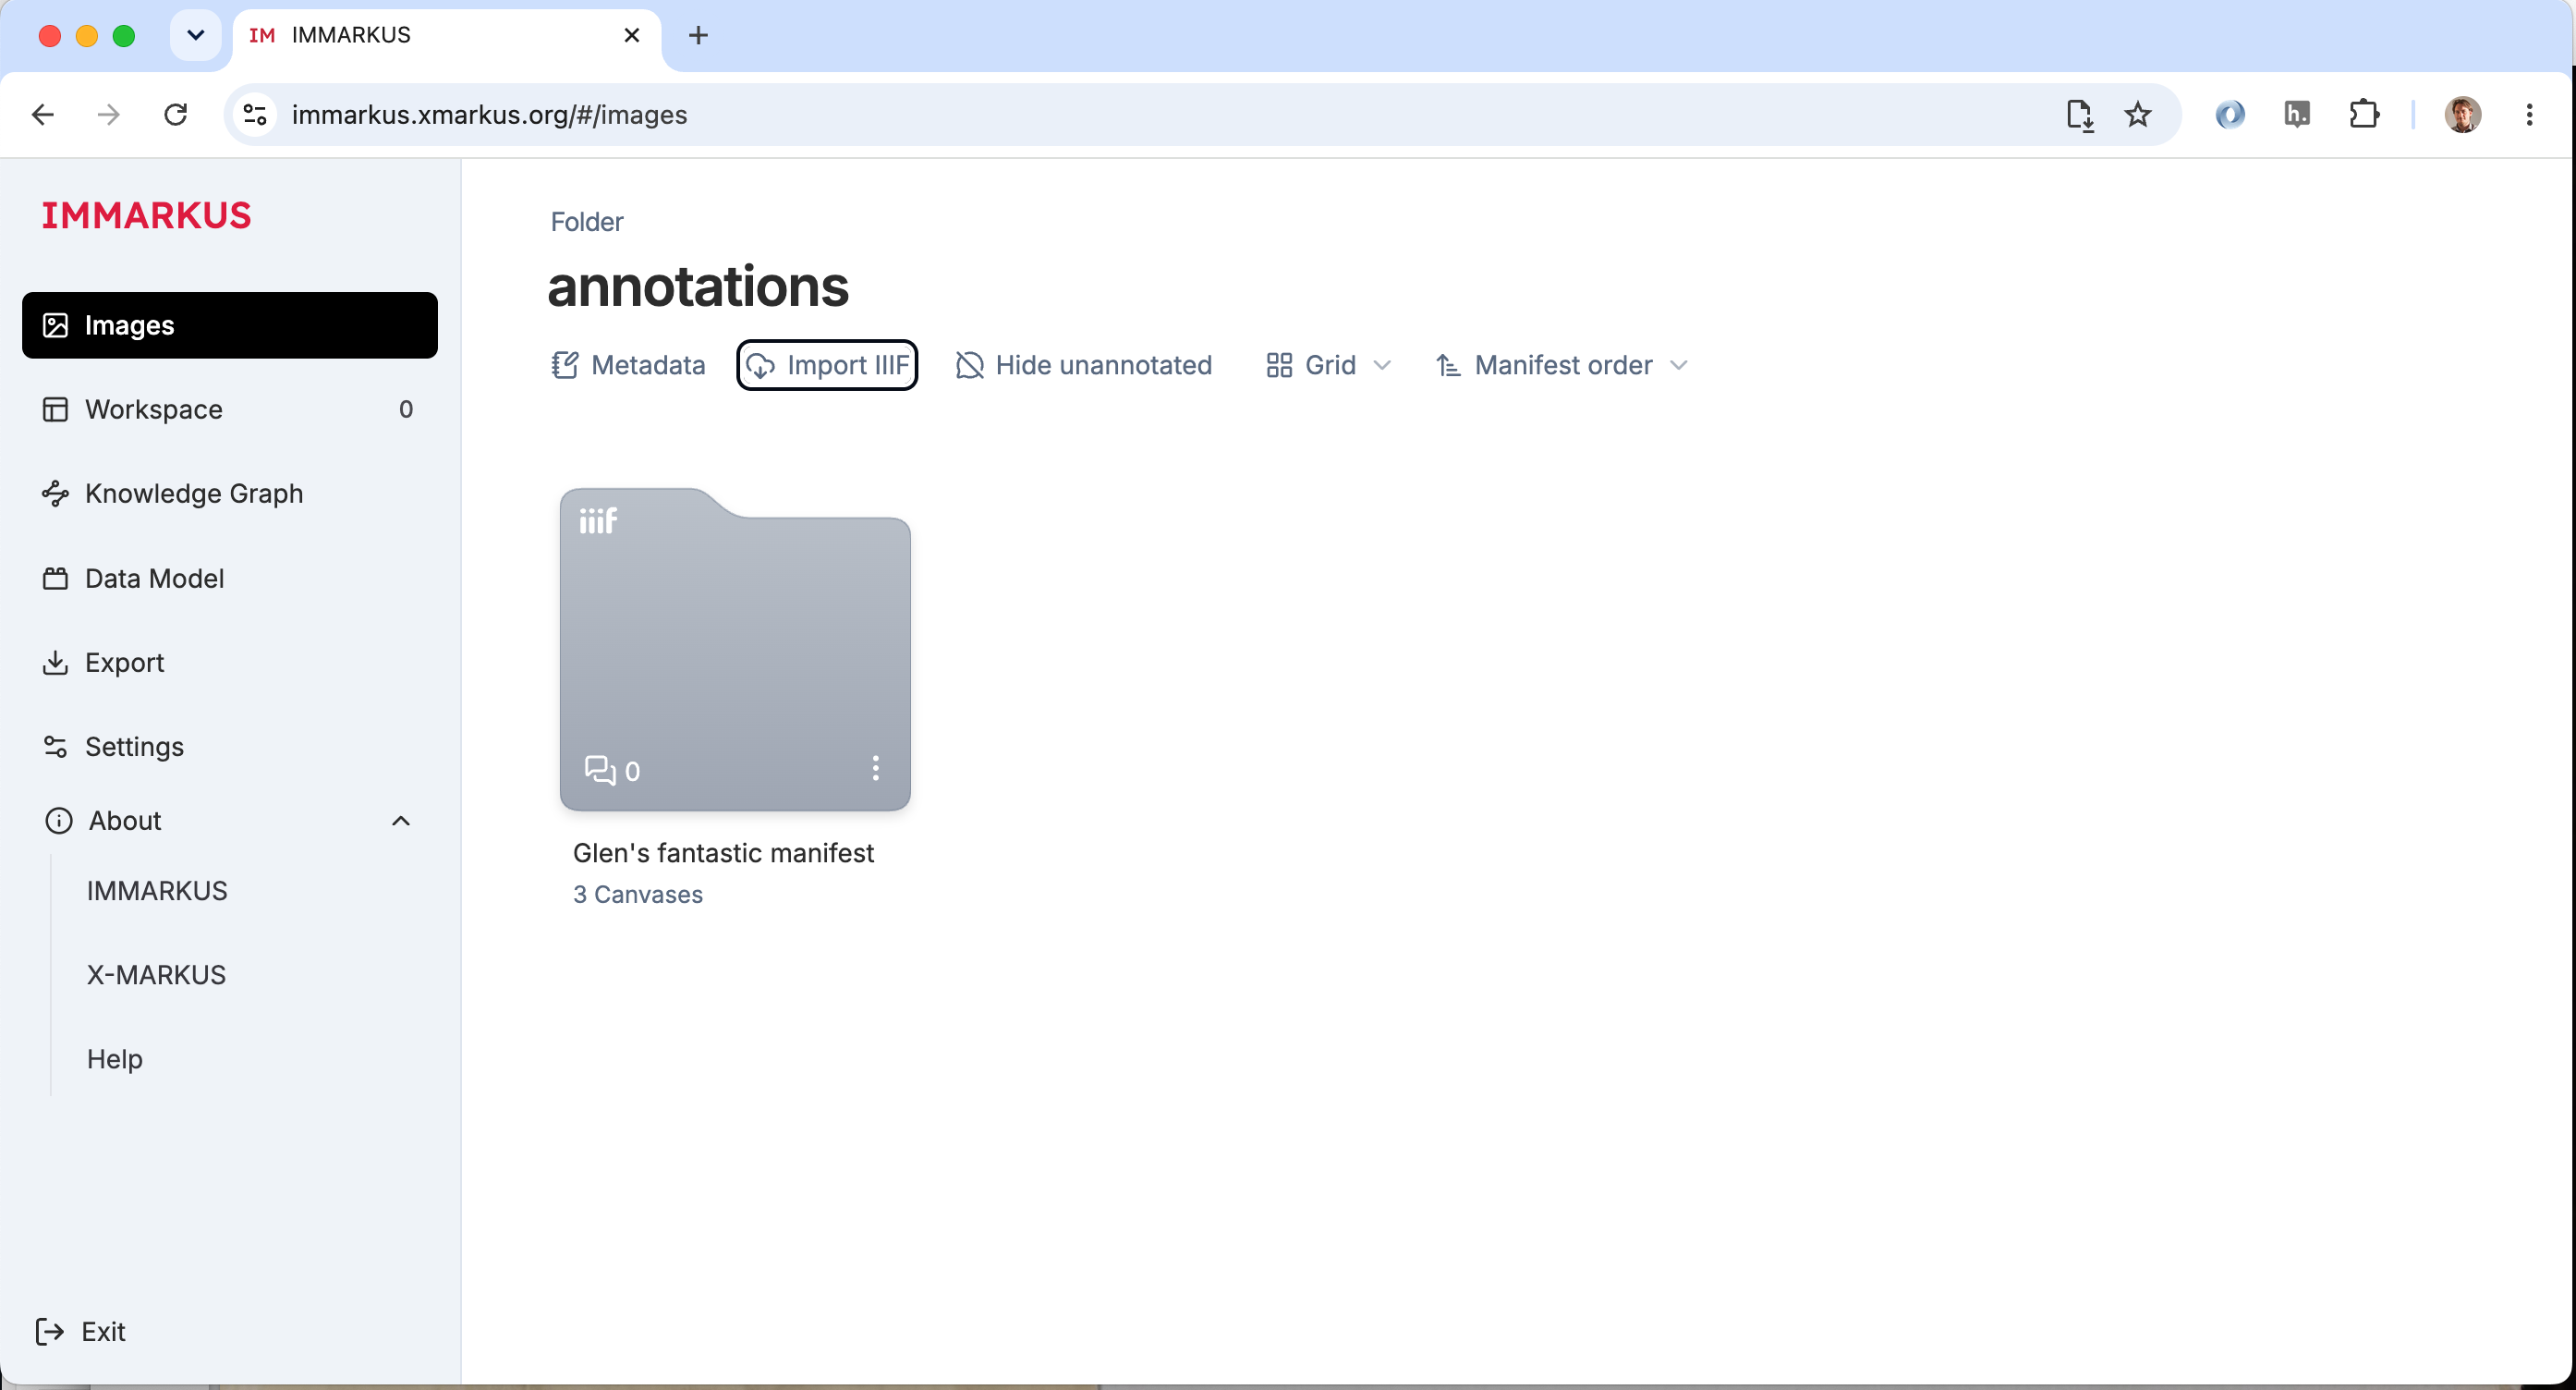
Once the Manifest has been loaded you should see a folder which represents your Manifest. Click the folder to open your manifest for editing.
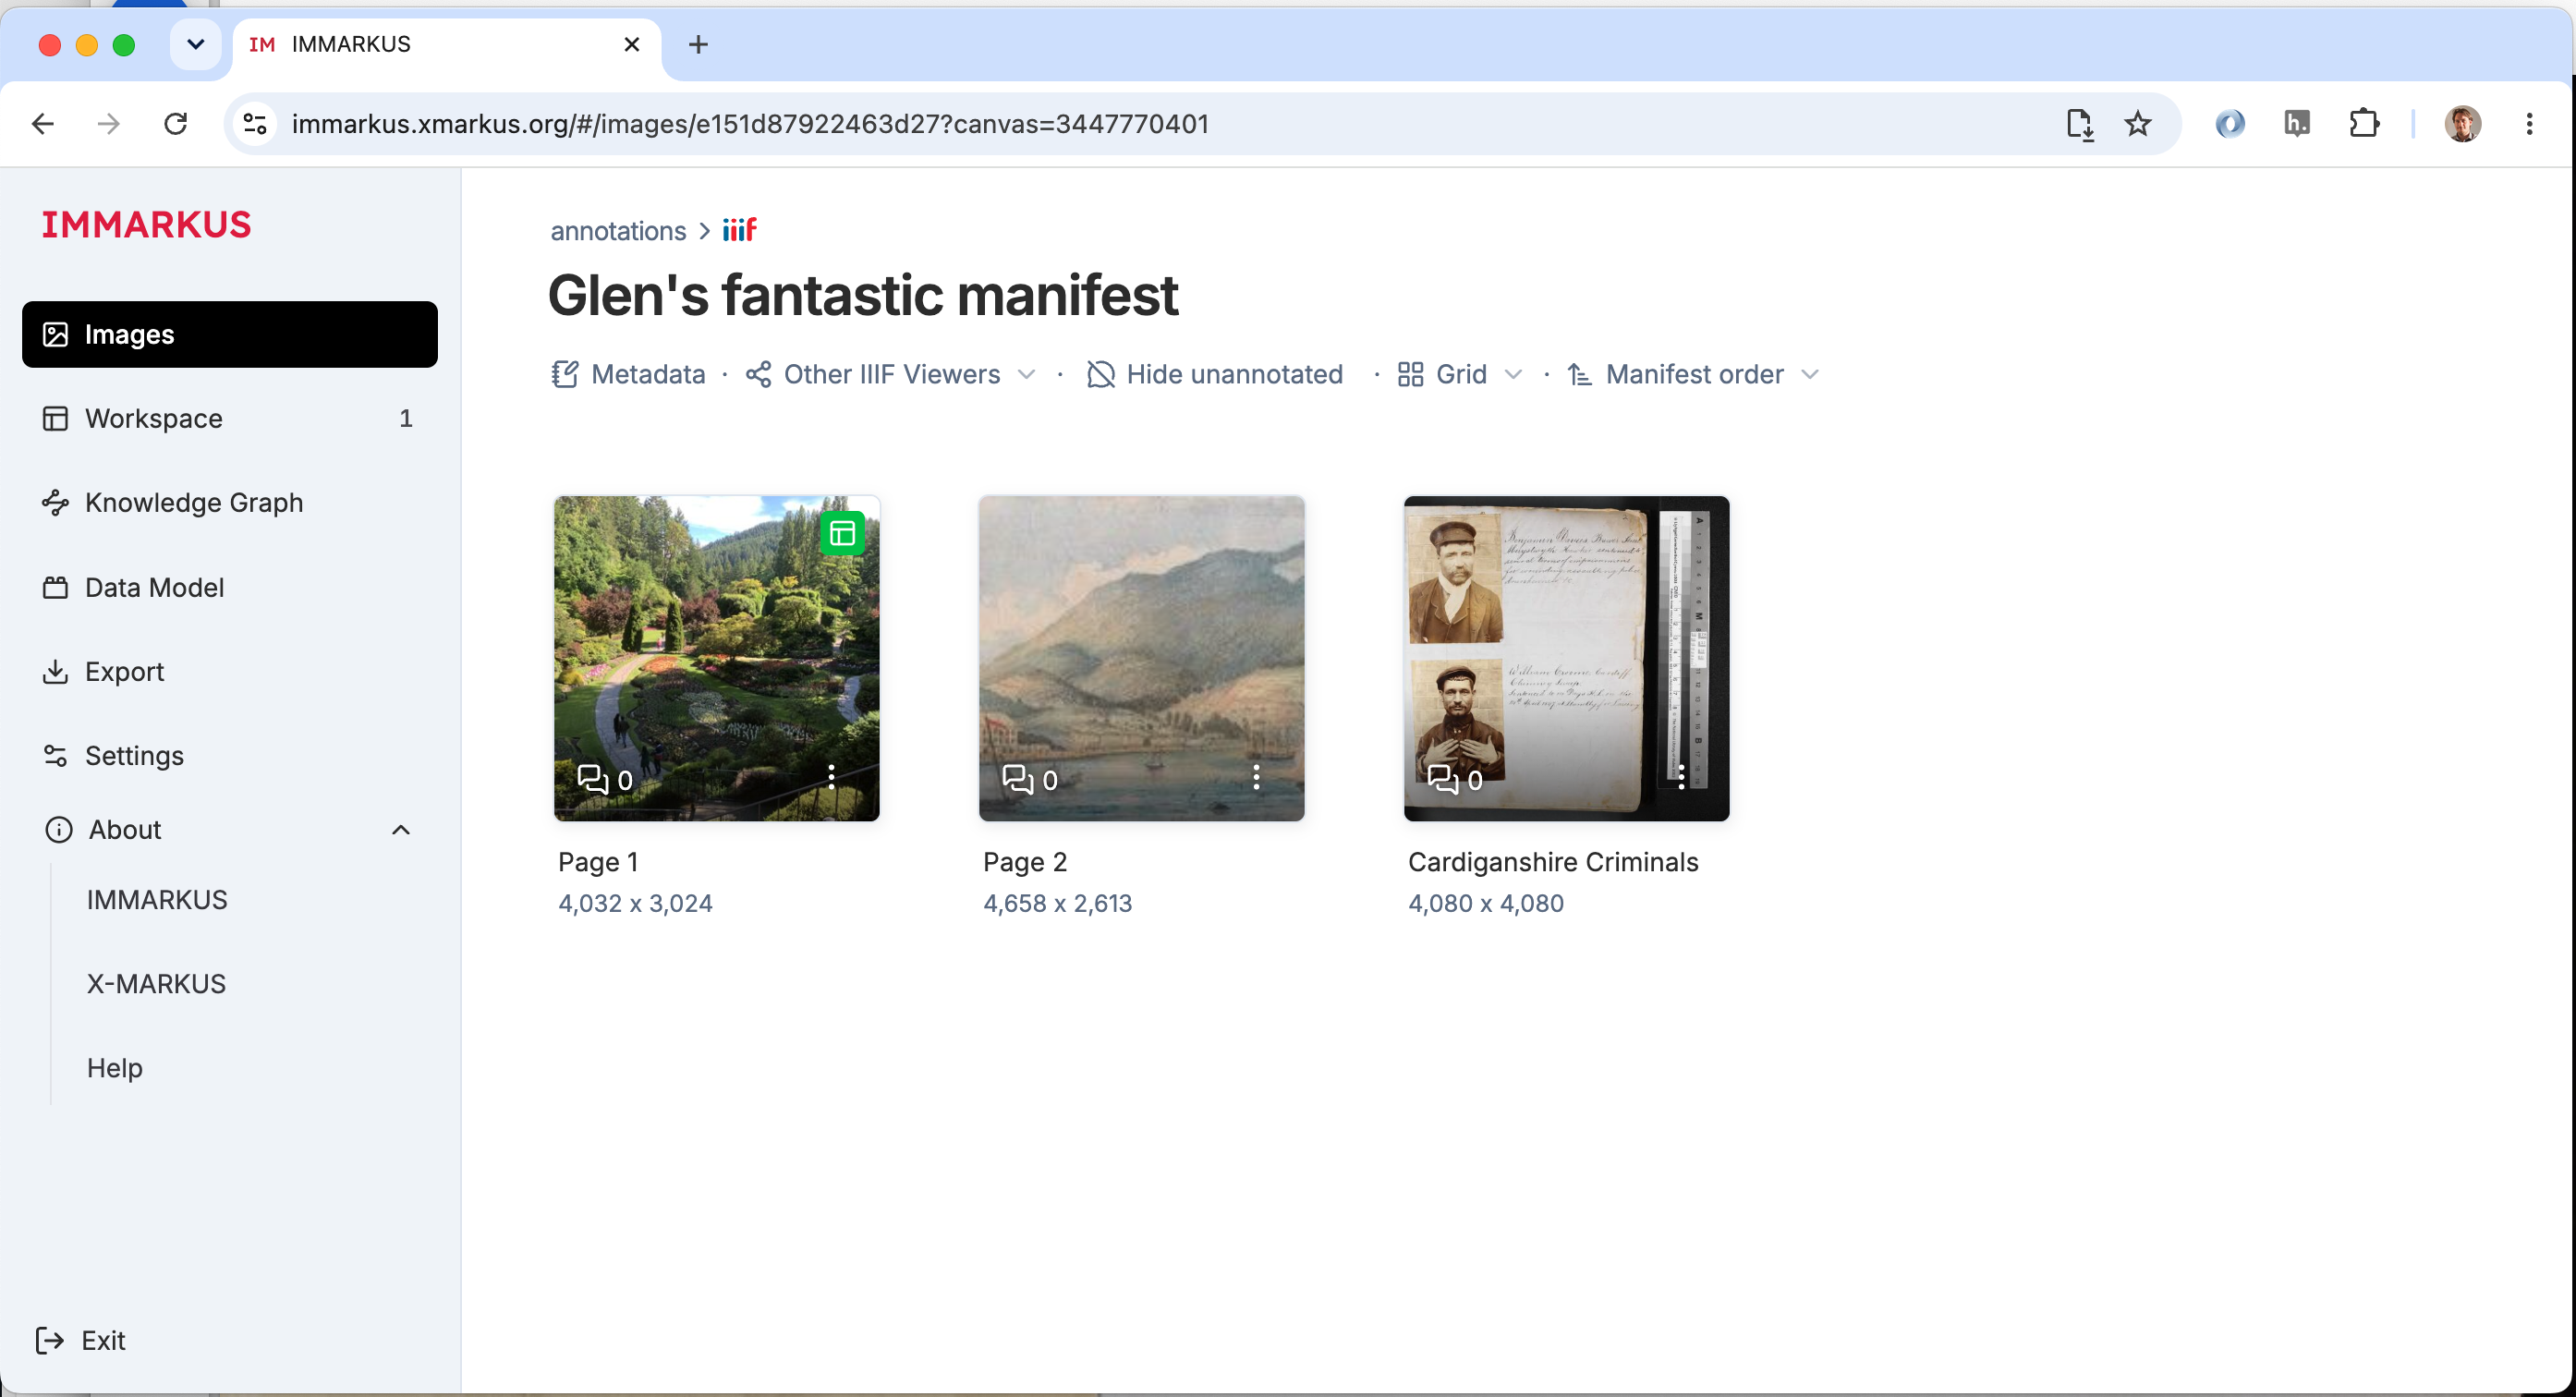
You should now see the canvases which are part of your Manifest. Click one to start annotating.
Now you have opened a canvas you are in the annotation interface. This screen has two modes, the first is Move mode which allows you to zoom in to the image and also drag the image around so you can focus on a particlar part of the image. The second mode is Annotate mode where you can select a shape and draw an annotation on your image. You start in Move mode so zoom into the part of the image you want to annotate.
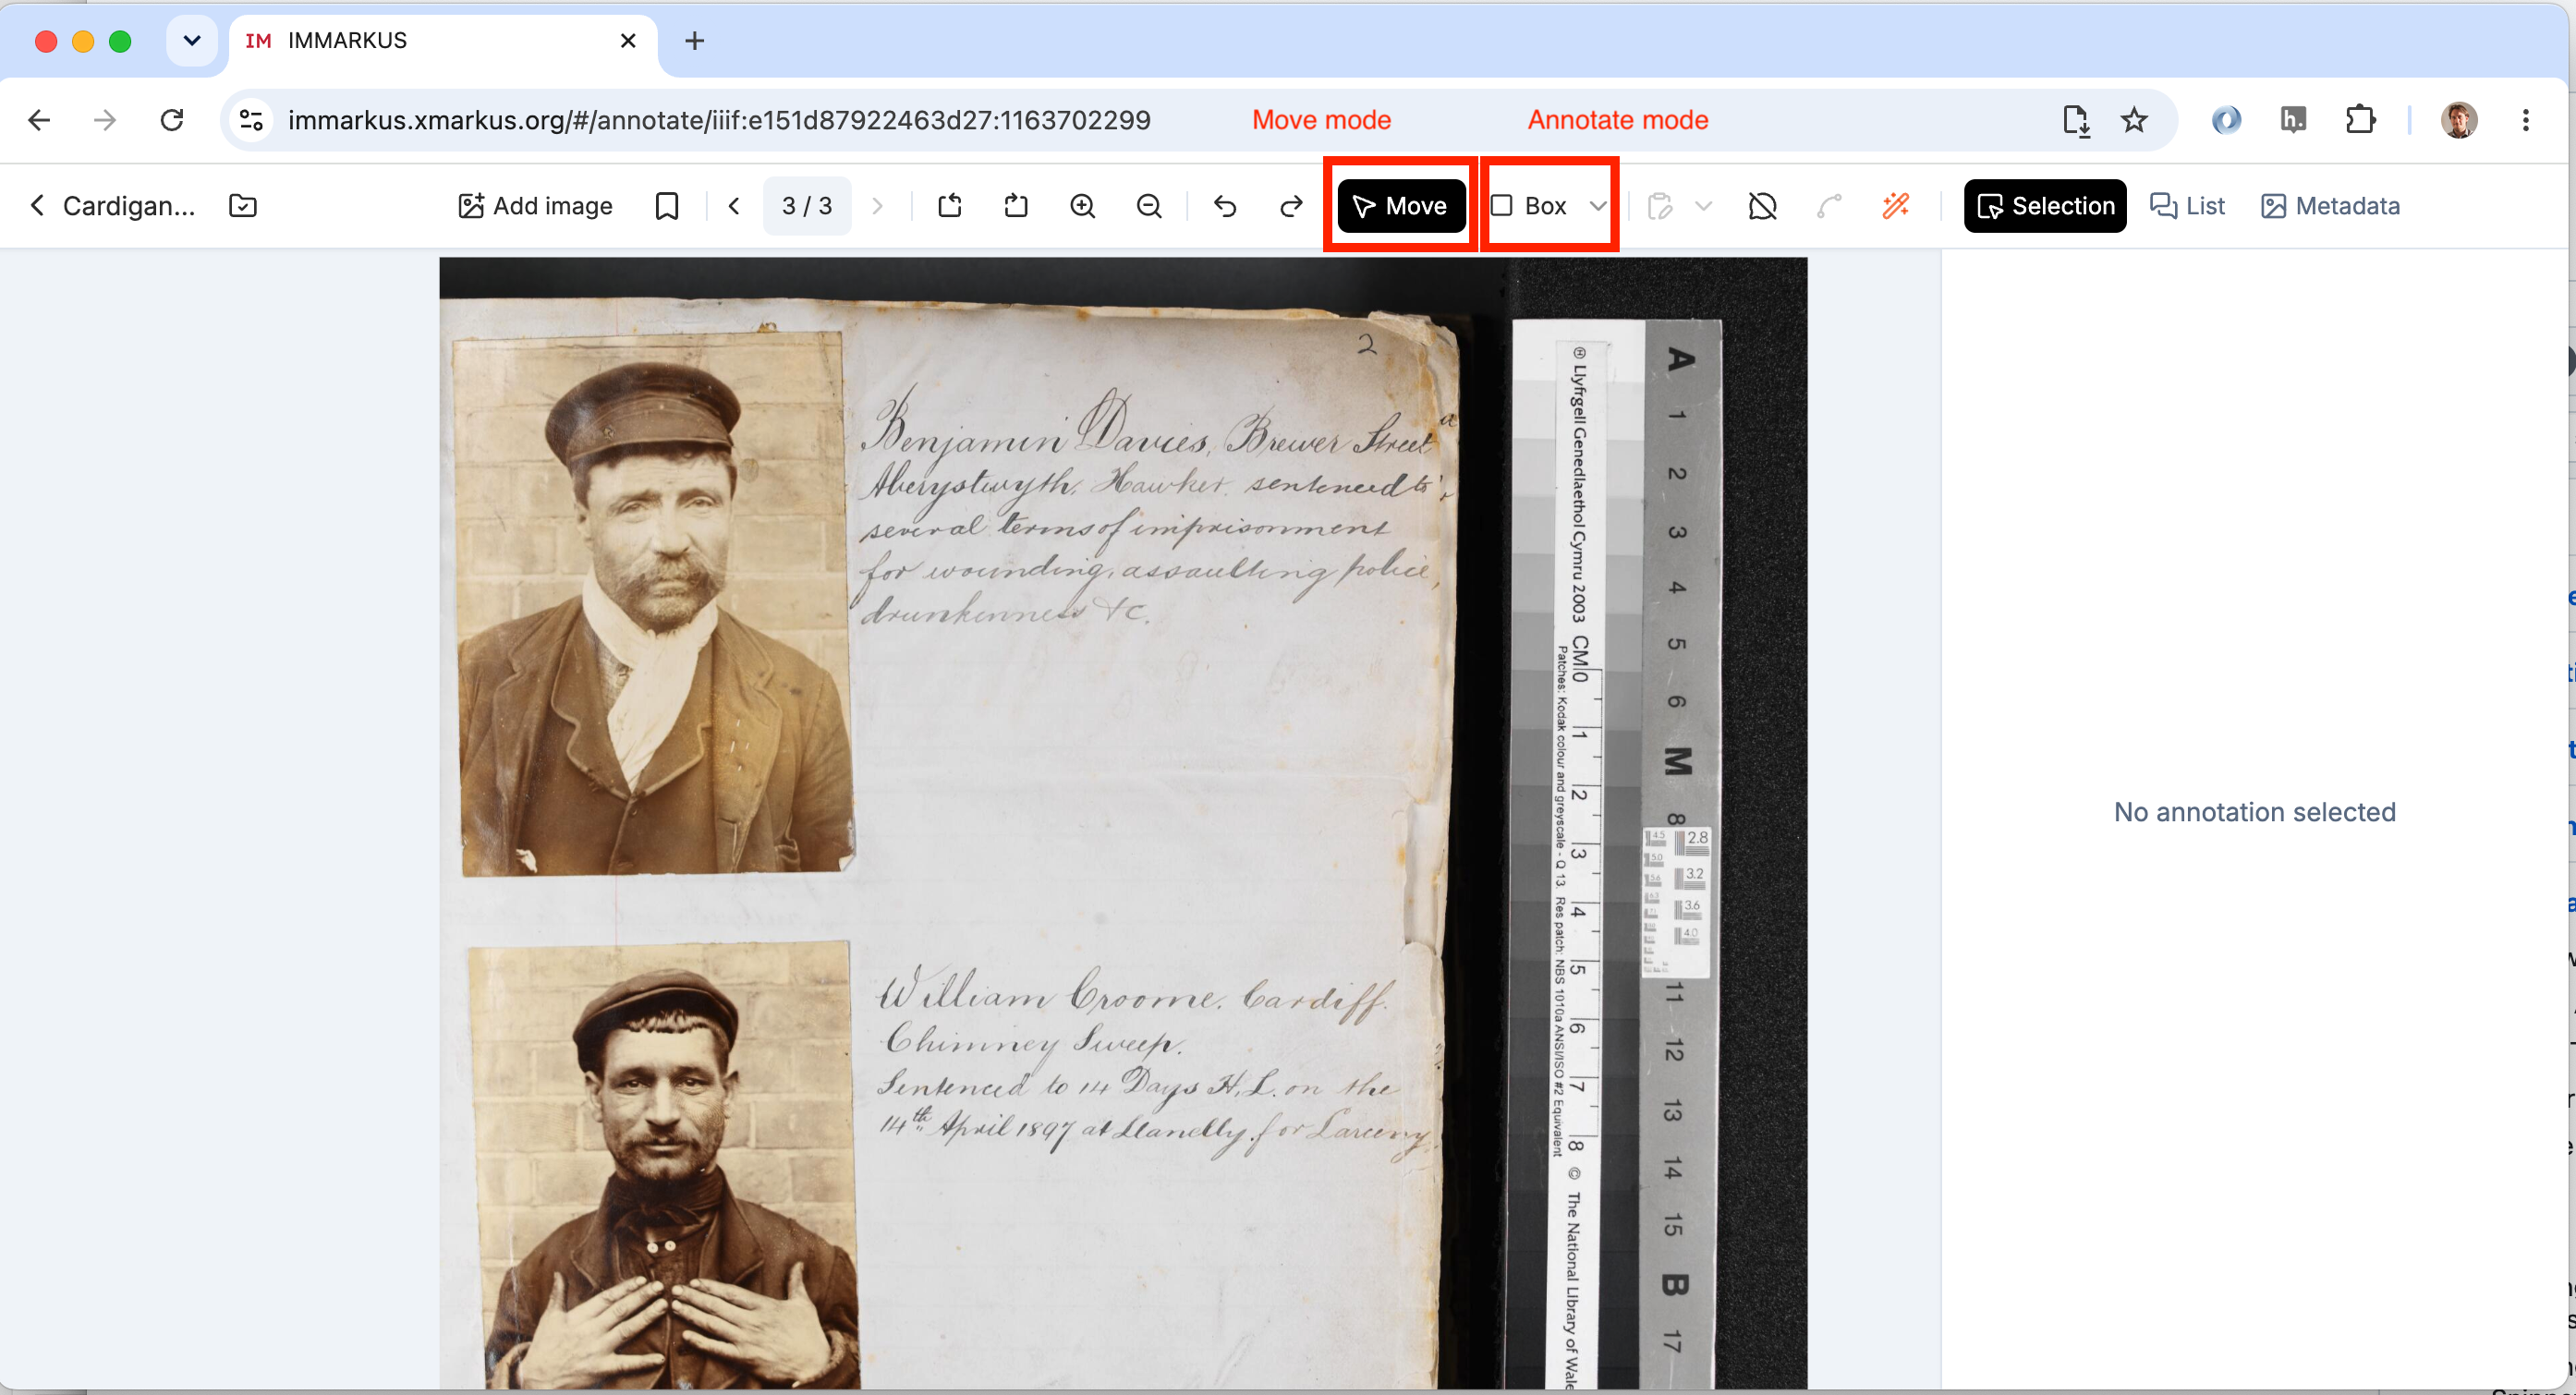
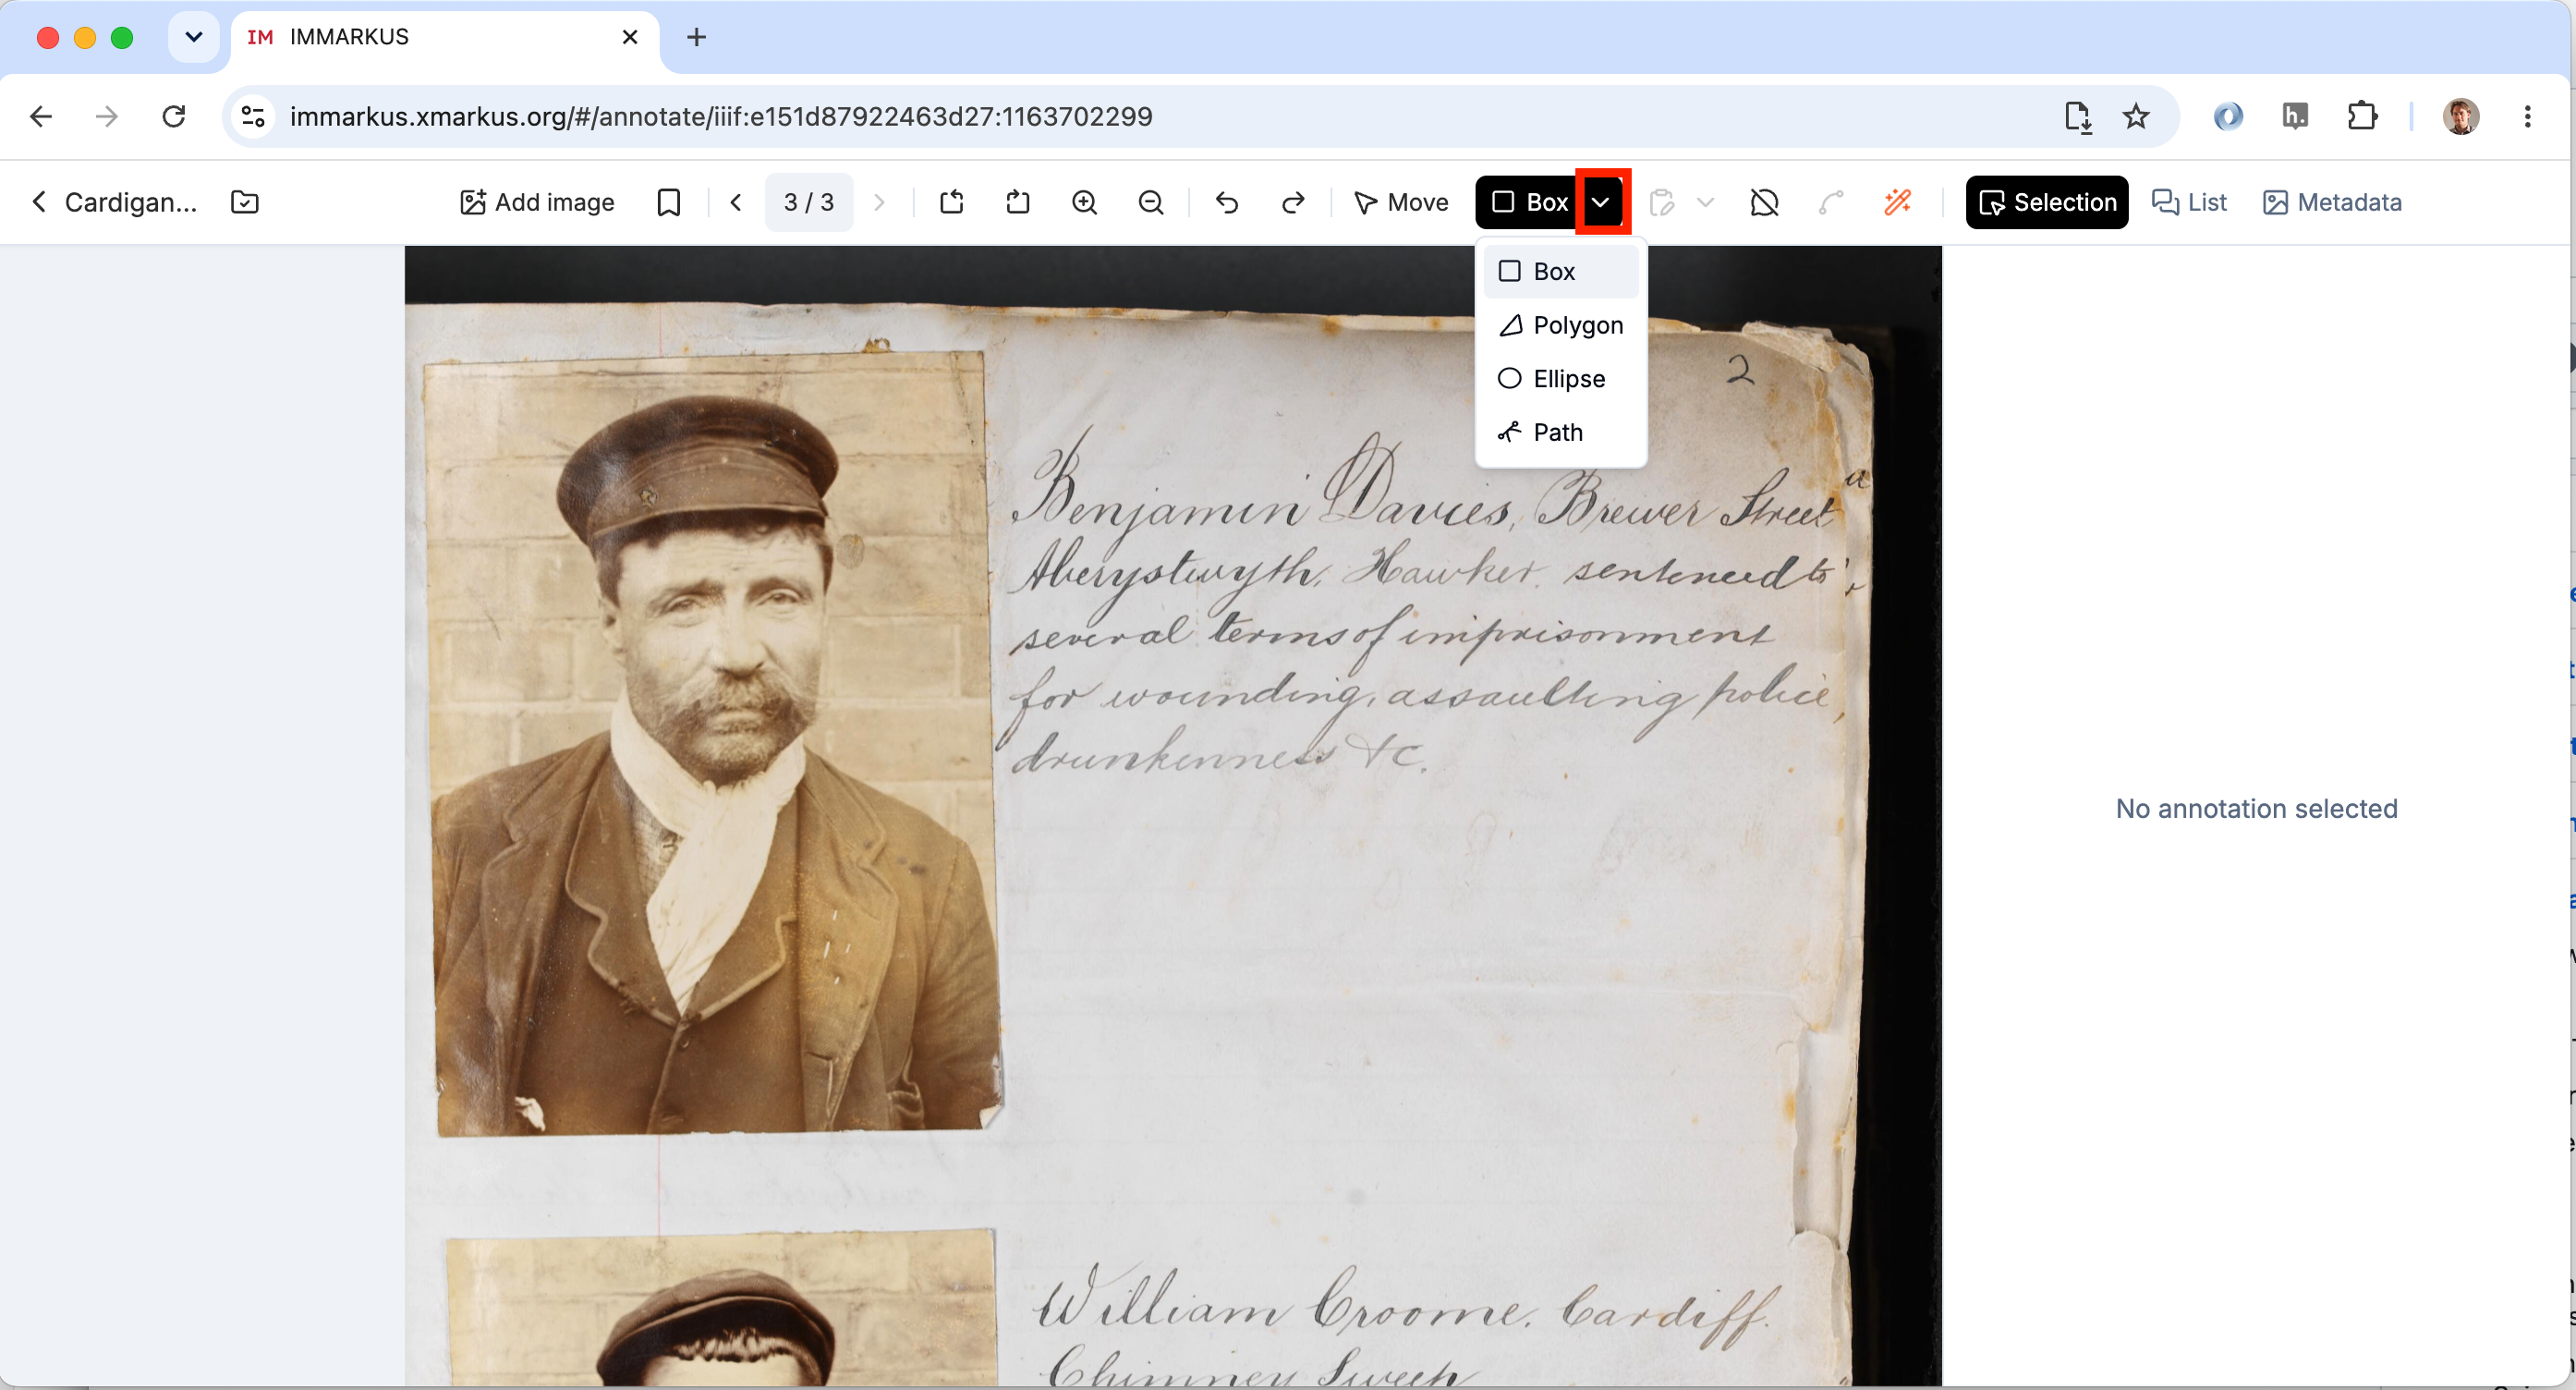
Now select the Annotation Mode by clicking the box link so that the highlight goes from Move to Box. Then click the drop down menu next to box which is highlighted in the image below. This allows you to choose which shape to draw your annotation.
Once you have selected your shape start drawing by clicking once (note if you hold down the mouse button the image will move). Move your mouse to complete the shape and then click the mouse again to finish drawing your shape.
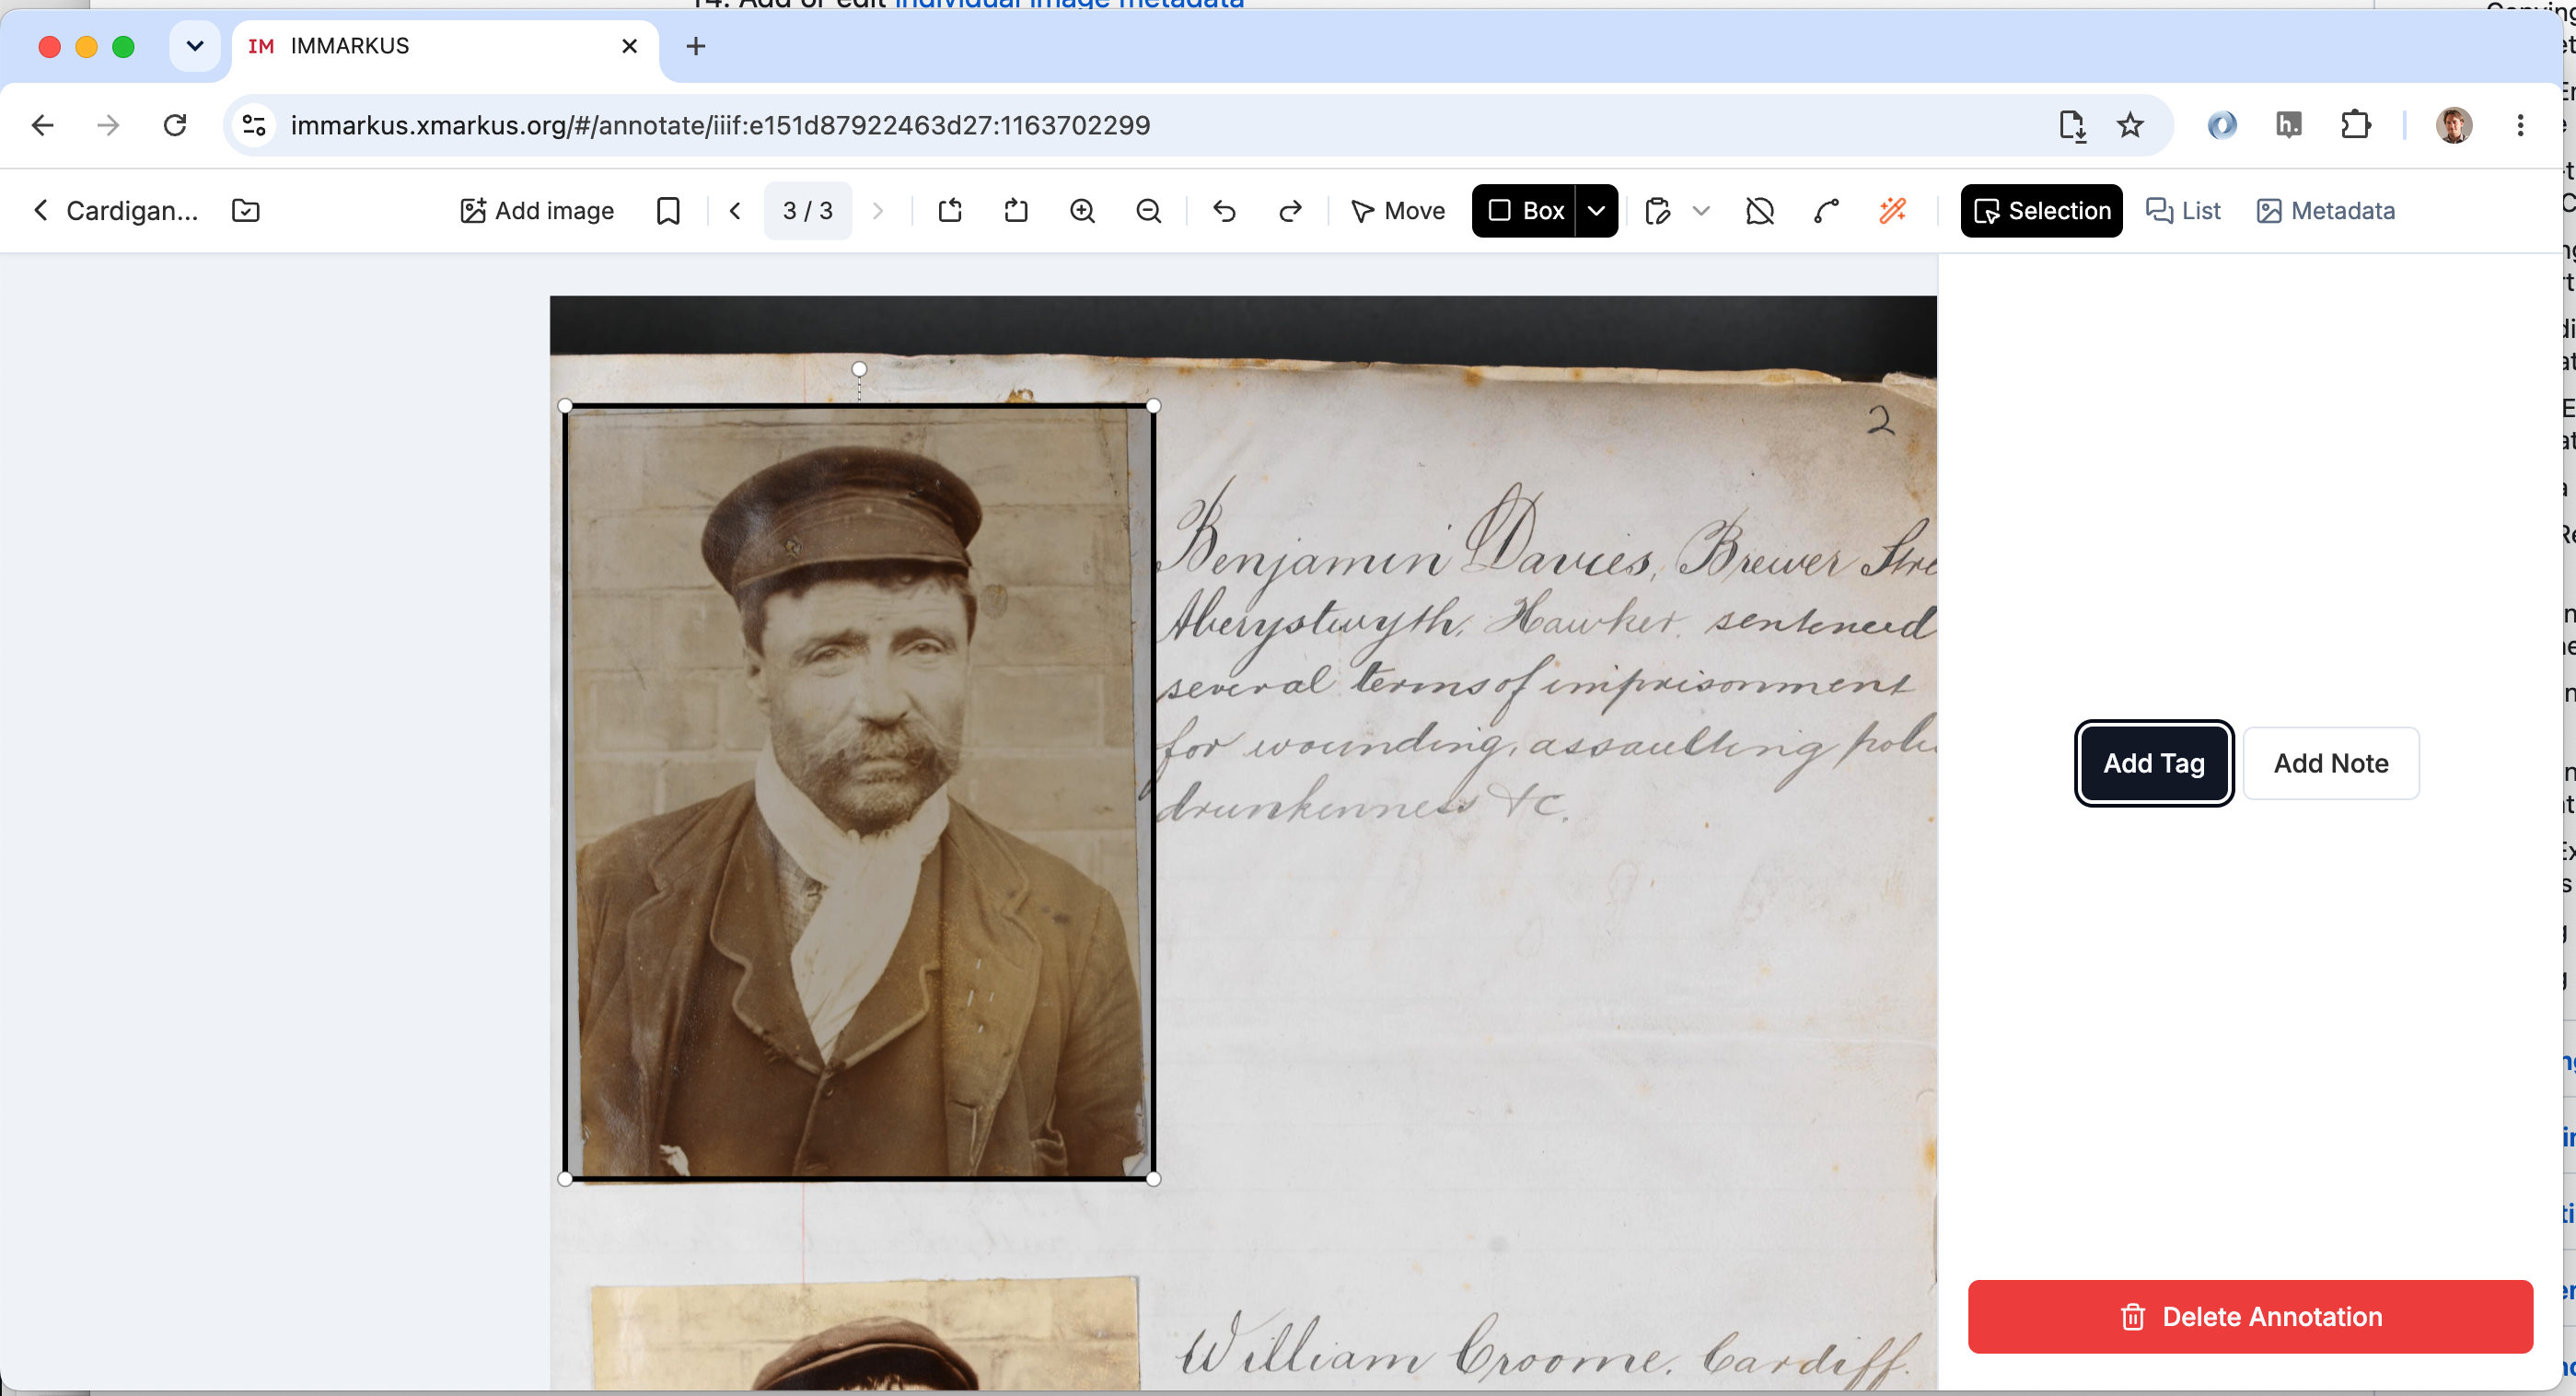
Once the shape is drawn click the Add note button and type some text into the annotation text box. Then click save to save your annotation.
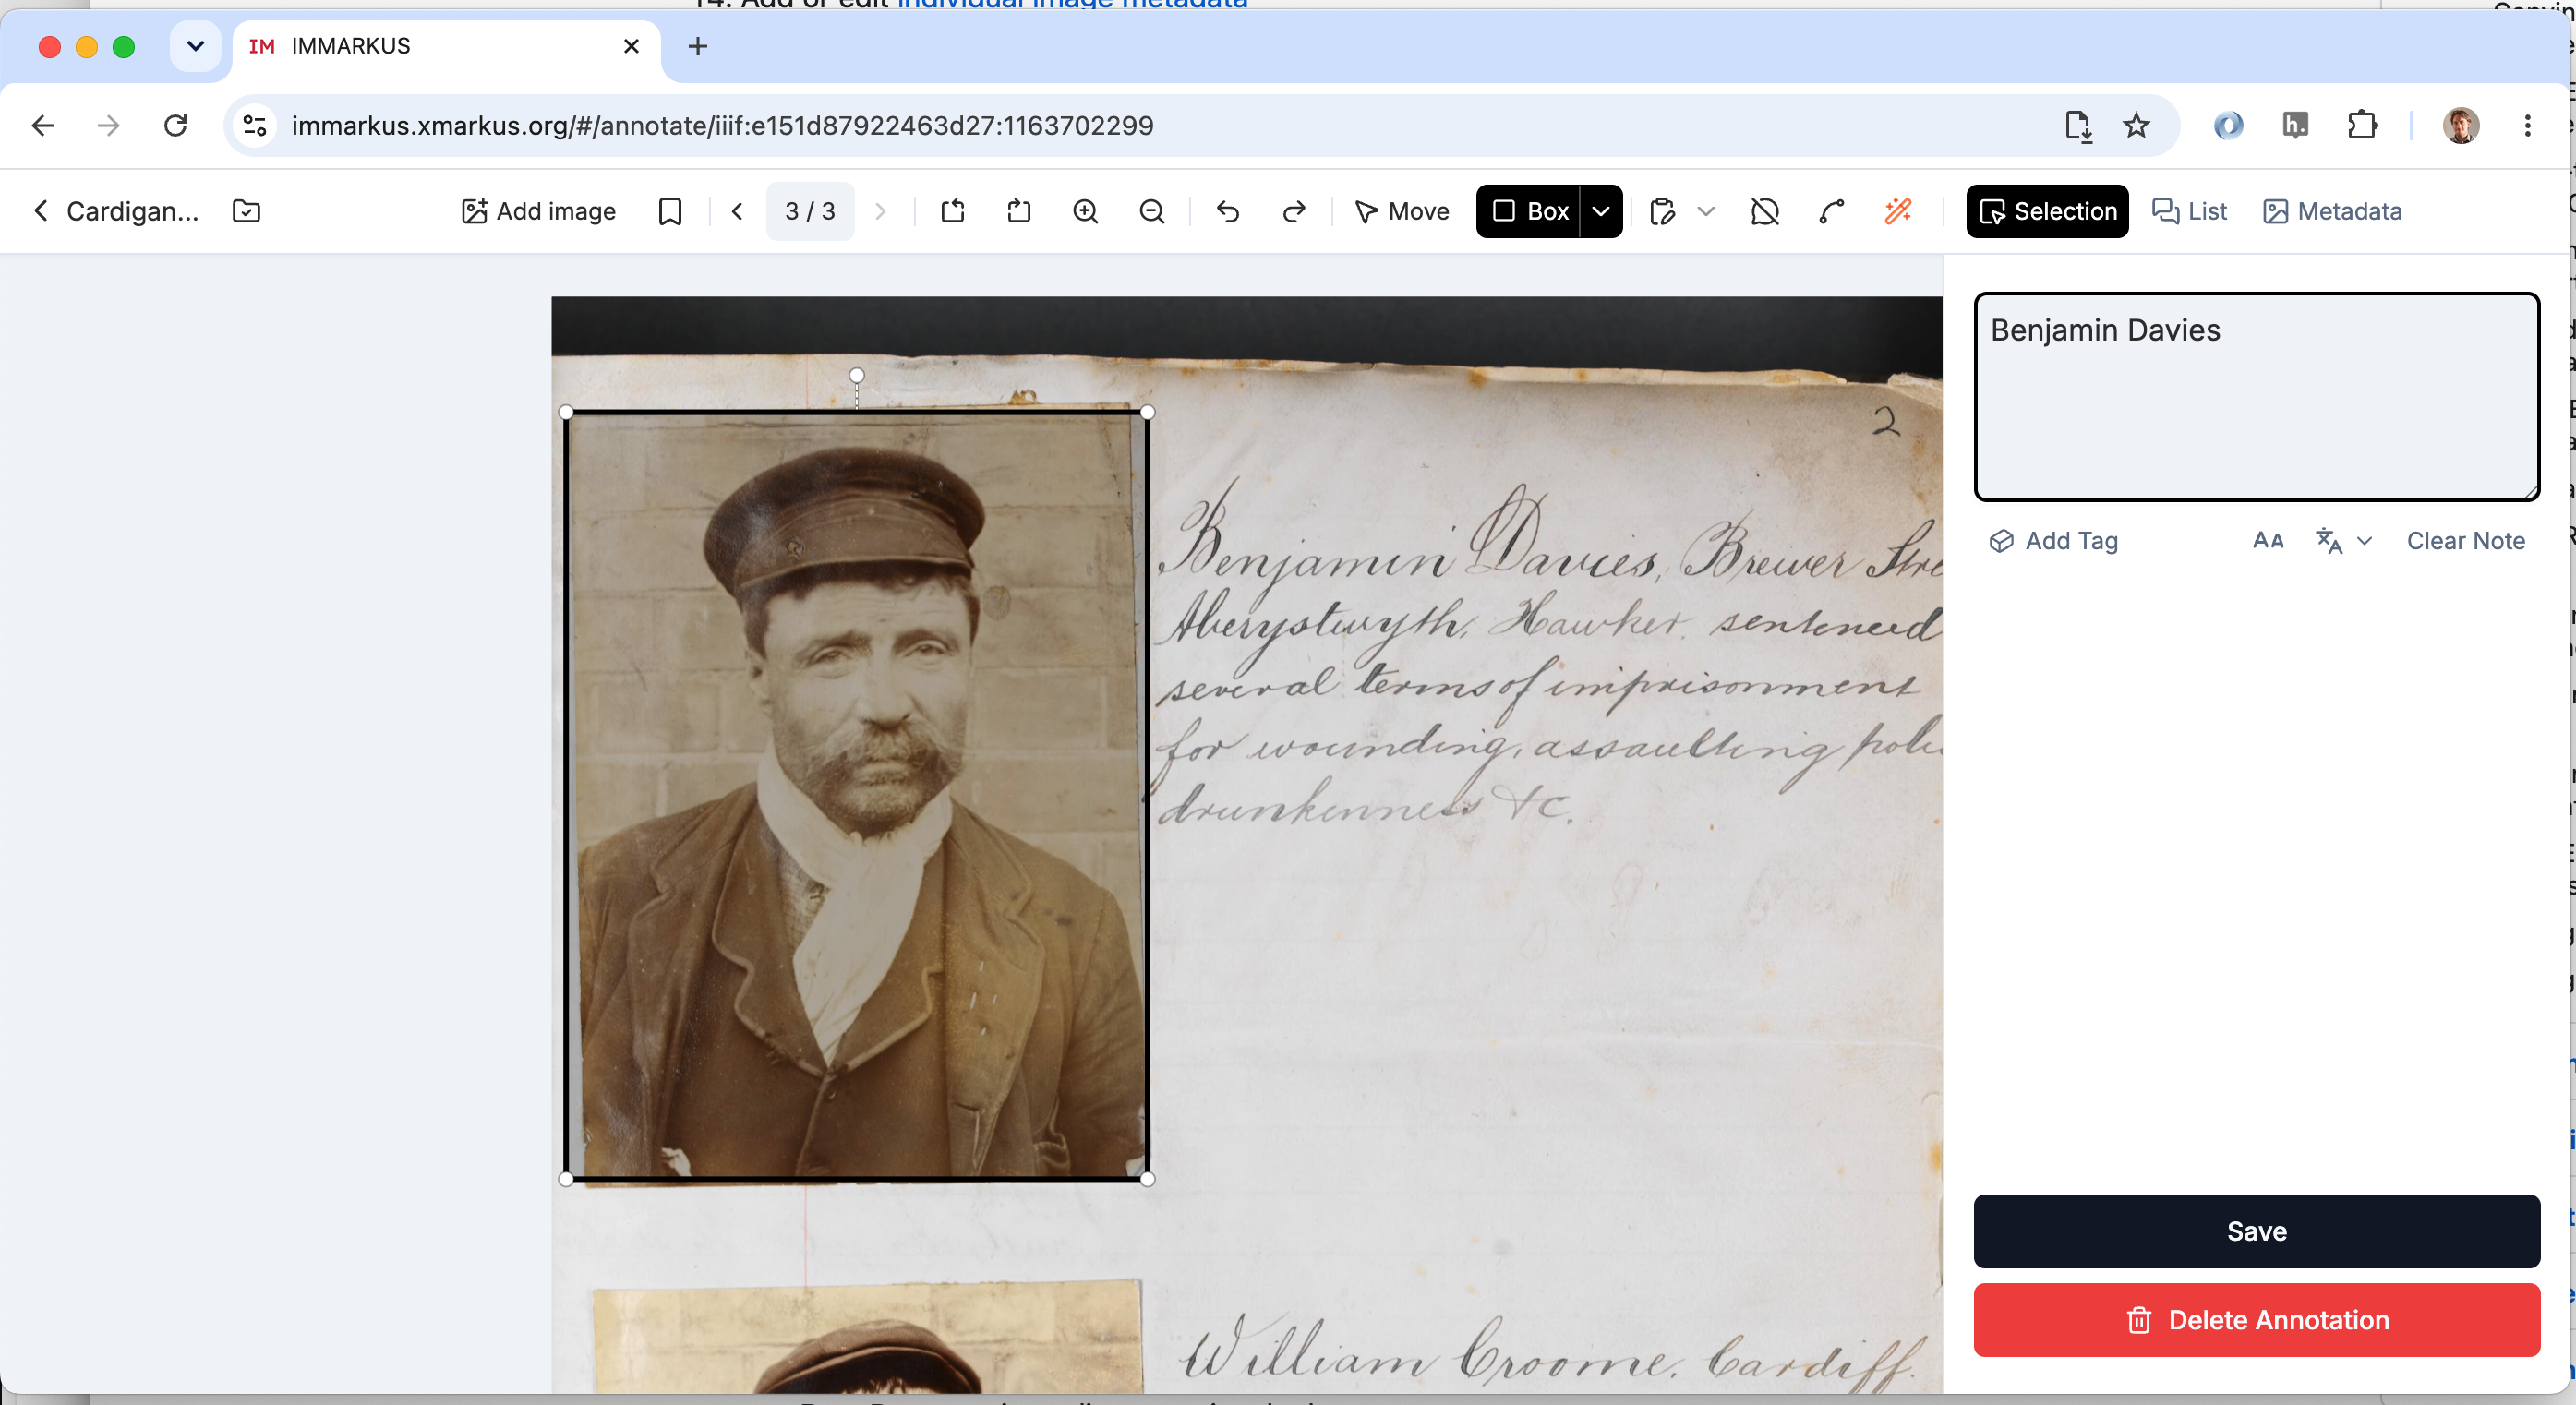
Once you have completed your annotation you are still in annotation mode so be careful clicking on the image as this will start a new box. If you want to cancel a half drawn annotation you can click escape after starting a shape to dissmiss it. If you want to move around the image you can click the Move mode and view the annotations you've created. Add a few more annotations to this page.
Stage 3: Using the smart scissors
IMMARKUS has a number of innovative features to help with annotating including the 'Smart Scissors'. As you put down markers the smart scissors will snap it to the location it thinks you are trying to edit. Note opening the Smart tools menu item automatically takes you out of Move mode into annotate mode and selects the Smart Scissors so make sure you are in the correct part of the image before clicking the smart tools menu item.
Stage 4: Auto transcription
Another clever feature of IMMARKUS is the auto transcribe which can take a section of an image and send it to a Large Language Model (LLM) for transcription. To do this you need to register for one of the LLM services and get an API key. I am going to start with the process of transcription and then at the end show you how to get a transcription key from HiggingFace.
To do the transcription go to the smart tools menu item and select Auto Transcribe.
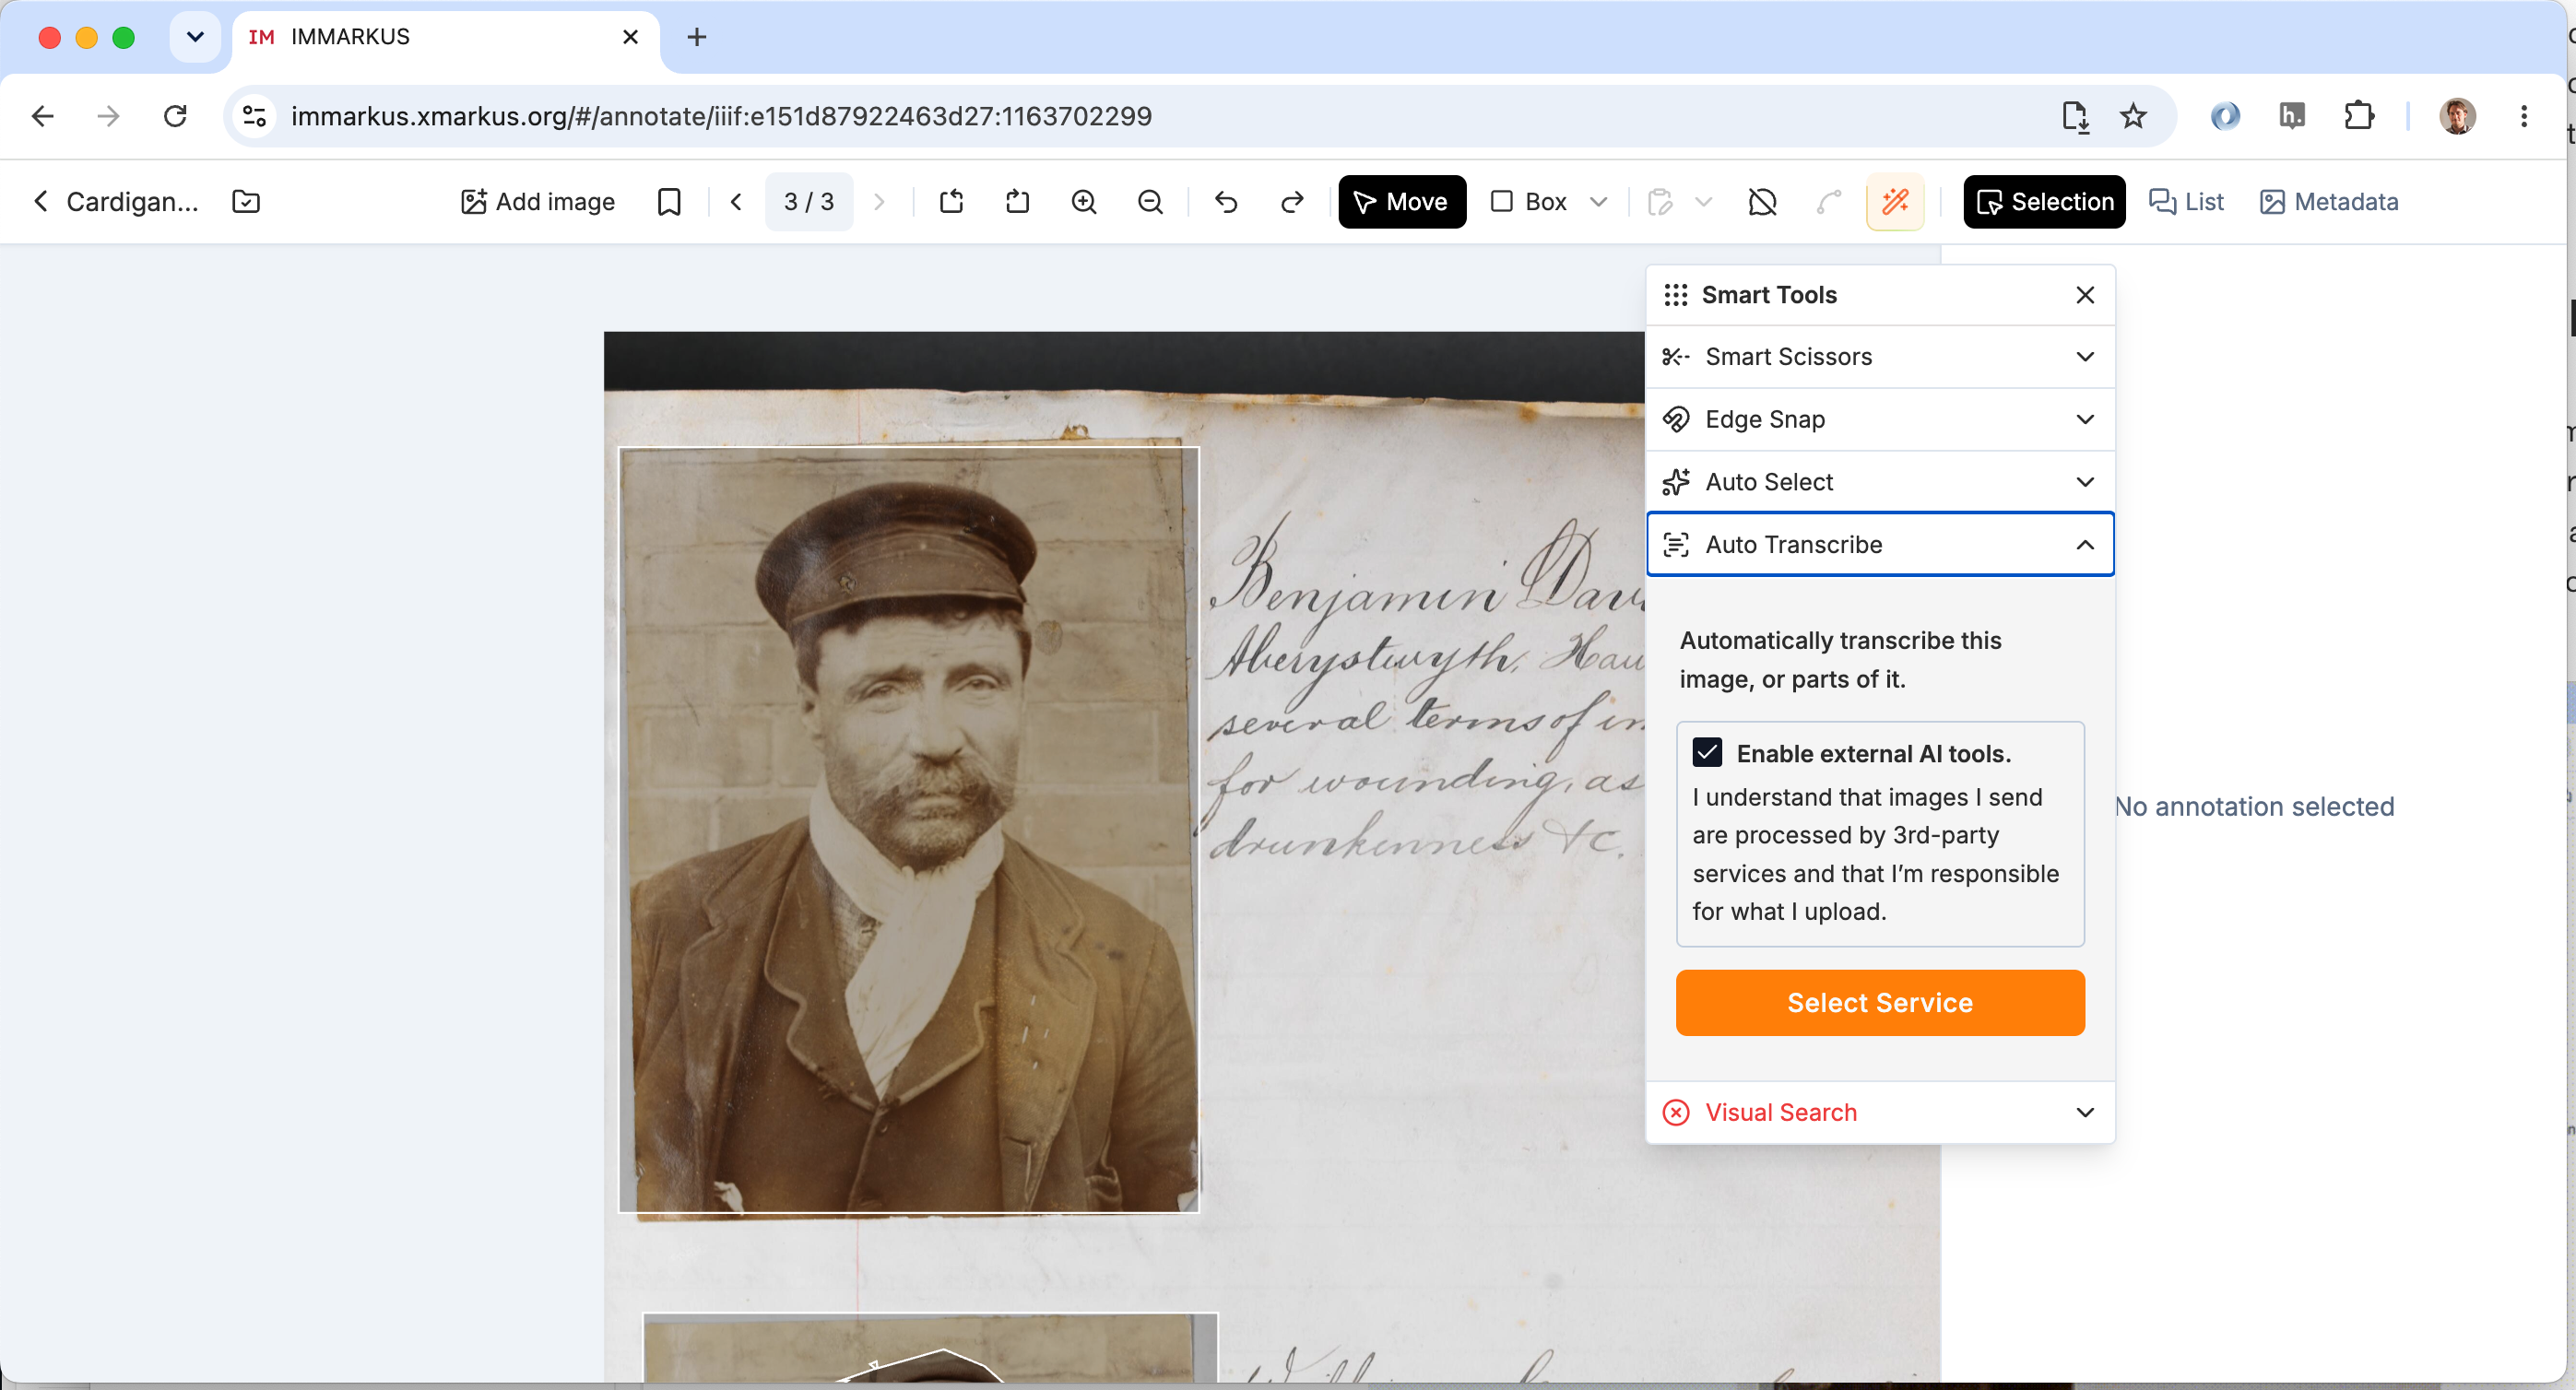
IMMARKUS works with a number of different AI models some which are free to use and some you have to pay for. If you have a key for one of these services you can enter it and get it to do the transcription. For this workshop select "HuggingFace Inference".
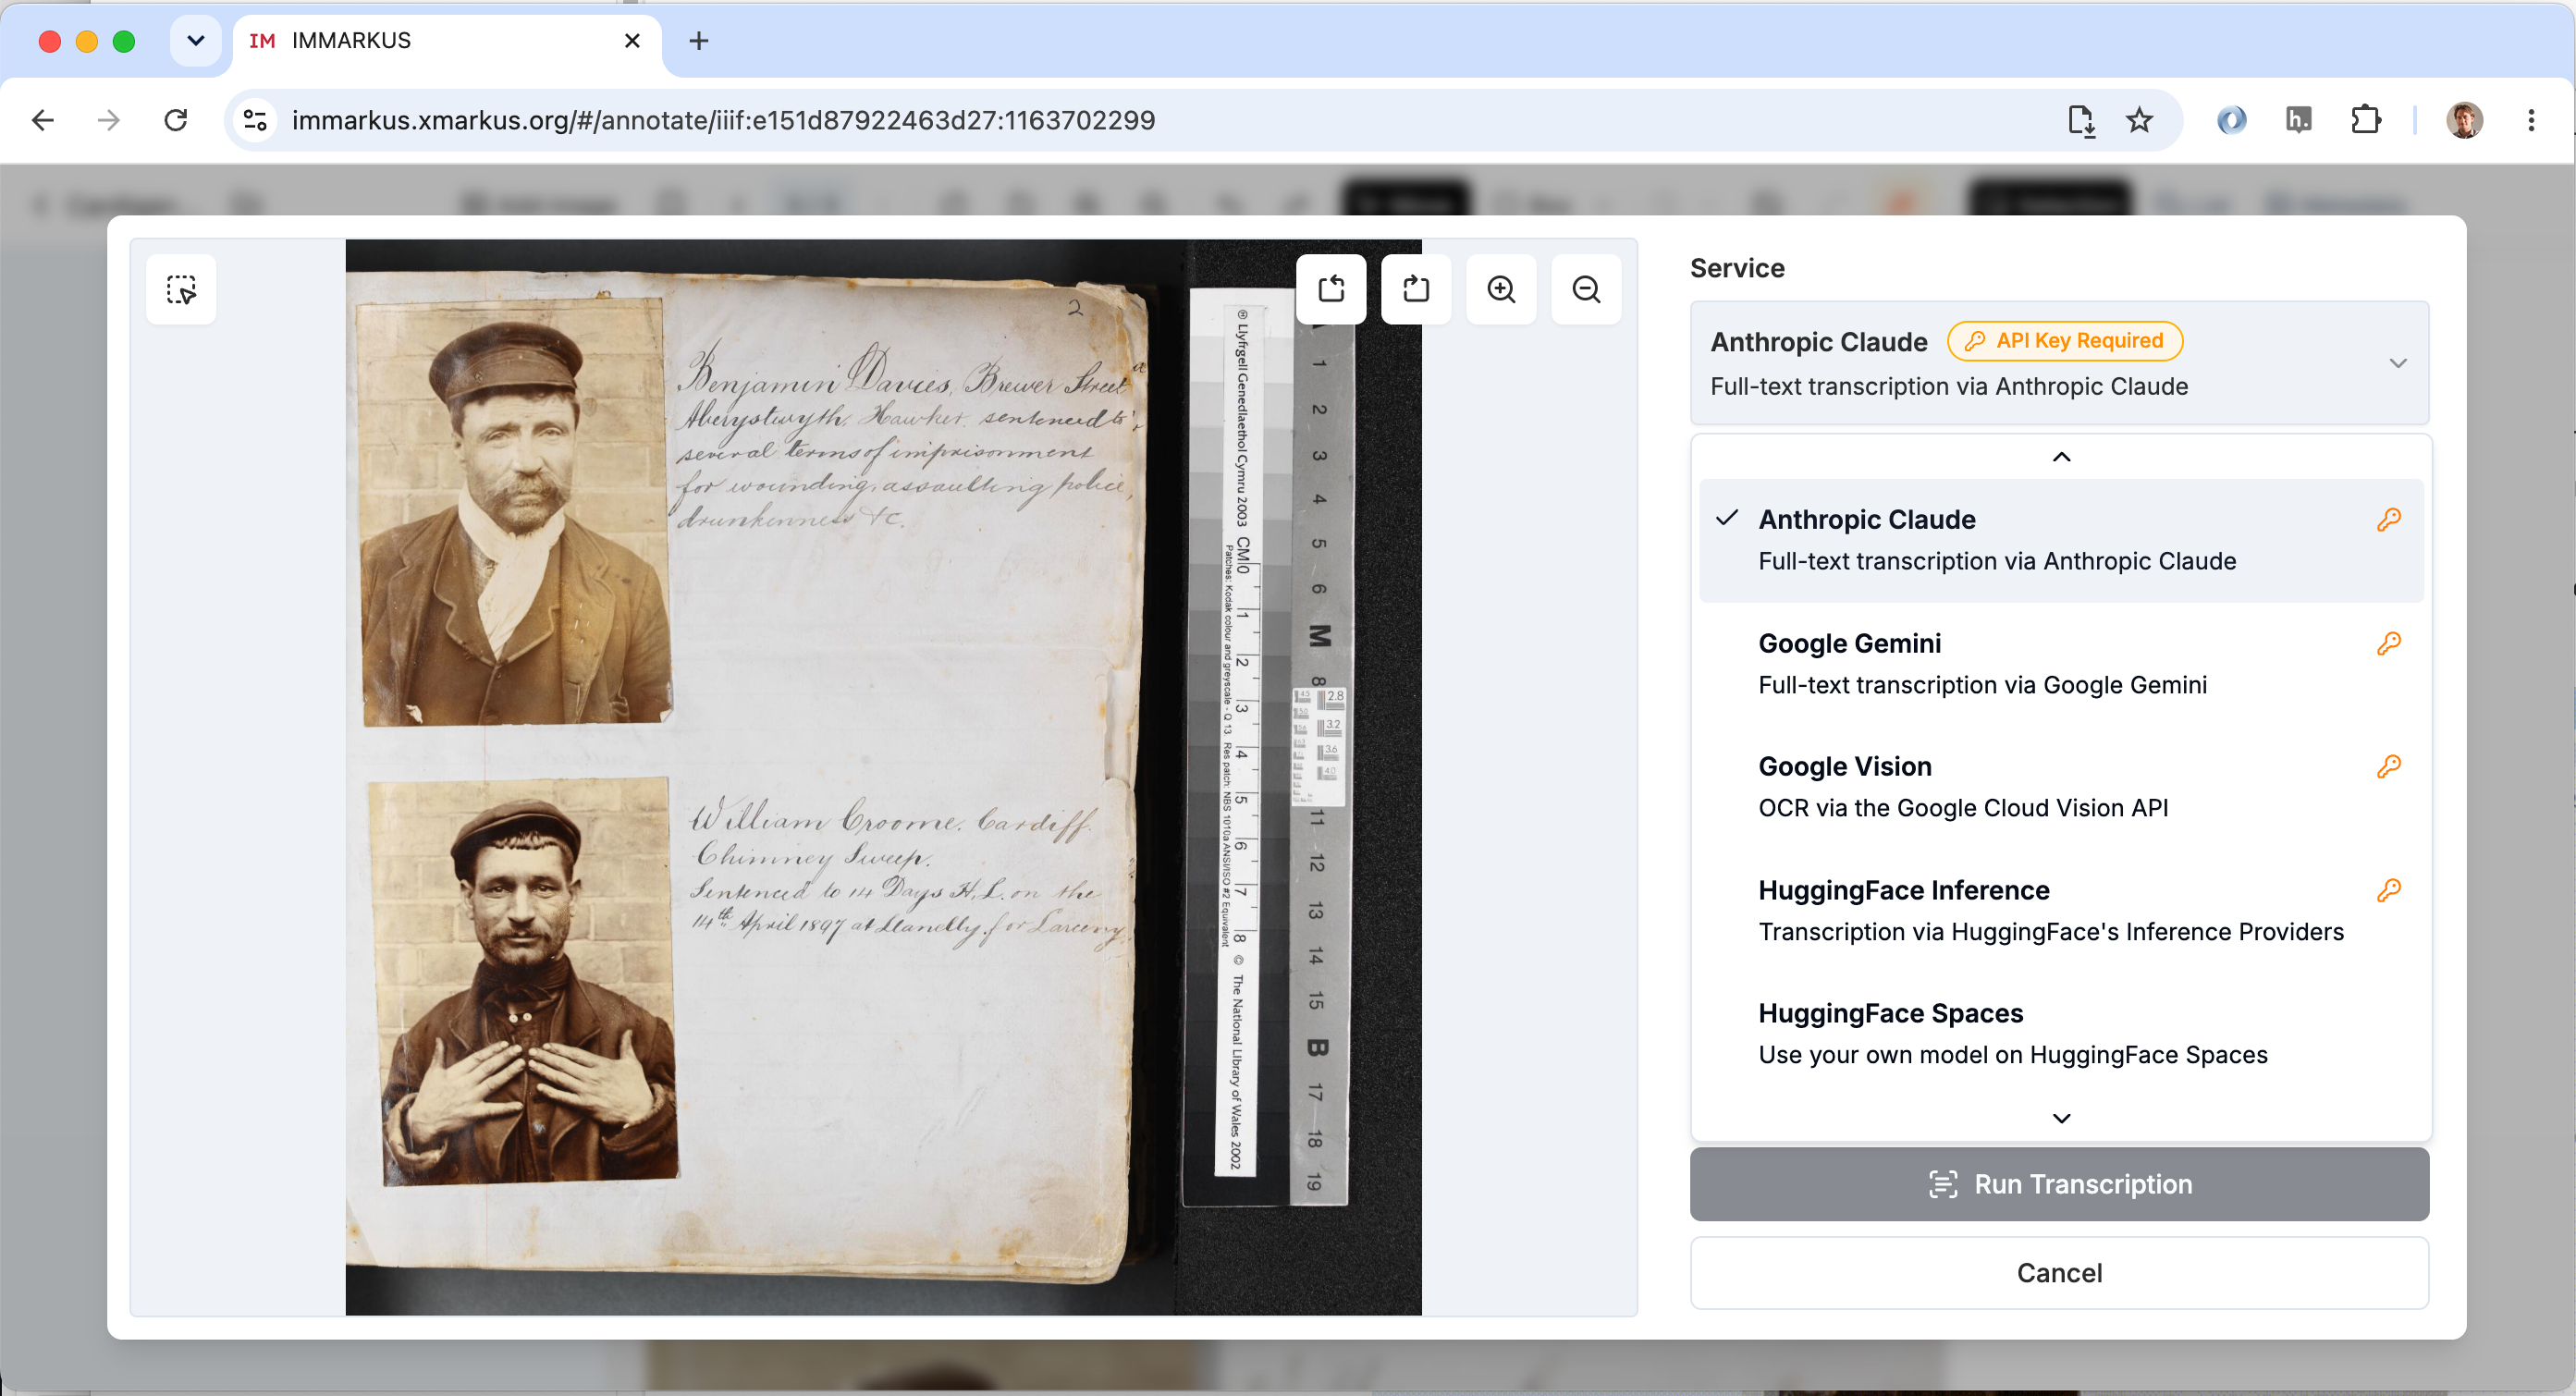
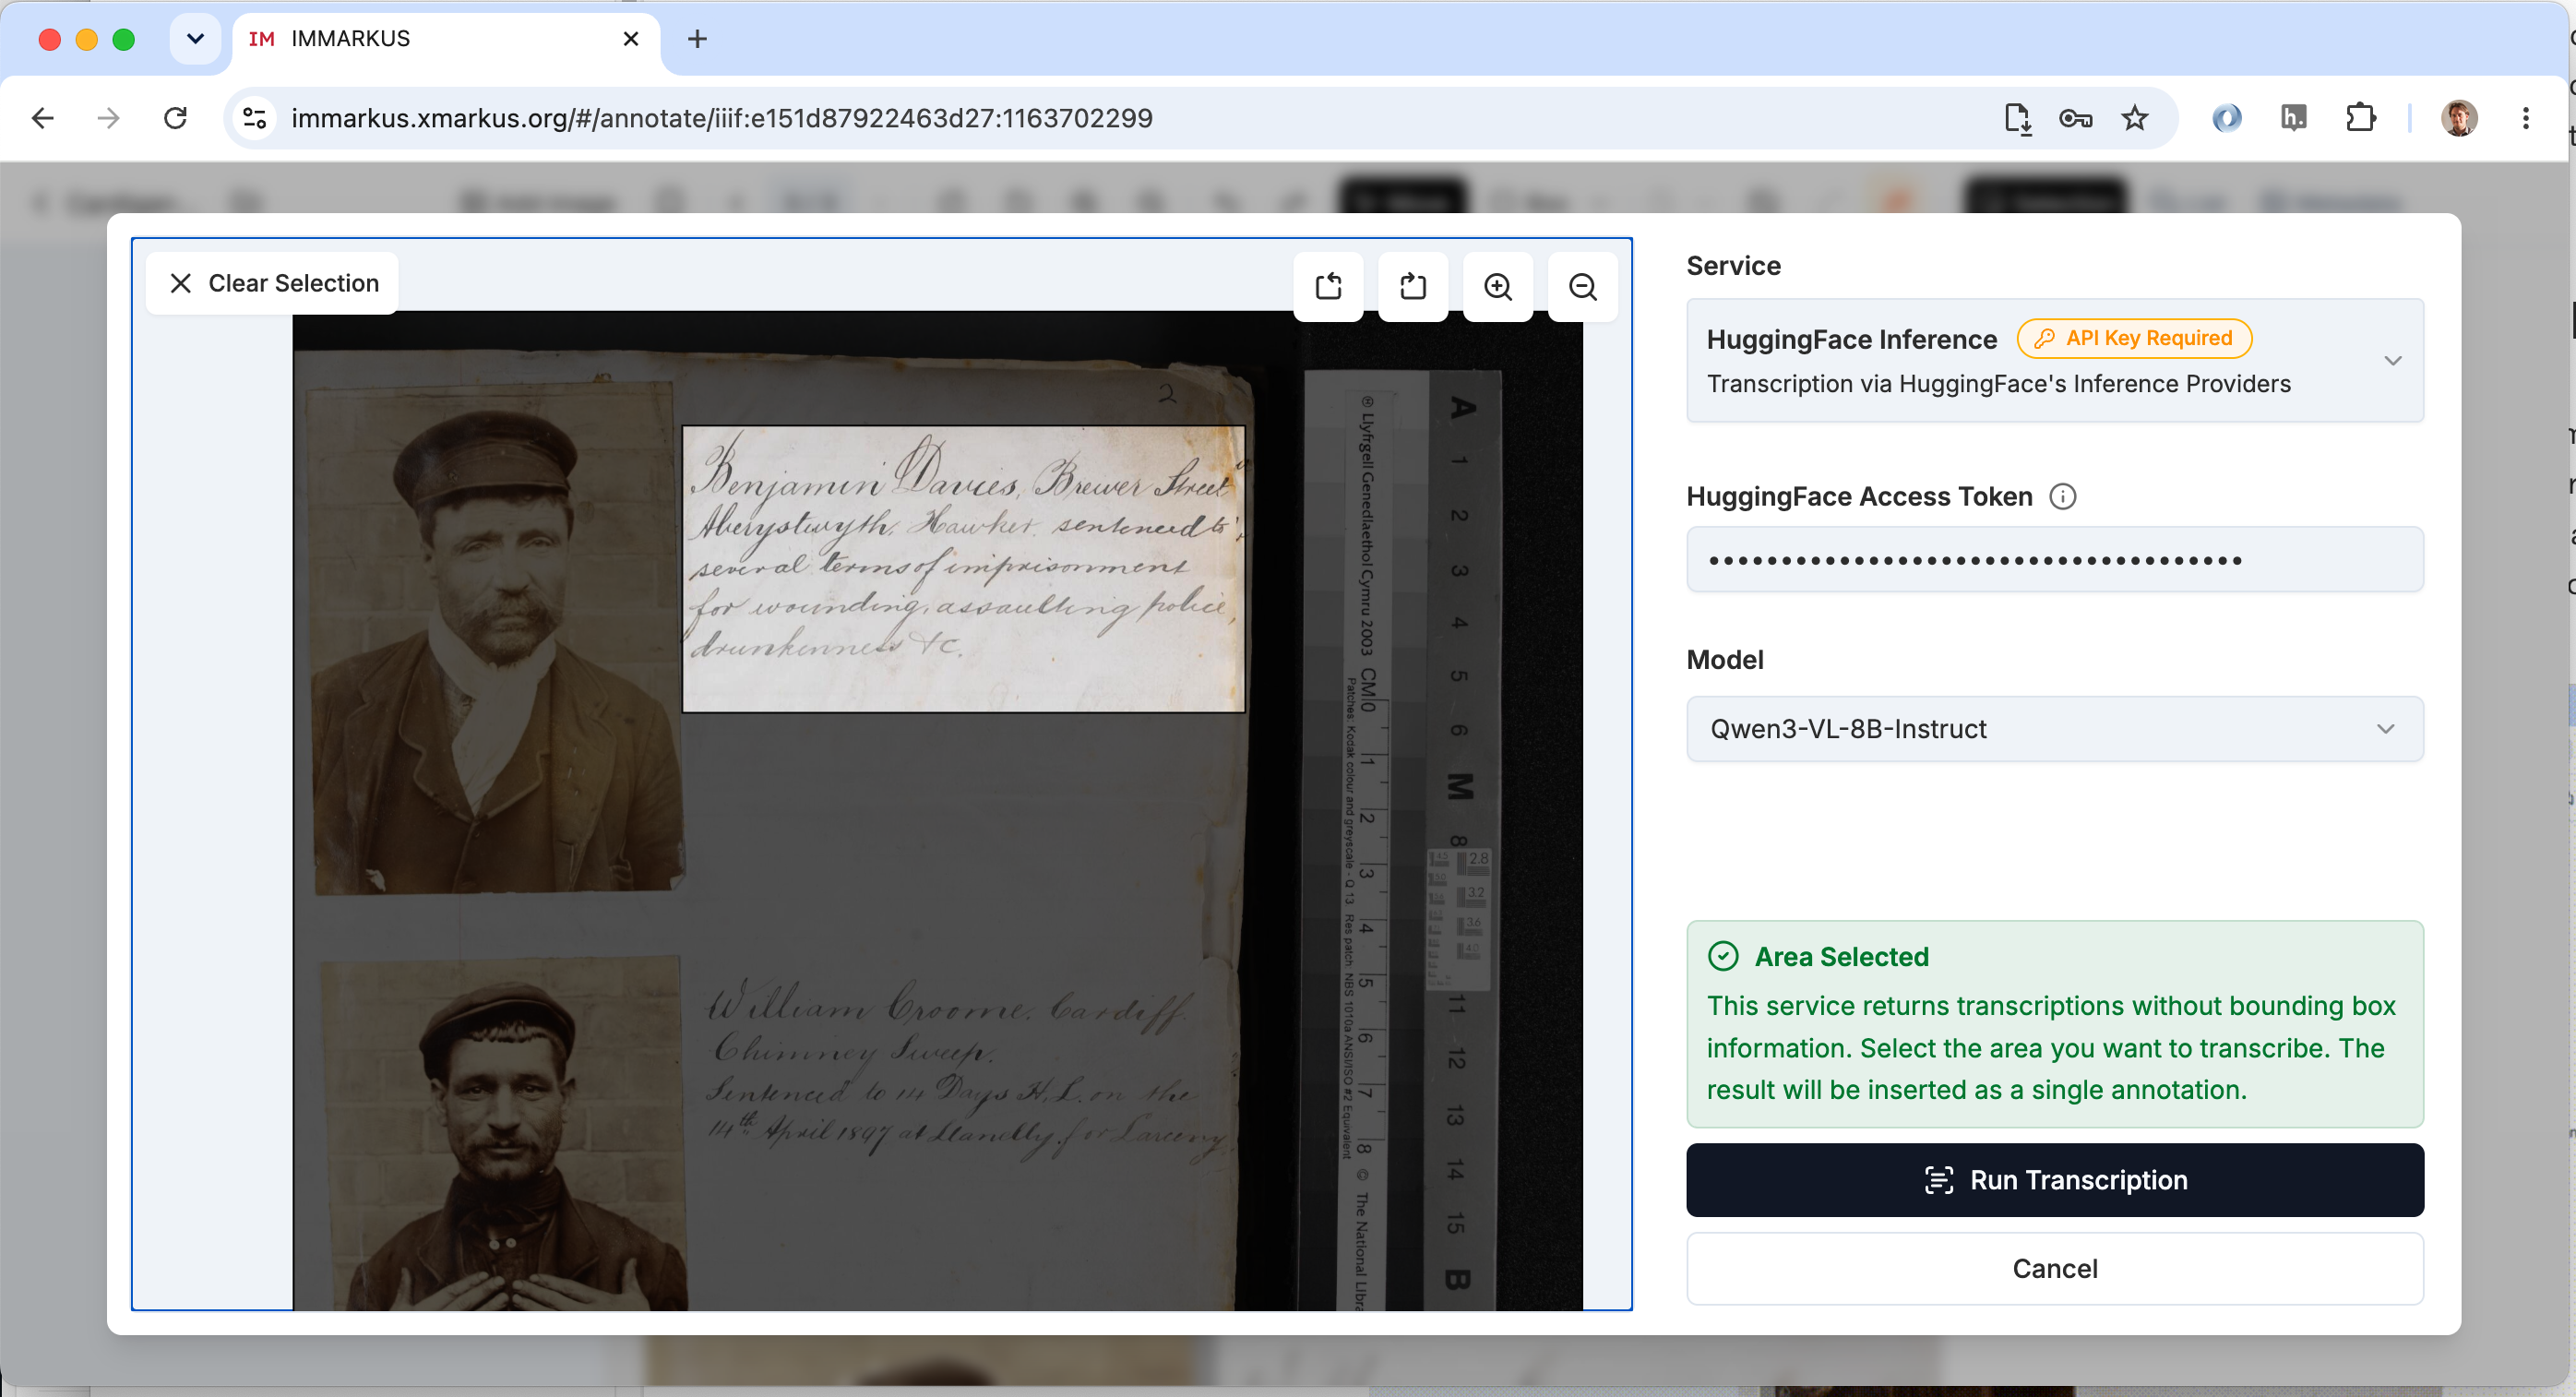
HuggingFace inference has two models aviliable for you to choose, Qwen and Gemma. I went for the Qwen model. You will also need to add your HuggingFace Access Token with details on how to get this token at the end of this section.

Once you have entered your token and selected your model you need to identify the part of the image you want to transcribe. Click the area button on the left highlighted in this image. Then like you did the annotations click once to start the box and then move the mouse and click again to close the box.

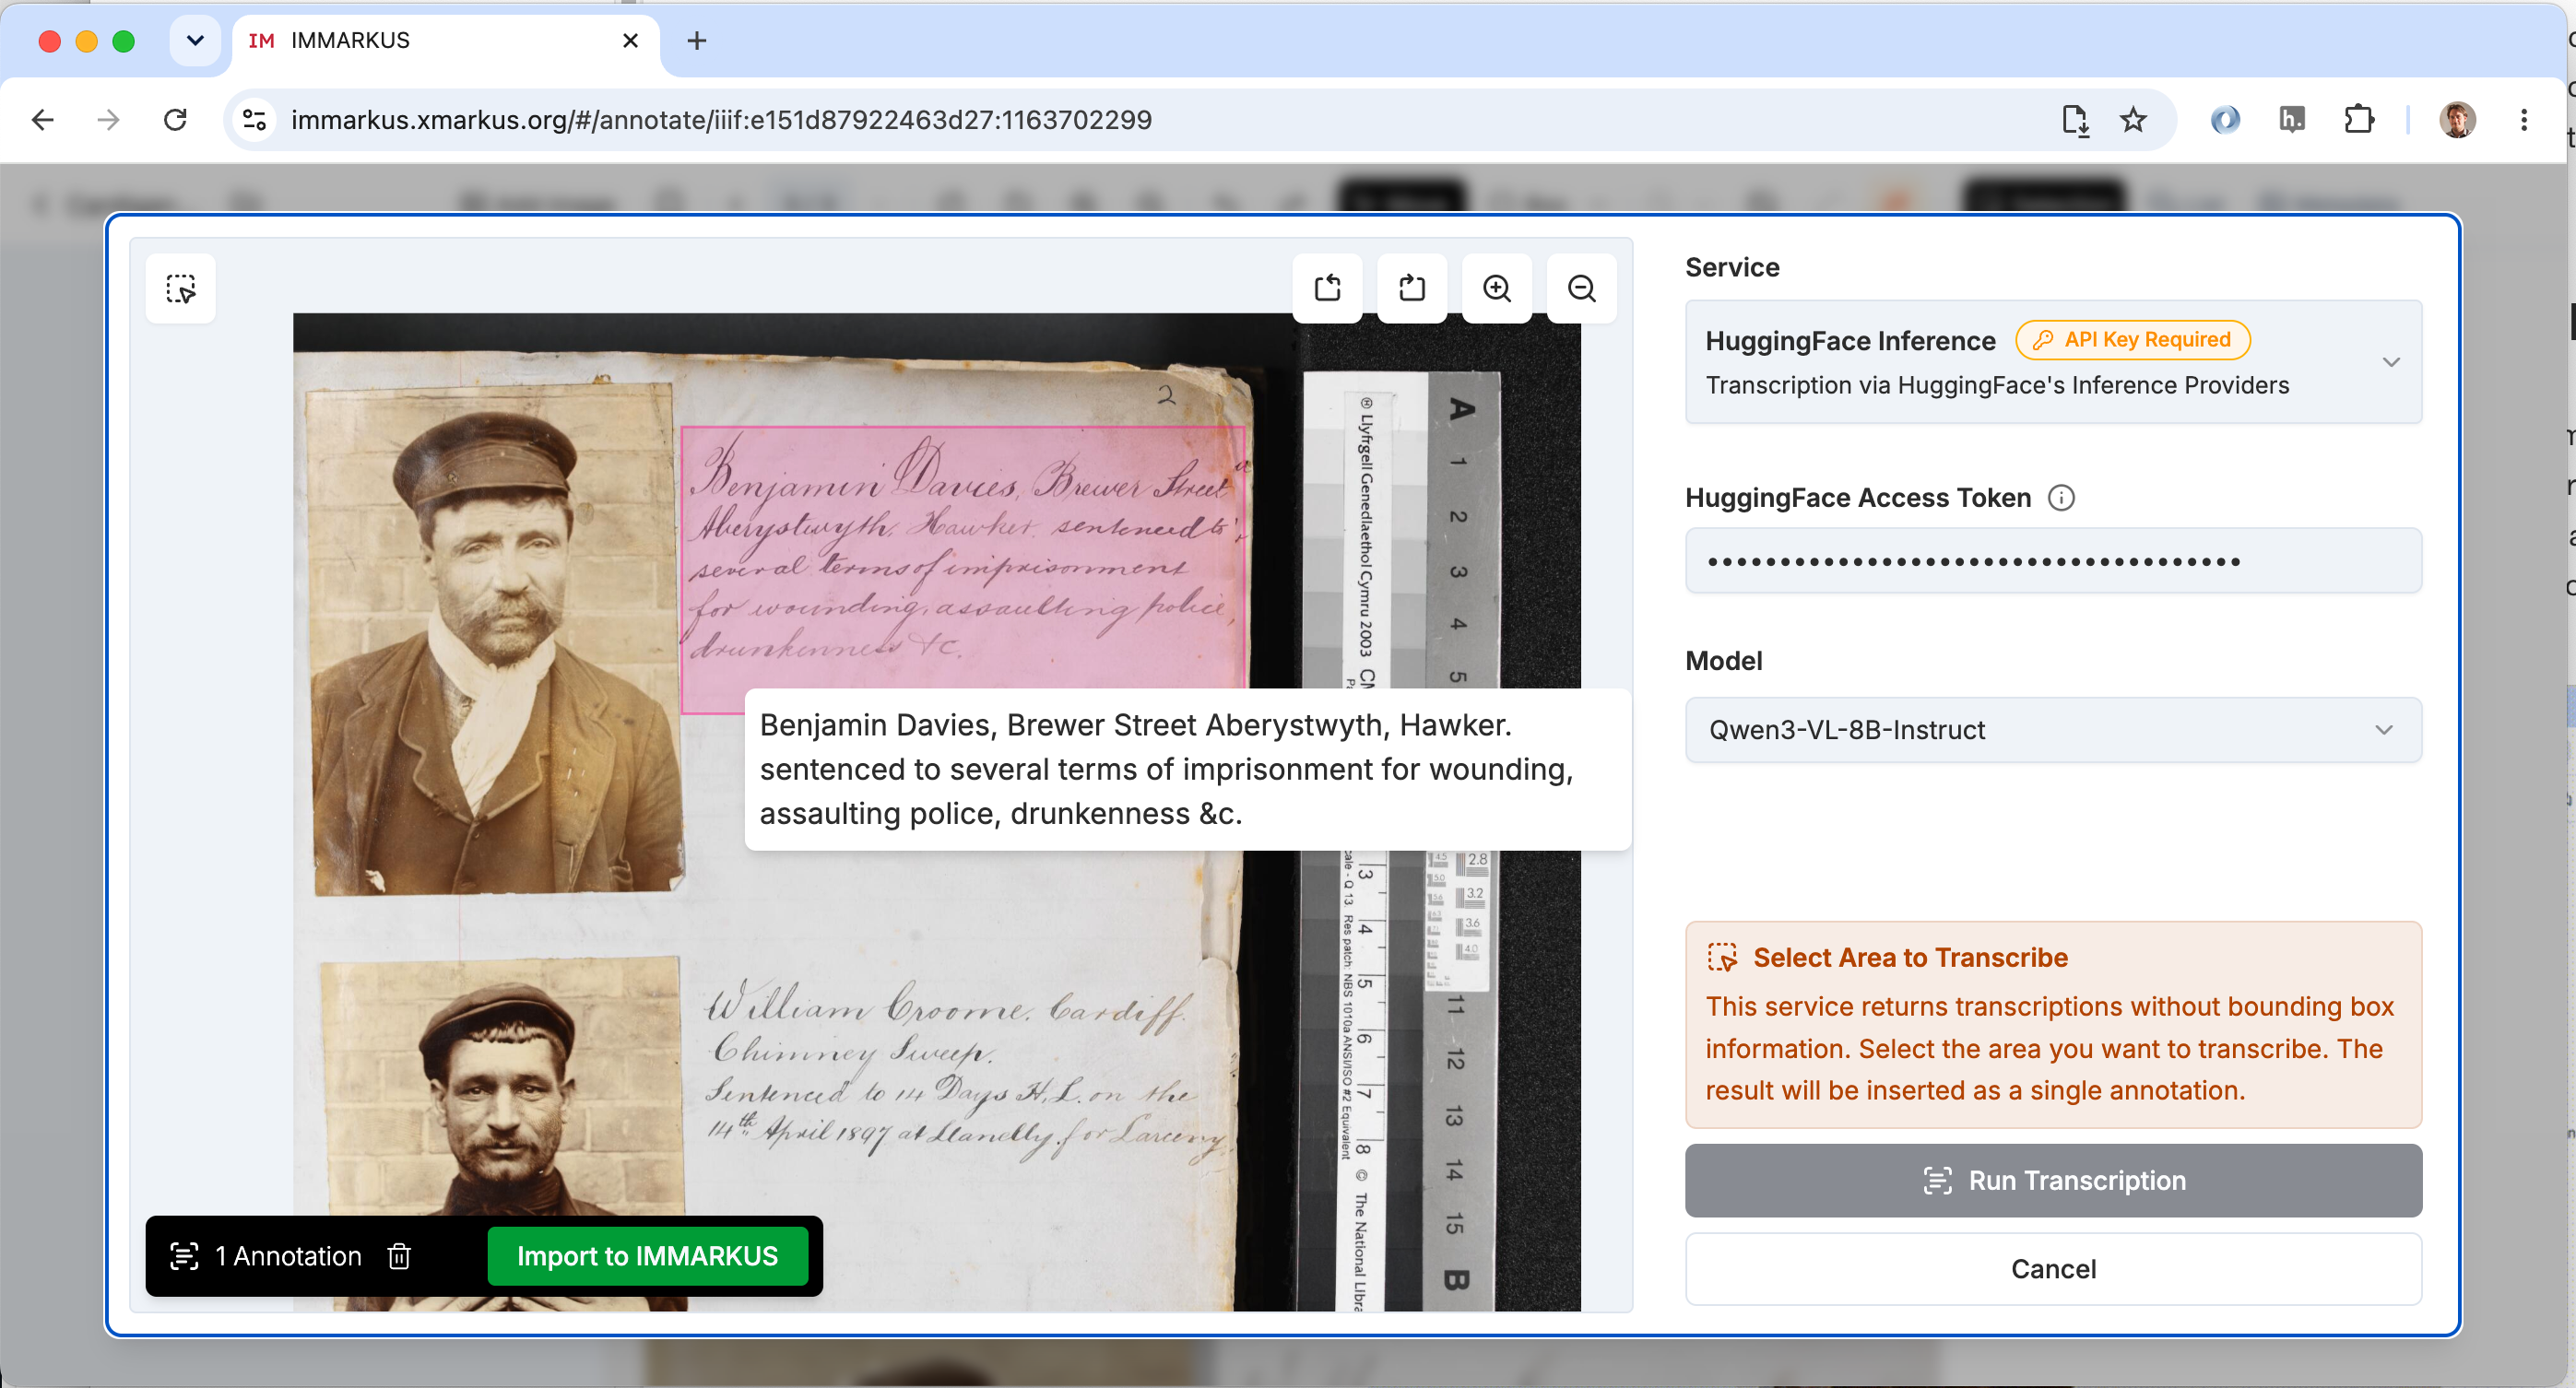
After you've drawn the box you should be able to click the run transcription button. Depending on how much text is in the box it can take a few seconds or minutes to do the transcription.
After the transcription is generated you can put your mouse cursor over the box to see the transcription. If it looks OK you can click the Import to IMMARKUS button to add the annotations to IMMARKUS for further editing. To delete the transcription you can click the bin symbol next to this button. The image below shows the results of the transcription using the HuggingFace model.
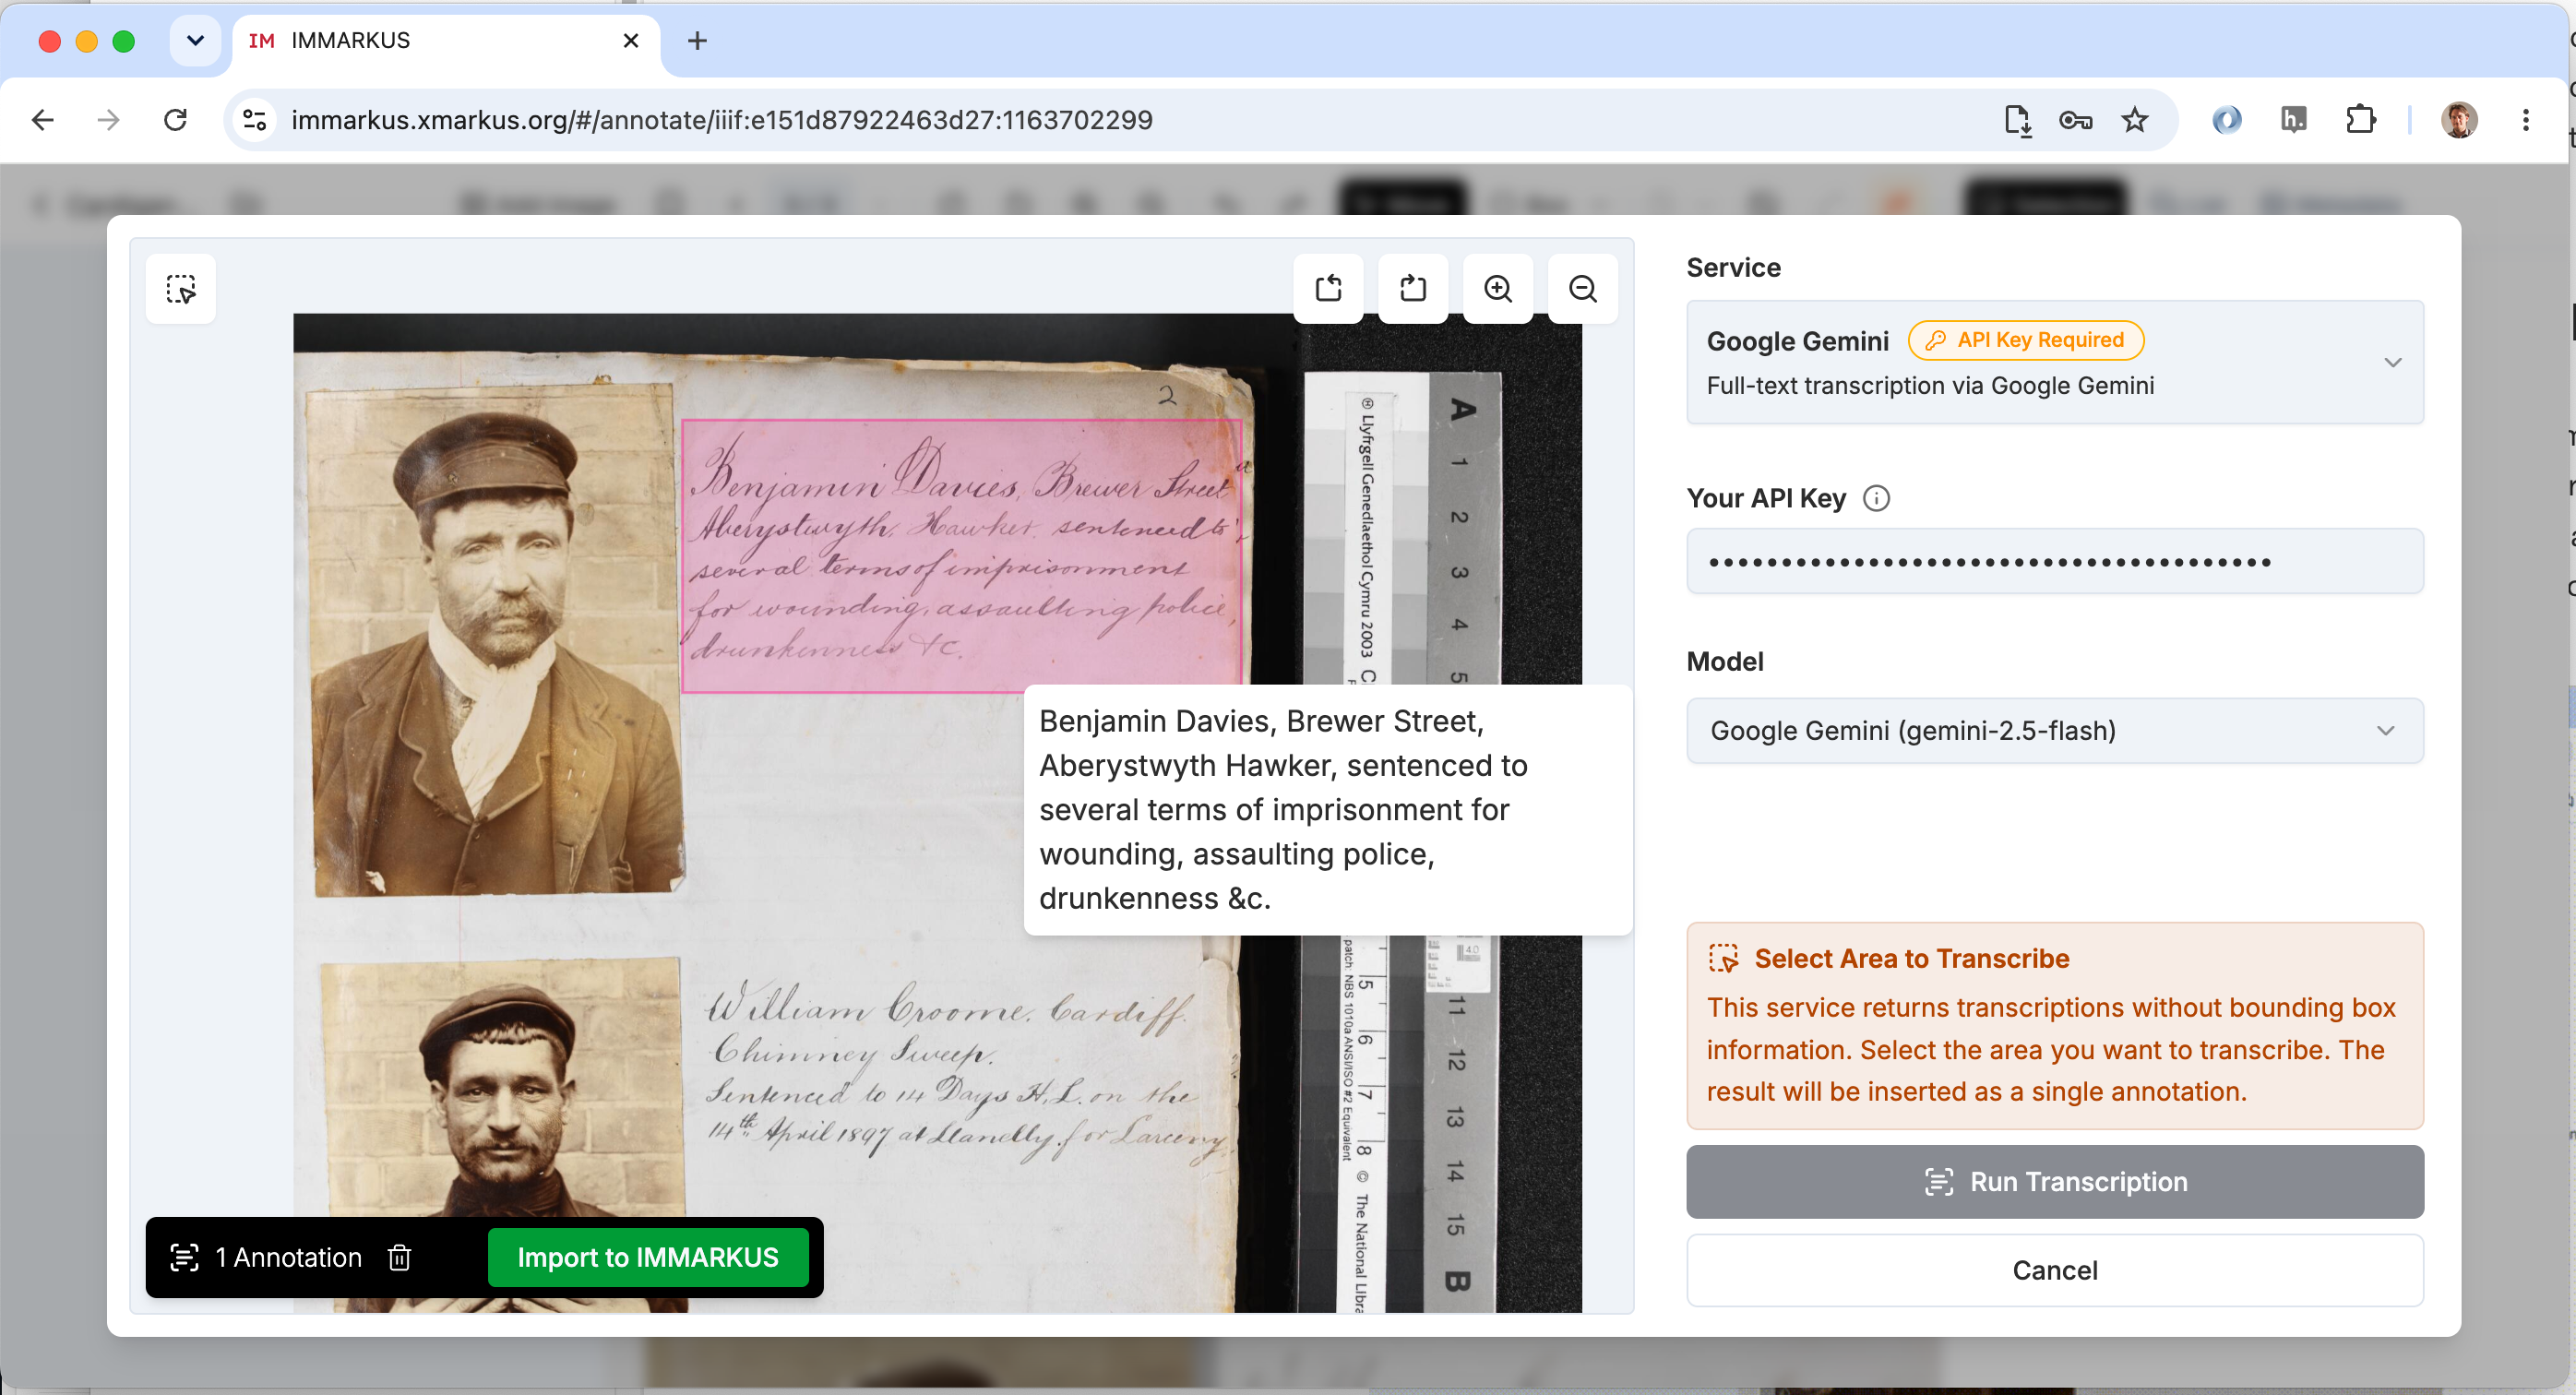
Below are the results from sending the same box to Google Gemini. The results in this case are quite similar but I have come across instances where Google Gemini is a lot better at transcribing text.
Getting a HuggingFace Token
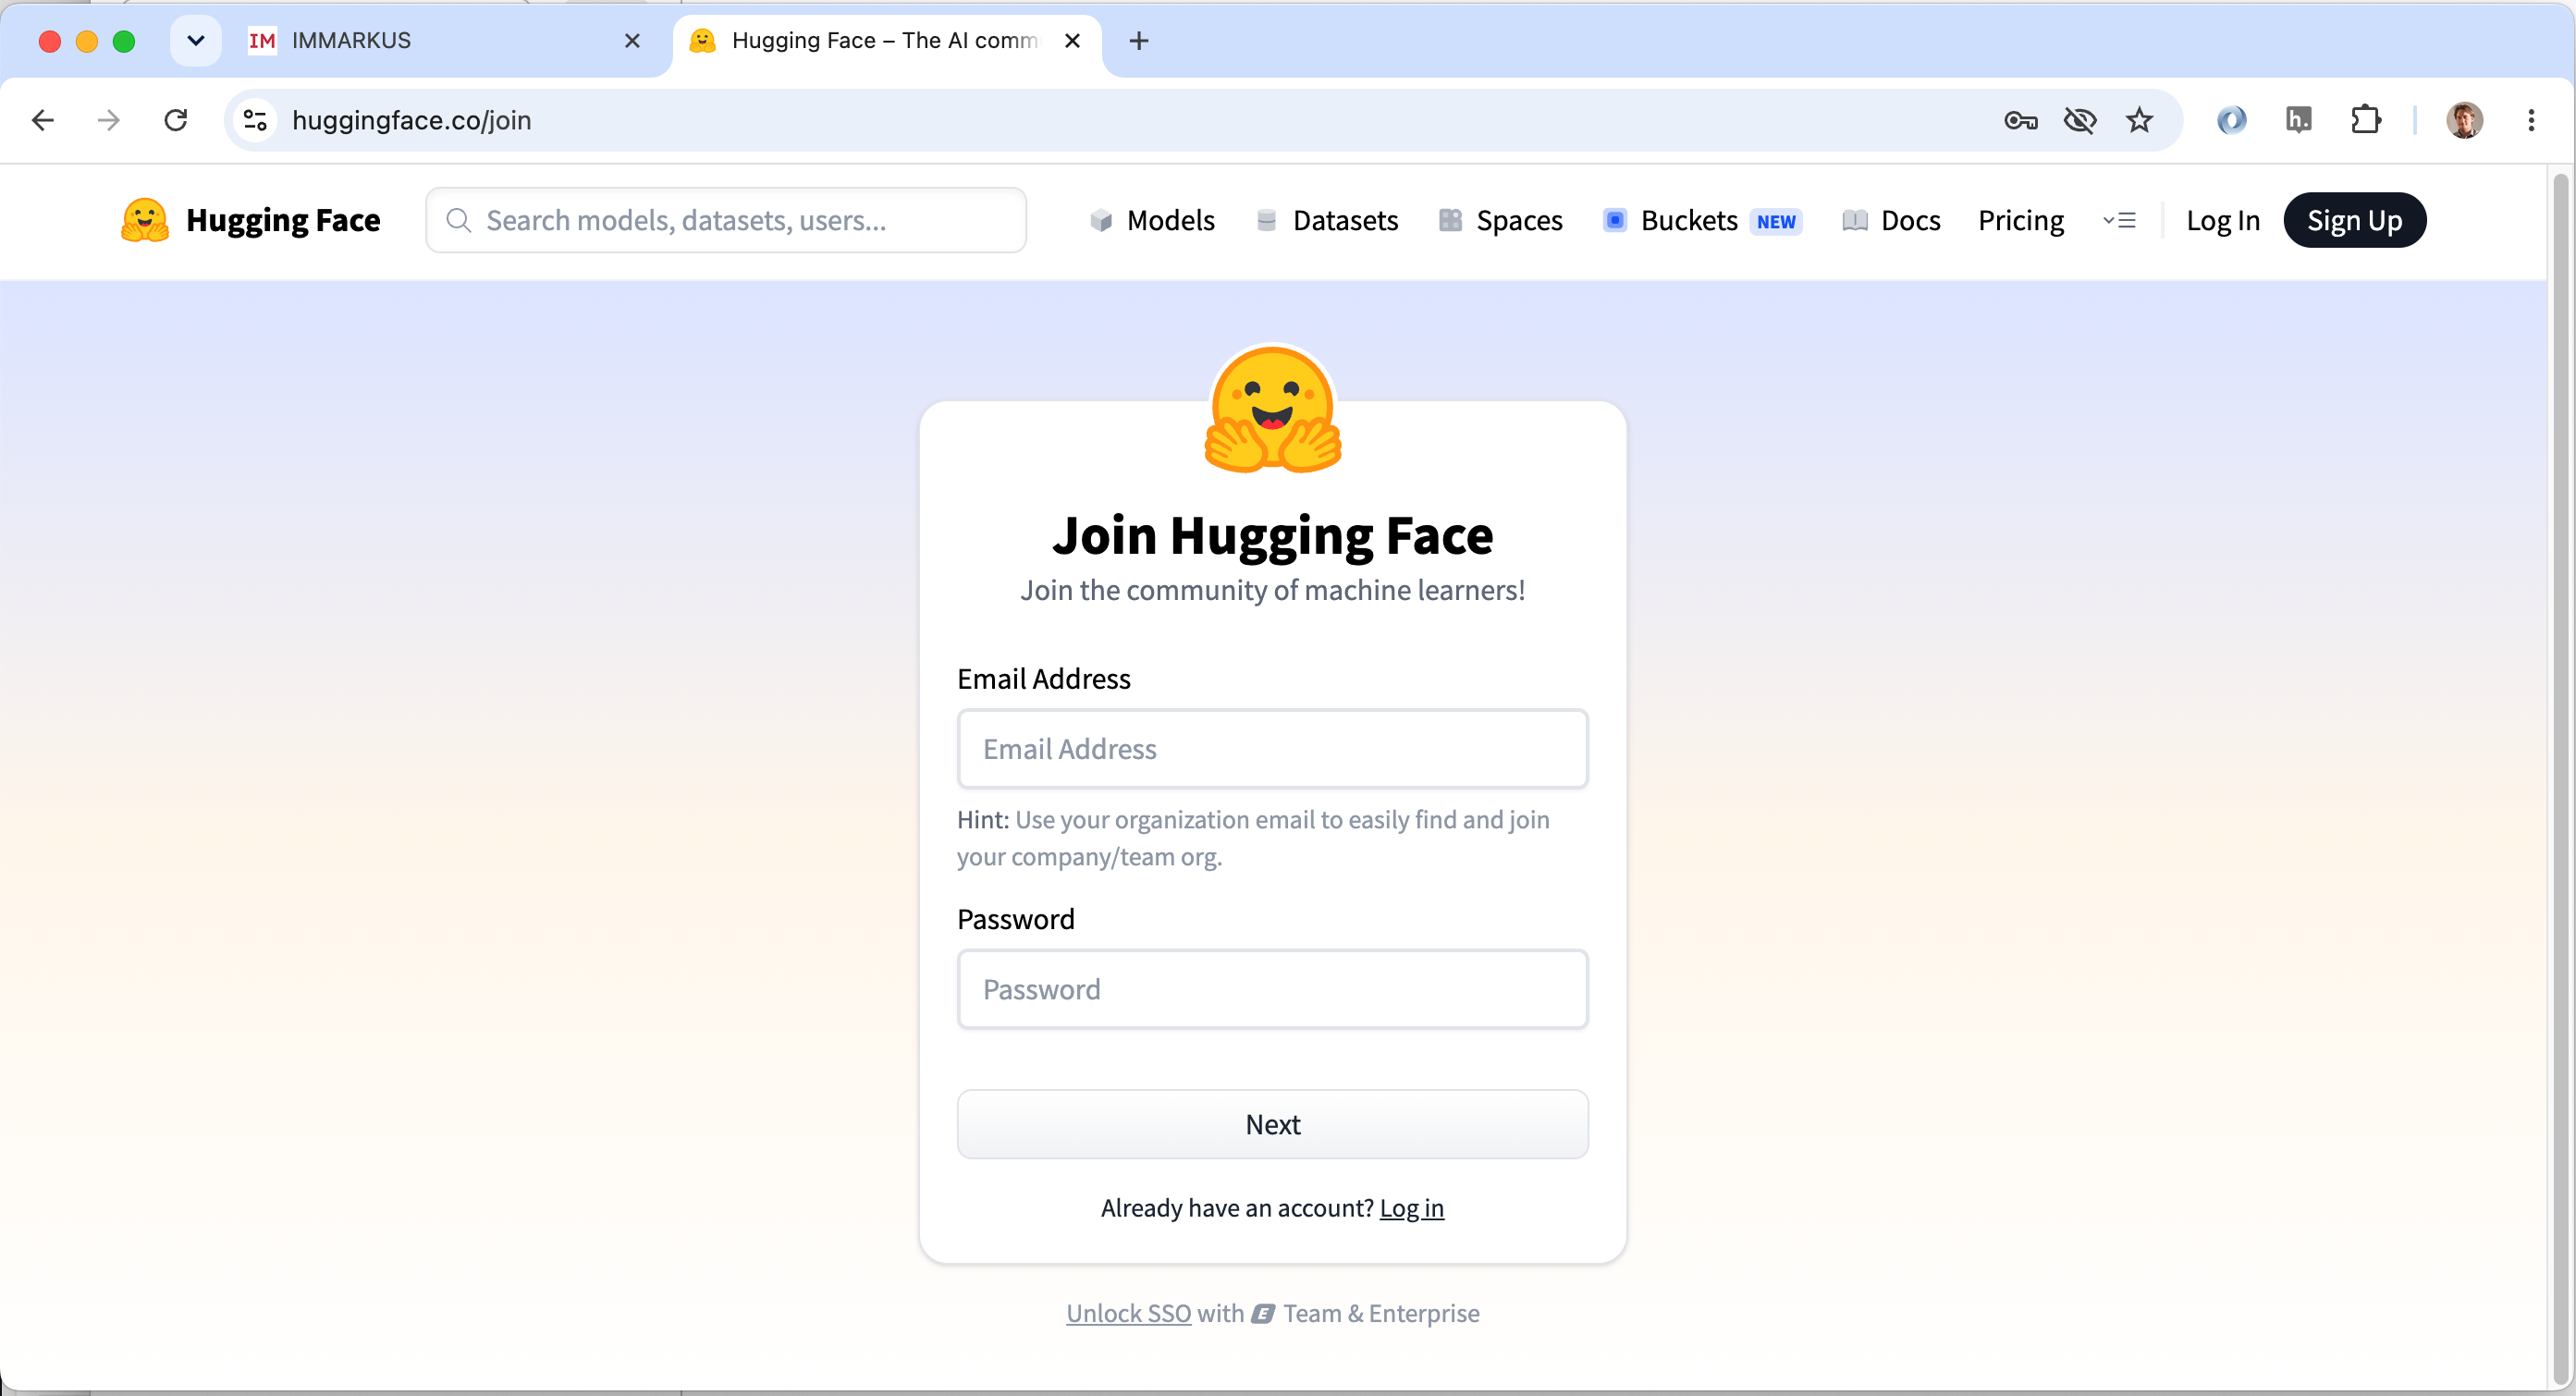
HuggingFace is a website which hosts AI models and datasets used for training models. It also has a Inference service which is a bit like cloud hosting for AI models and allows us to run the model without having to install it locally. It is free to use but you need to register with HuggingFace and request a Access Token. To do this go to the Hugging face website and click signup:
You will be asked to enter a username and password:
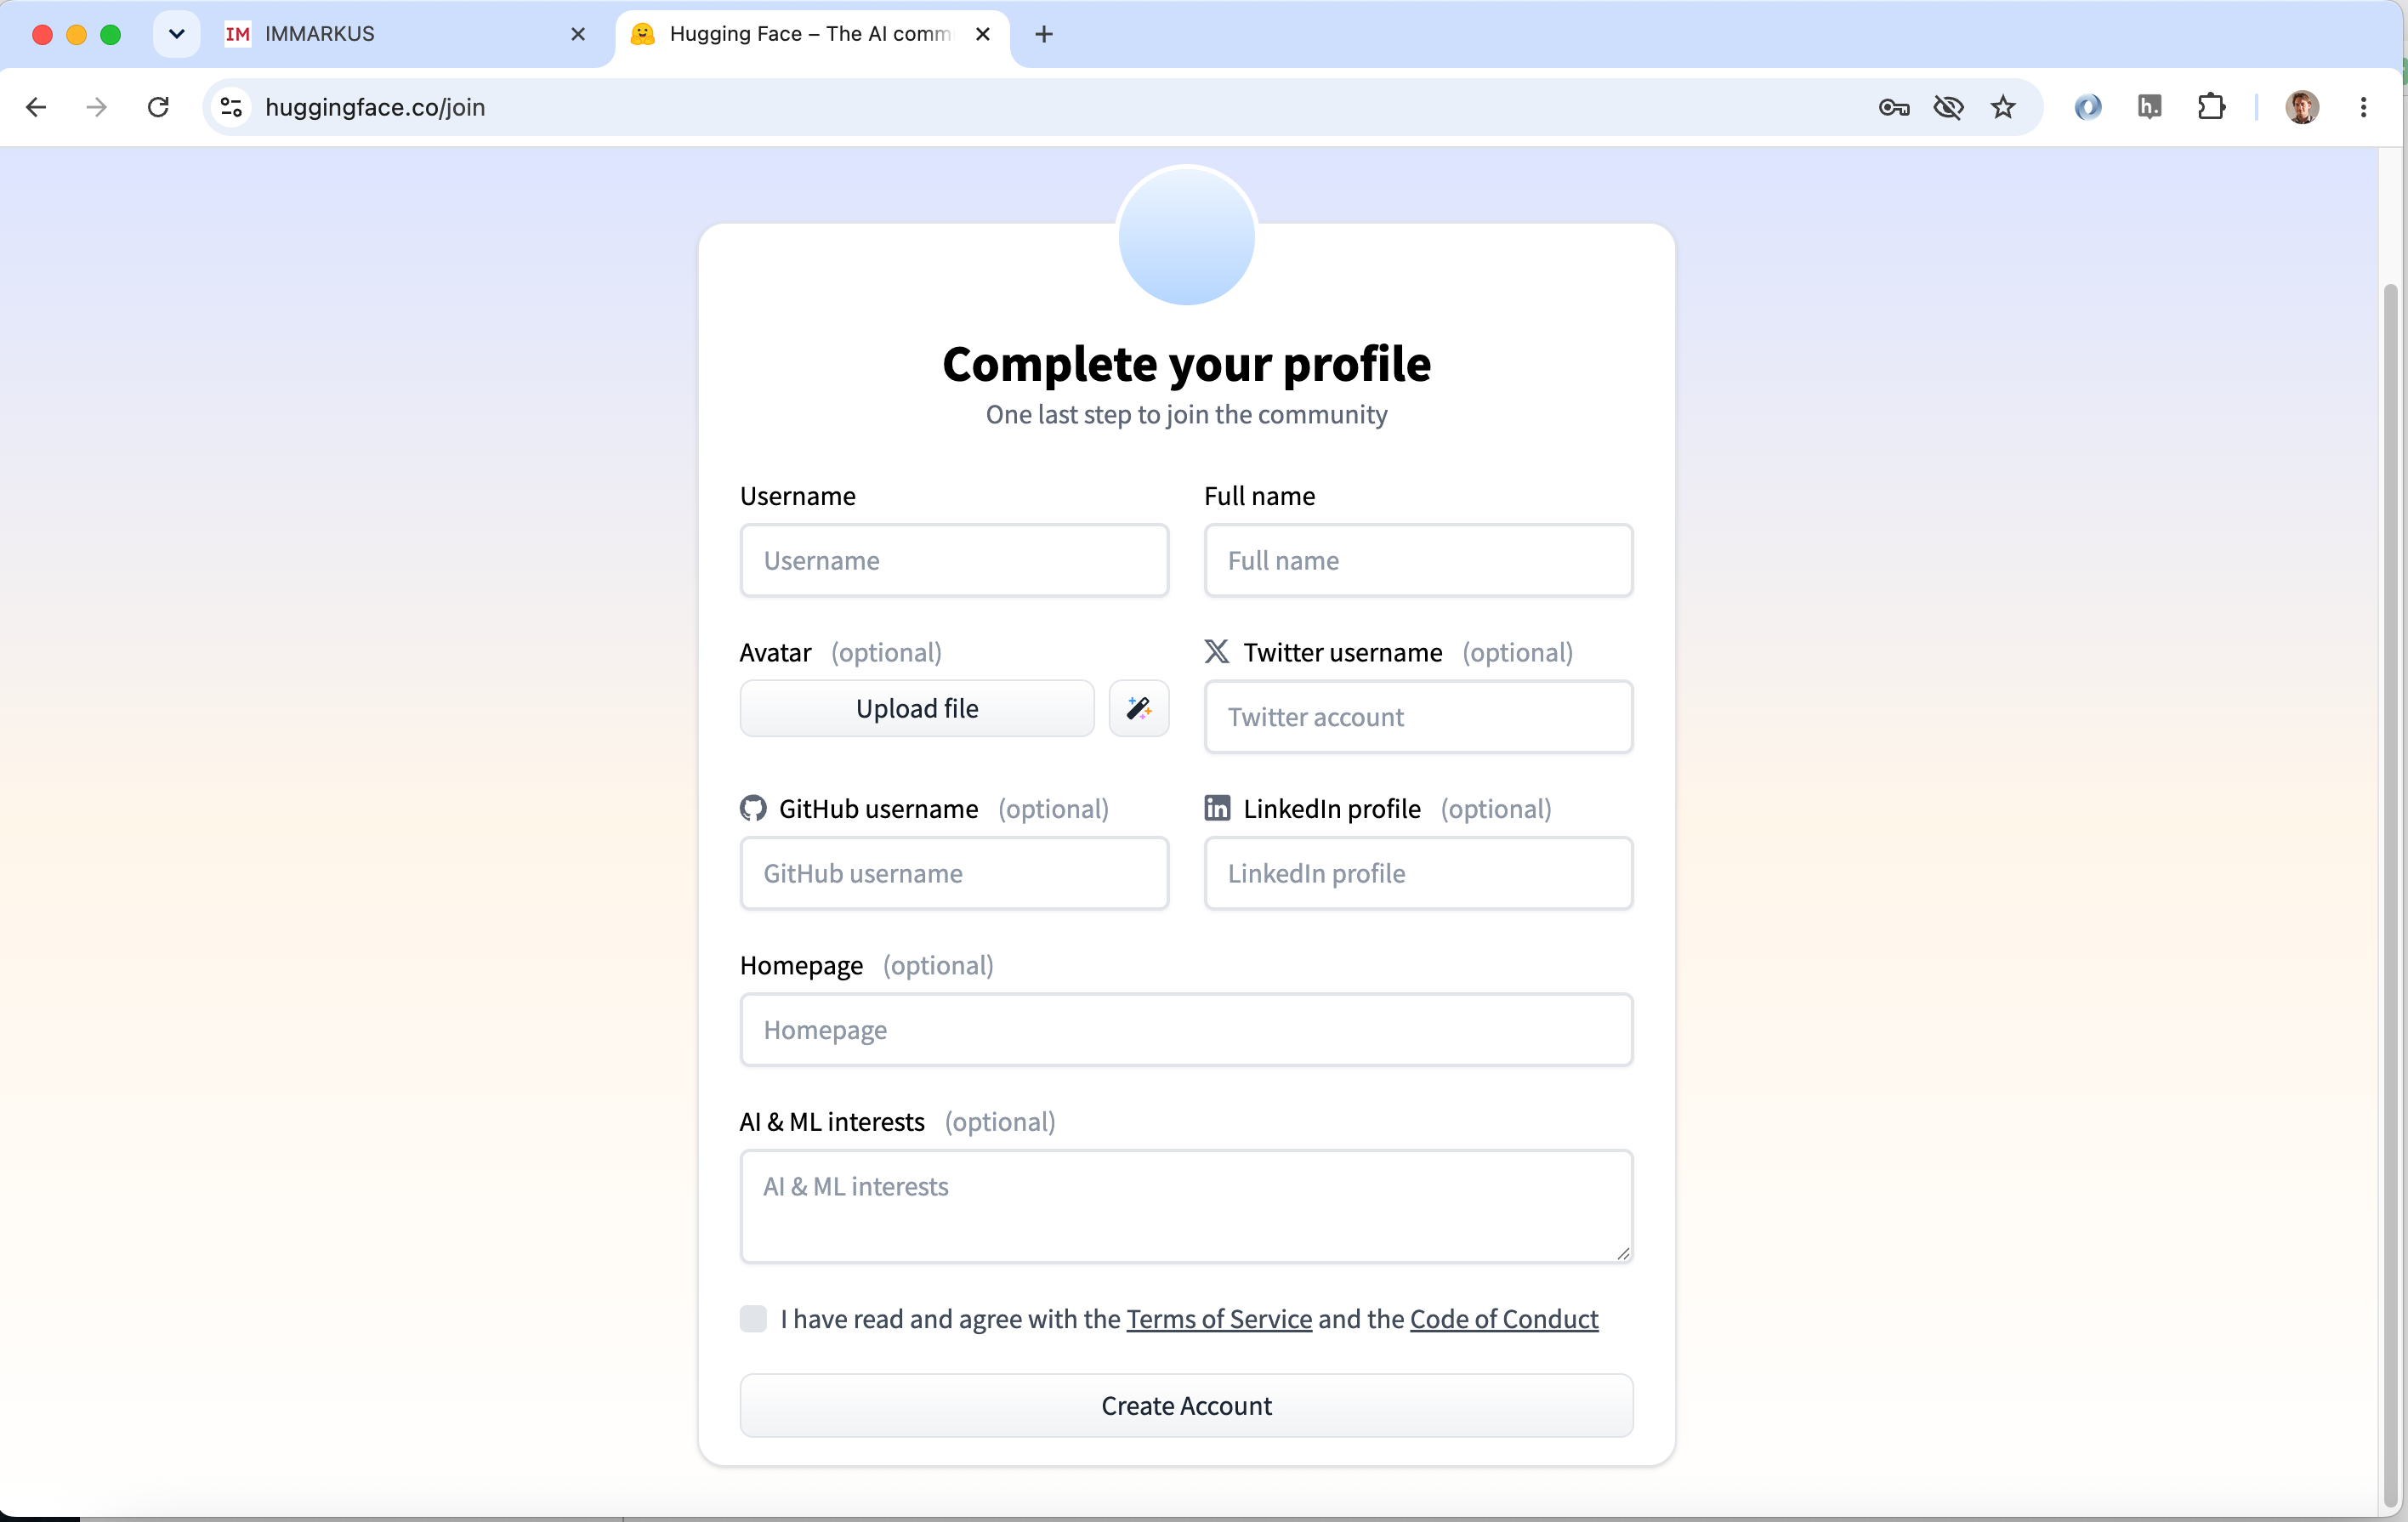
You will then be given the opportunity to share more details with HuggingFace. The ones that are manditory are the Username and agreeing to the terms and conditions.
You will then have to solve a Capture puzzle to ensure you are not a machine. After completing that you will also have to verify your email and you may have to login again.
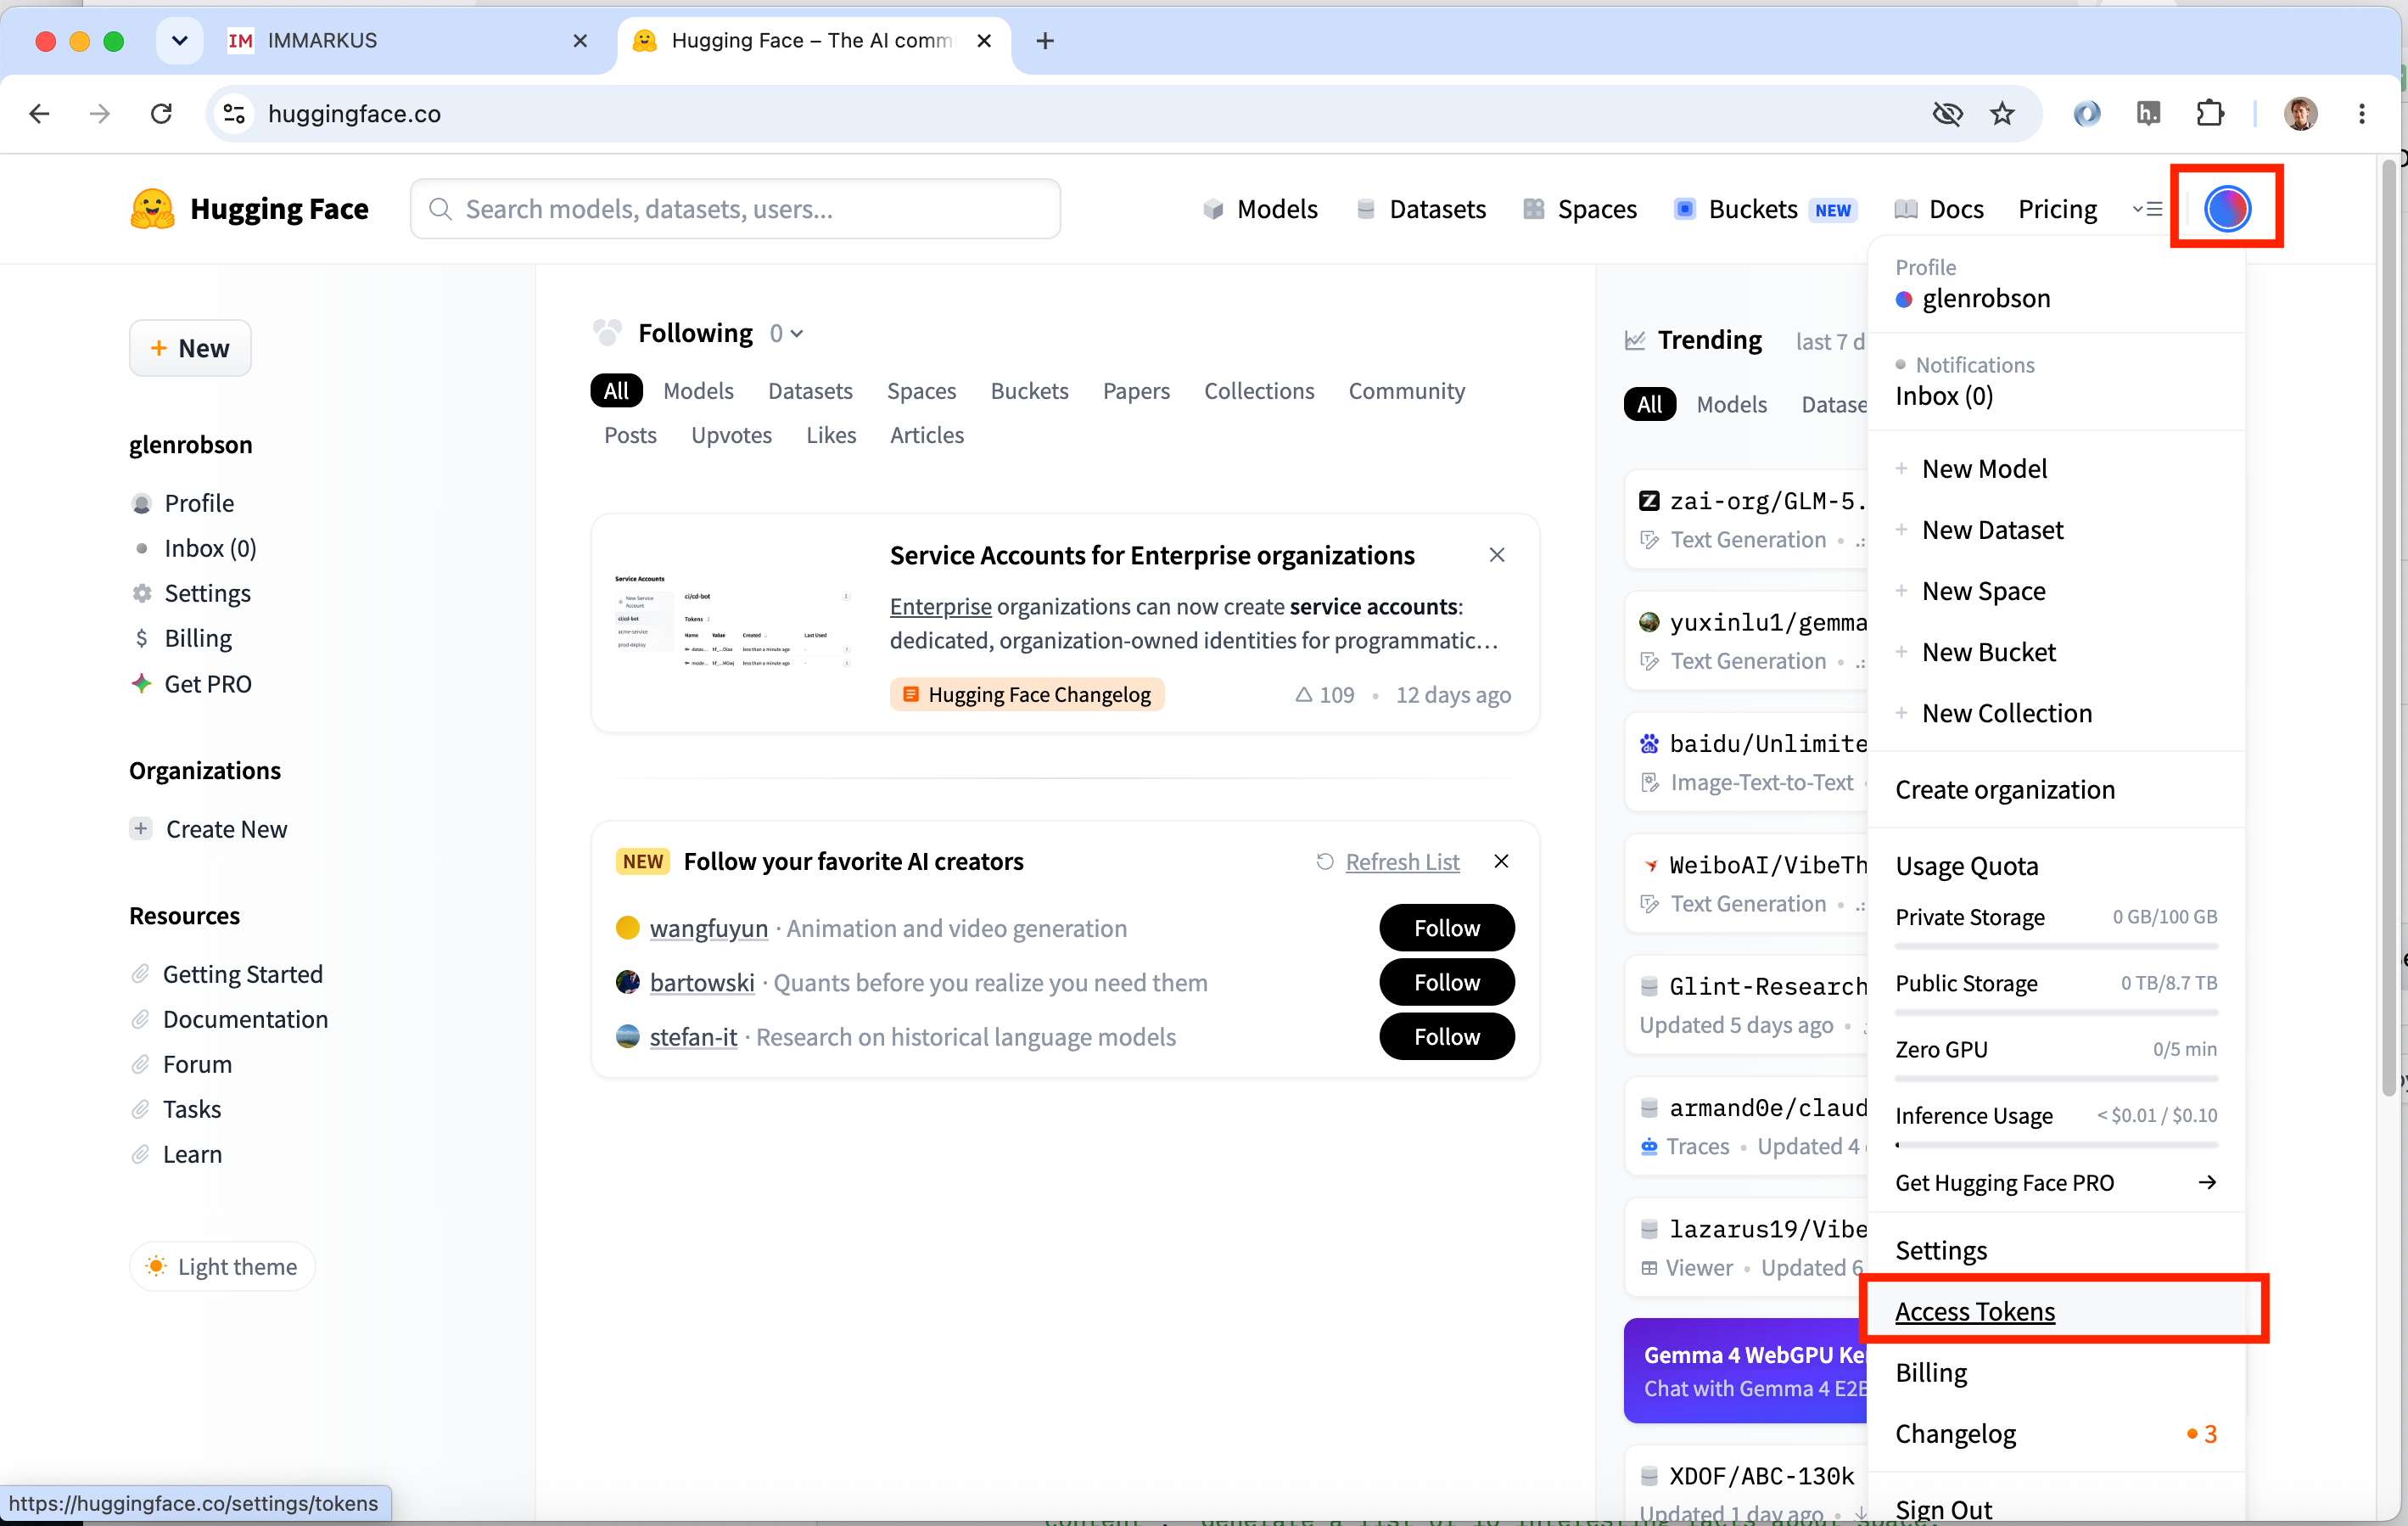
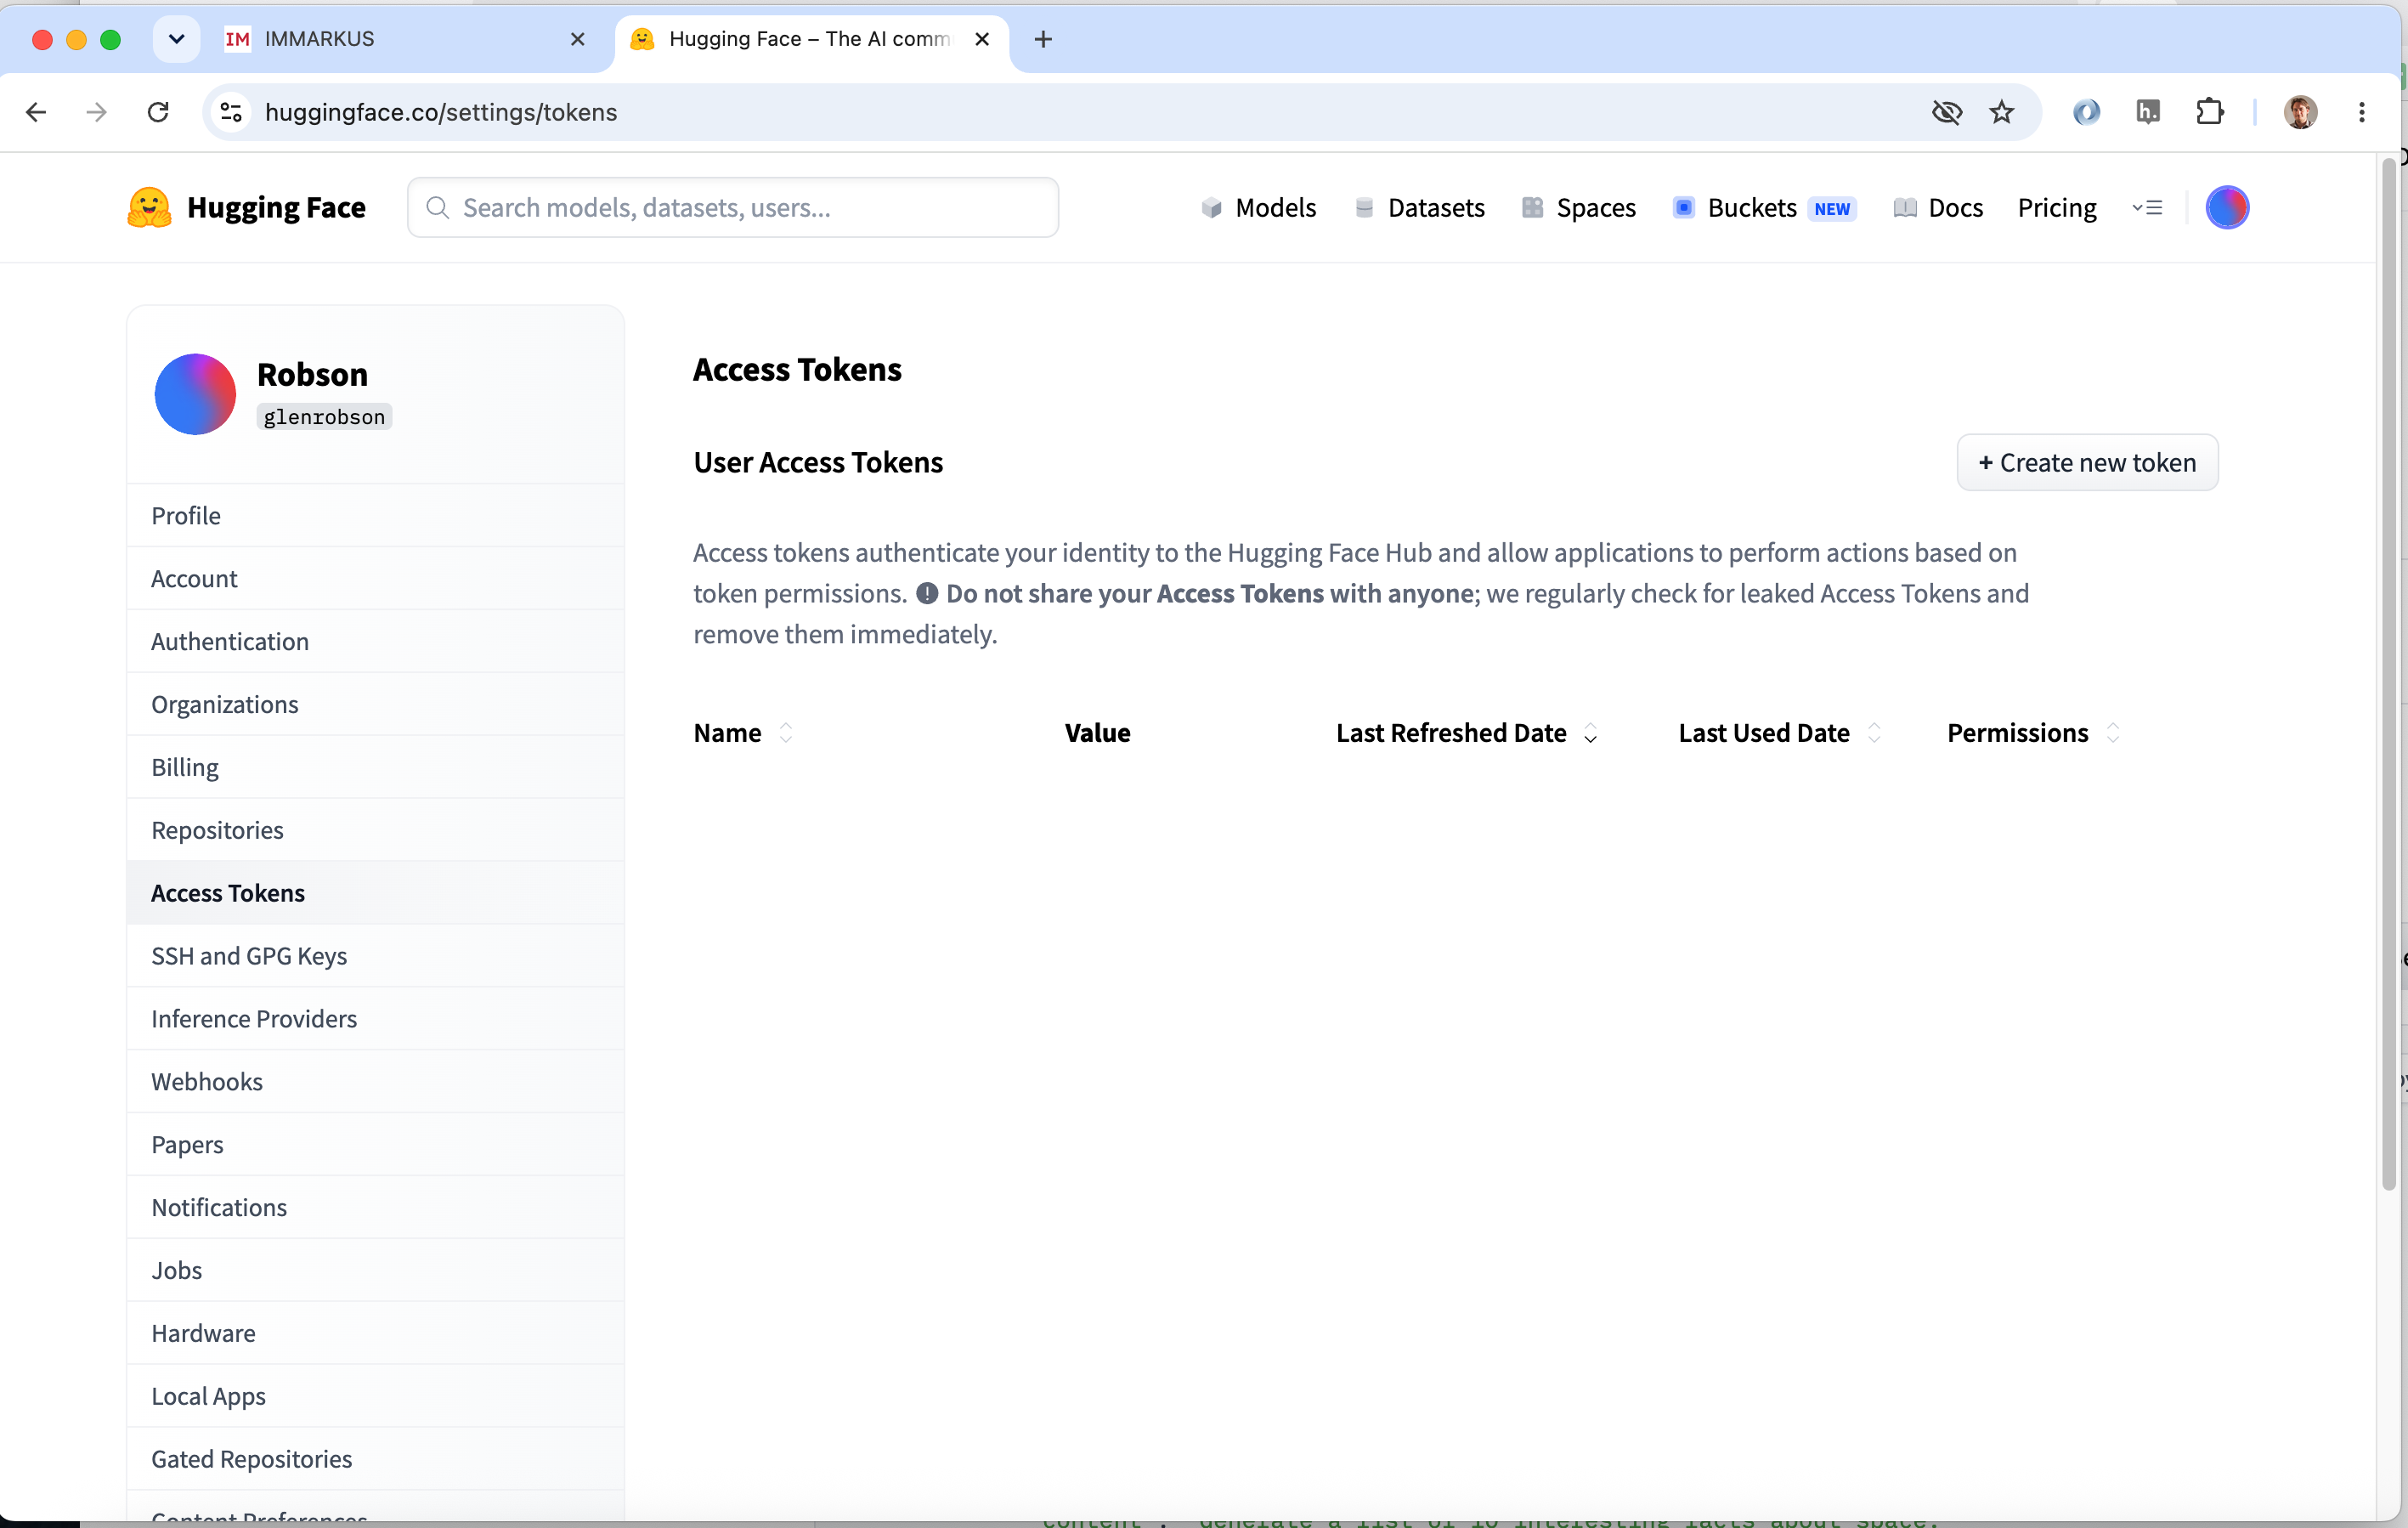
Once you have logged in you should see the following screen. Click on the circle icon on the top right to open up your user menu and look towards the bottom where it says Access Tokens. Click this link.
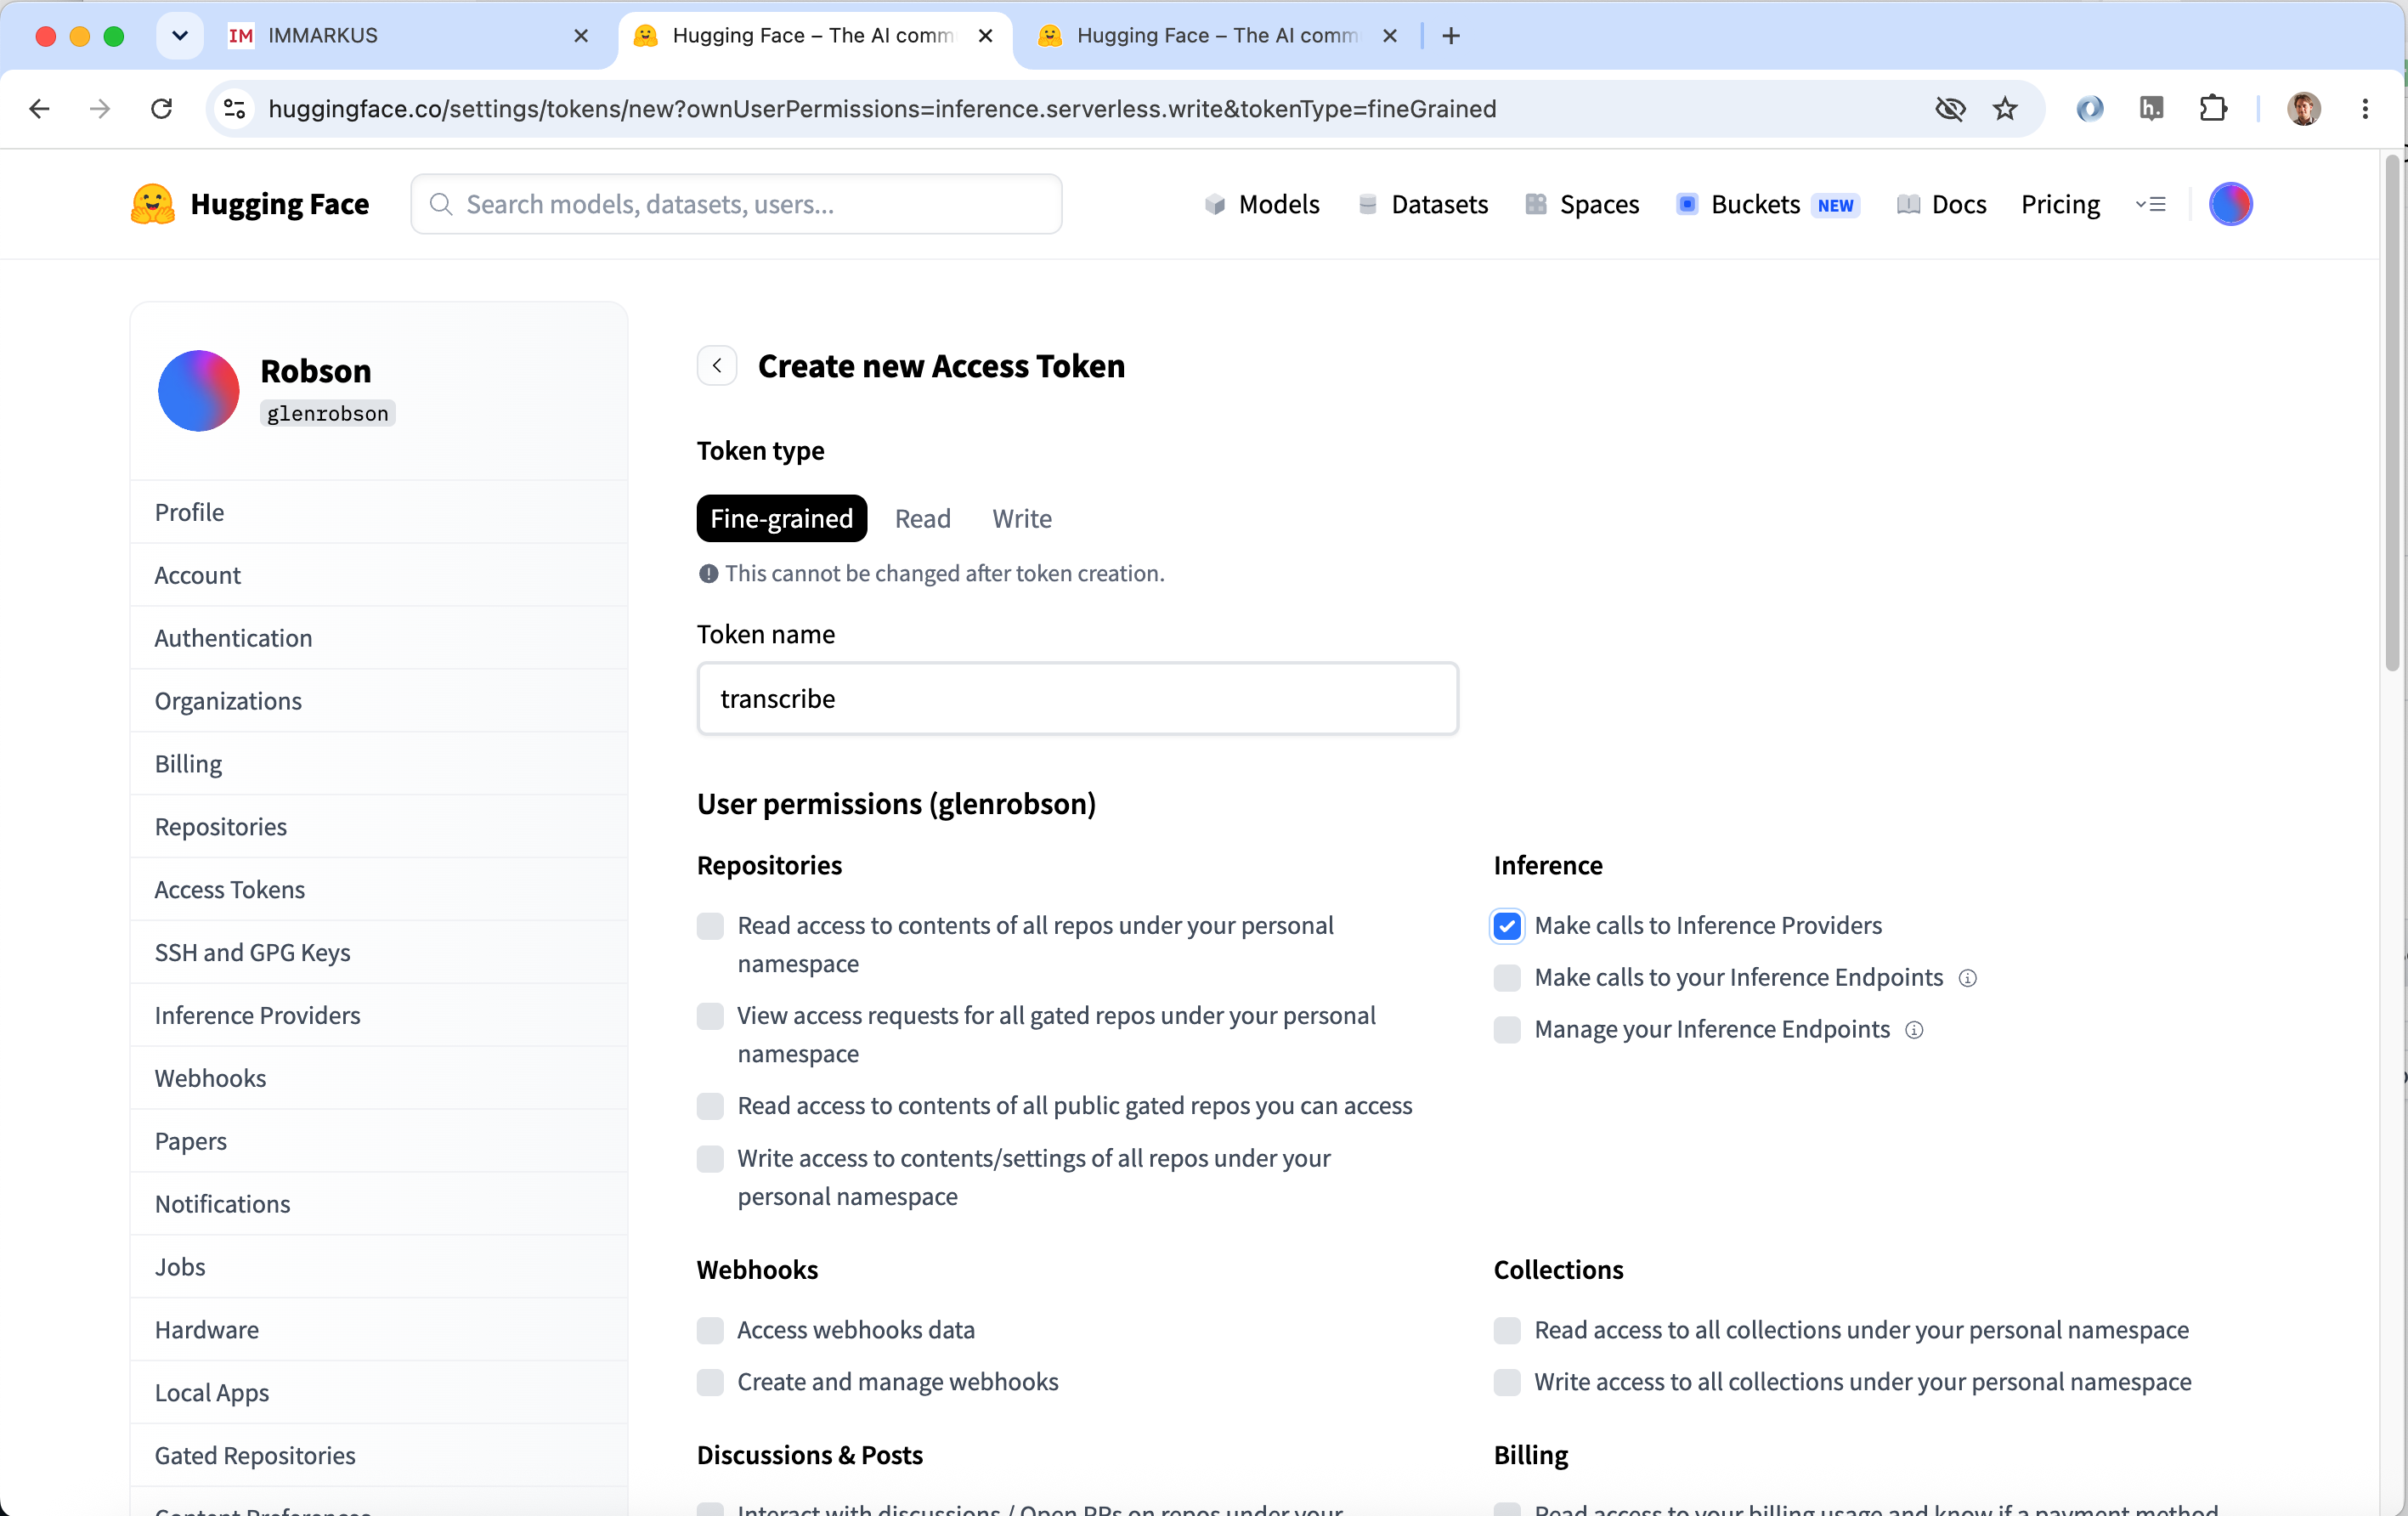
To create your token add a name so you can idetify the token and then you only need to select the "Make calls to Inference Providers" permission for this token. Once you have done this scroll to the bottom of the page and click Create token. You will then be shown a screen where you can copy your token. Copy your token and store it somewhere safe as this is the only time you will see your token. Also ensure you don't share your token with someone else.
This token you have created can now be pasted into IMMARKUS for the auto transcription process mentioned earlier.
Finding more information on IMMARKUS
There are a lot more features with IMMARKUS than we are able to cover here. The best place to find all of the features is on the IMMARKUS wiki: